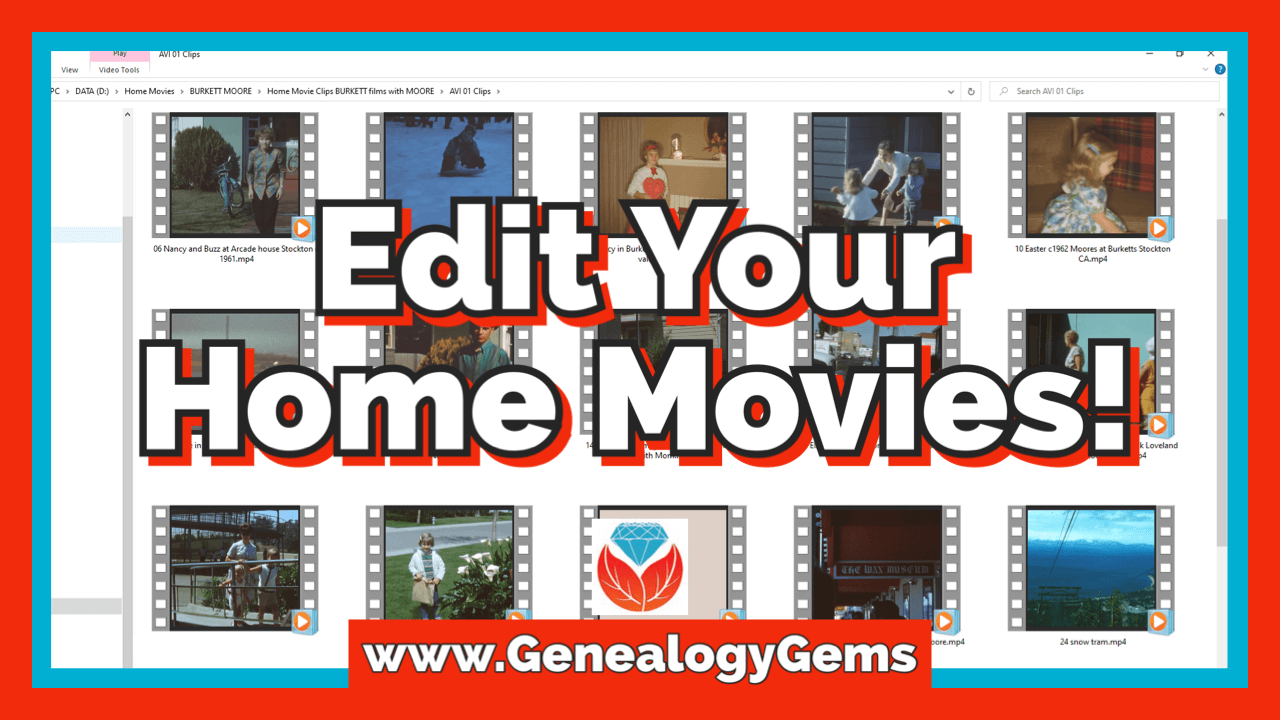
How to Edit Home Movies
Show Notes: Getting your old home movies into shape so that they can be easily enjoyed by audiences today can seem daunting, but it doesn’t have to be. With the right video editing tool and a little bit of know-how you can turn digitized home movies into family history fare for all your relations. It’s time to get your home movies out of the closet and onto a screen near you.
Video and show notes
In this video, I’ll show you how to edit digitized home movies in my favorite video editing software program, Camtasia by Techsmith. (Use our affiliate link now through 8/26/22 to get 20% off Camtasia and / or Snagit. We will be compensated which helps support free videos like this one.)
If you already have another program, you can still follow along and learn best practices for great edited home movies that are easy to share and enjoyable to watch.
Don’t have old home movies? You can also use Camtasia to create videos using static images and photos.
Discounts:
Larsen Digital: I got my family video (and audio) tapes digitized at Larsen Digital, a family-owned business that cares about family history. Click here to get 15% off on your Larsen Digital order when you use our exclusive coupon code GenGem.
Camtasia: Use this link to Camtasia and our coupon code GENE15 to get 15% off for a limited time. (Note: Maintenance and asset add-ons are optional and can be opted out of if desired during checkout. Discount applies to Snagit as well! )
Watch the video How to Edit Home Movies:
Show Notes
Have you gotten some of your old home movies digitized, only to have them just sit on your computer. It’s it can happen really easily. It’s certainly happened to me. And in this video, what I’m going to do is show you how easy it is to edit your old home movies yourself, so that you can get them cleaned up and ready to share with your family.
I had a ton of movies that I got digitized a couple of years ago, and they just sat on my computer. Now, all I can say is I’ve been busy making videos for this channel. I guess that’s my excuse for not getting around to them.
Larsen Digital Exclusive Discount on Digitization
Recently, I found another batch of videotapes. I found VHS, High 8, and I even had an audio tape that needed to get digitized. So, I sent it off to my favorite place, Larsen Digital, a family-owned business that cares about family history. Click here to get 15% off on your Larsen Digital order when you use our exclusive coupon code GenGem.
Larson has done an amazing job getting my tapes digitized in the past. They send them back quickly, and you get them on DVD as well as mp4. Larsen Digital is graciously offering all of us a great discount on digitization. If you haven’t gotten your tapes done yet, they will take care of it for you.
When you get those mp4 videos back, they can be fairly large files. That’s because some of those VHS tapes can be six hours long. Therefore, we need to do some editing. If we don’t, they’re going to be really unwatchable. Typically, we have lots of stops and starts and fingers in front of cameras and blank spots on our videos. On our tapes we had lots of chunks where we had filmed TV shows. Then we started filming home movies again! So, home movie videos typically need to be cleaned up because our relatives are not going to want to sit around and watch six hours of random, chaotic stuff.
As family historians it is our job to edit the video into something watchable and enjoyable. The good news is these days it’s not a hard job thanks to the great tools that are available. I’m going to explain how I use my favorite video editing tool called Camtasia. In the video, I’ll show you how easy this is to do. I think if you see it, you will feel like this is something you can do. I really enjoyed editing my own films.
Camtasia Software Discount
Use this link to Camtasia and get 20% off now through 8/26/22. After that you can use our exclusive coupon code for 15% off: Gene15 (works on Snagit too!)
Camtasia is definitely a terrific product and easy to use. I use it to create my Genealogy Gems videos, and I also use it for home movies and all kinds of other projects. If you have your own video editing tool already and maybe you just haven’t gotten started working on your home movies, I think you’re still in the right spot because I’m going to show you how quick and easy it can be to get these tapes cleaned up and made usable. If you don’t happen to have home movies, you might still want to keep watching because Camtasia does a terrific job taking photographs, images, other pieces of content you can add narration and music and all kinds of stuff making your own version of home movies.
Step 1: How to Import video files into Camtasia
In Camtasia you will see the media bin, I’m going to import my media which is my mp4 video file.
You can see on the left side that there are lots of different things we can do. We’re going to touch on the most important for you for editing your home movies. Whatever you have selected, that’s what shows in this column just to the right of the menu. Make sure you’re in Media. (You can also import media through the menu at the top of the screen.) Click the Import Media button and navigate to your video file on your computer and open it. This will bring it into the Media bin.
Step 2: How to Select the Correct Project Size in Camtasia
The second step is to select your project size based on what it is you want to do. It’s really important to think about what is going to be the final purpose of the video. Do you want to be able to Airplay this up onto your TV screen on a big screen and be able to see it? If so, then you’re going to need a pretty high-resolution (large) file. Or are you really interested in getting lots of fun clips that you can share out on social media? If that’s the case, you don’t need as big of a file to be able to have it viewed on a mobile device or on the web.
Camtasia makes it super easy for you to find the right project size. At the top, click the down arrow next to the percentage number (called Canvas Options) and select Project Settings. Here you can see the current project size. What we want to do is pick from the standardized dimensions for the product (output) that we need. Here are some examples:
- Social media: 1280 by 720 px. That’s a very standard size that would look great on anybody’s tablet or phone.
- Full size computer screen or TV: 1920 by 1080 px (HD). That’s a very standard format
You probably don’t have 4k home movies. If you sent your tapes to a very specialized company, they might have the ability to give you 4k output. But it’s really overkill for what you’re trying to do. Typically, the 1080 HD is going to be what you want.
When you click to select the size, it is populated in width and the height. Click Apply. Now you have that exact project size. I think probably one of the biggest mistakes I made early on in my editing career was not checking project size as the first step.
Step 3: Drop the Video onto the Timeline
Next, we’re going to bring the whole movie onto the timeline where can then edit it.
When we hover our mouse over the video in the media bin, we can see all the different shots (this is called scrubbing,) When you start to drag the video out of the bin blue lines appear around the screen areas where the video can be place: the video canvas at the top of the screen and the Timeline at the bottom of the screen where the editing actually is done.
If when you drag the video into your project it looks smaller than the canvas, that means the film is a lower resolution (size) than the project size you selected. You don’t want to get too far apart in those two things. If I had a very small film (low quality) I might want to think about making my project size a little smaller because I don’t want it to look blurry when it’s done. Typically, I think you’ll find that your video file will be a standard size and will fit pretty nicely.
Using Multiple Tracks in Camtasia
I usually drop video directly onto the timeline. The reason is because usually I’ll end up adding stuff additional content to the timeline, and that’s where tracks come into play.
Your project will have two tracks at first. However, you can add many more by clicking the plus sign. Each track gives me the ability to have a piece of content on there. So, I might have my home movie on track one, narration audio on track two, annotations (text) on track three, etc. Each track gives me the chance to have different pieces of content so that I can edit them without cutting up the other items. It’s really convenient having each item on its own track.
Moving Content on a Track
You can easily move your video around on the timeline to position it exactly where you want it. Click on the content (in this case the home movie file) and drag it to the desired location. You’ll see that Camtasia will sort of allow you to “snap” items into the best position. For example, pushing the video up to the beginning of the timeline (the zero mark).
Editing a Video in Camtasia
How do you know where you’re going to be editing? Well, that’s where the playhead comes into play. The playhead is the marker on the timeline that shows us where we are at any point in the video. You can drag the playhead across the video – called scrubbing – to review it.
If you want to see your entire video on the timeline, you will likely need to zoom out. Click the minus sign to zoom out, and the plus sign to zoom in. Keep clicking until you can see the entire bar of video. Hover your mouse on the video and you can see how long it is. My video is 32 minutes, and seven seconds. So, this is the whole film that I’m going to work on. As we do our editing, we’re going to want to be zoomed in because we want to be really precise with our cuts and clean up.
Initial Types of Editing
So, what kind of editing would you be doing? Well, first and foremost, I like to go through and just clean up stuff that I don’t want things like blank spots, damaged footage, and mistakes in filming. As you scrub through the video look for these areas.
Clean-up makes watching home movies much easier on the viewer. Everything comes back to the experience of the viewer that you want to share your videos with. If you want to share home movies with your family, you got to make them easy to watch, right? We want to make them enjoyable. We don’t want them getting seasick or bored. That way when they watch the finished films, they’re going to really enjoy them. And they’re going to want to see more and talk about family history.
Scrub very slowly until you see something you don’t want. Zoom in a little bit more if necessary to see exactly where you want to make your cut. On the playhead grab the red handle and drag it. Then drag the green handle. This identifies the area you want to cut. Press play and the grey playhead will jump to the beginning of the section you marked and play it for you so you can make sure it’s what you want to cut. Review and adjust the handles as needed.
To cut the section, click the Cut button with the scissors icon. (Control X) Review the section one more time to ensure you like the cut. You will see a stitch mark where you made you cut.
These small cuts may not seem like much, but when you do this throughout a 32-minute film, you may end up with a 20-minute film that’s much more watchable.
Adding Transitions to Video in Camtasia
One of the other things that you might want to do to make your video even more watchable is to create some transitions between scenes or clips. To do this, bring the playhead back to the stitch mark where you made your cut, and zoom in to make sure you’re right on top of it. Click the video to select it so that Camtasia knows this is the content you are working on. In the menu on the left, click to select Transitions.
There are many to choose from, however most people don’t really enjoy watching lots of wild crazy transitions. It can actually make them feel seasick. It’s better to go with something simpler and smoother. The whole point is to make it enjoyable and watchable for your family members. I really like Fade, and Fade to black. You can add these to your Favorites bin by clicking the Star. That will save you time, so you don’t have to dig through all of the Transitions every time.
- Use Fade when cutting within the same scene or clip.
- Use Fade to black when cutting between two different scenes or clips.
Place the playhead on the stitched cut, and then click the Split button. Now you can drag the transition onto that spot on the timeline. Camtasia will create a standard-length transition, but you can adjust it by dragging the transition. Move the playhead to a spot just before the transition and press play (or tap your keyboard’s space bar) to review it.
You can change the transition by dragging and dropping a different transition onto it. It will turn red indicating that you are changing it.
Camtasia Undo / Redo
You can undo or Redo in the menu at the top of the screen under Edit.
How to Create a Video Clip
If your film is a hodge-podge of different scenes or a mix of TV shows and home movies (like some of my VHS tapes were) then you’ll want to create clips of just the sections you want so that you can use them in another project. It’s easy to Produce / Export clips from your full-length video without creating a new project.
How to create a clip:
- Zoom in on the desired area
- Drag the green and red playhead handles to identify the desired clip.
- Right-click on the area and select Produce As
- This brings up the Camtasia production wizard. Select the desired production size. In other words, you can export the clip at any resolution you choose. It doesn’t have to be the same as your project size that you selected when you started.
- Name the clip and save it to the desired location on your computer hard drive.
- Click The clip will display on your screen when it’s done.
Additional Content that can be Added to Your Home Movies
Music and Audio files
You can import audio files such as MP3 and WAV into your media bin and then drop them onto a new track in your project. These files can be edited much like you edit video. You can get free music MP3 files from YouTube. Sign in with a free YouTube (Google) account, click on your account icon in the upper right corner of the screen and select YouTube Studio. In the studio, scroll down the menu on the left side of the screen and select Audio Library. Here you can search for and download music tracks.
Voice Narration
If you have a microphone hooked up to your computer you can narrate all or just sections of your home movie. This is a great feature particularly when working with older silent home movies. Select Voice Narration from the menu on the left, and then click the Start Voice Recording button. The recorded narration will appear on a new track on the timeline. You can even write your script and then copy and paste it into the Voice Narration tool.
Annotations
Annotations are a great way to provide more information about what the viewer is watching. For example, you can add text boxes to the video. Choose from a wide range of annotations. Drag and drop the annotation on the timeline. Drag the edges of the annotation to make it the desired length. Click on it to select it and then you move it anywhere on the timeline. When selected, you will see the annotation Properties on the right side of the screen which allow you to customize it. (Font, color, line thickness, etc.)
Our final step here is going to be to export this video. Now, clearly, I haven’t finished on my editing, I’m going to finish up my editing and we’ll come back and we will export the video as a finished cleaned-up film.
Step 4: Save and Export (Produce) a Video in Camtasia
After my initial clean up my 32-minute video is now 19 minutes and four seconds. I’ve saved my family from 12 minutes of video that just wasn’t worth watching and might have gotten them discouraged about watching home movies.
Now it’s time to save your work. In the menu go to File > Save As. Hopefully, you have already created a folder on your computer where you know you’re going to keep your project and all your content. That way, you can work on it again later if you want to make more changes or export more clips.
Next, we’re going to produce the actual edited film. Another way to say it is that we are going to export the edited video. In the menu go to Export and then select where you want to send your video. You can upload directly to locations such as Vimeo or YouTube or Google Drive. If you want to export to your computer select Local File. You will again get the wizard. The wizard is going to remember the last export you did, so be careful to review that and change it if desired. Select MP4 and then click Next and select the folder on your computer and click Finish. Depending on the size of your video, it may take several minutes to render.
Edit Your Home Movies: Wrap Up
I hope that helps you feel empowered to get started editing your home movies. It’s really worth doing and it doesn’t have to be that time-consuming. The trick is to just set aside a little bit of time every week and start doing it right away because they’re not doing anybody any good sitting on your computer where they can’t be seen. Let’s get him out in front of our family and share that family history.
Resources
Downloadable ad-free Show Notes handout for Premium Members.