Episode 197
 Episode 197
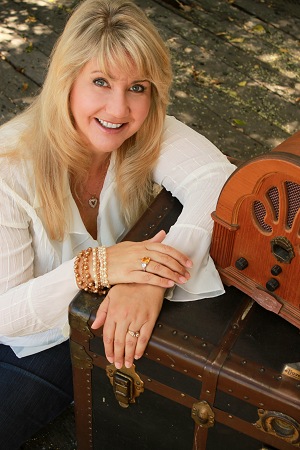
with Lisa Louise Cooke
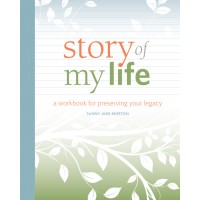
This episode celebrates the most recent family history there is: our own. A chat between host and producer Lisa Louise Cook and Gems editor Sunny Morton explores the meaning and memories behind heirlooms hanging in Lisa’s bedroom. They comment on the larger value, for self and others, of recording our own memories in honor of Sunny’s new book, Story of My Life: A Workbook for Preserving Your Legacy.
Also in this episode:
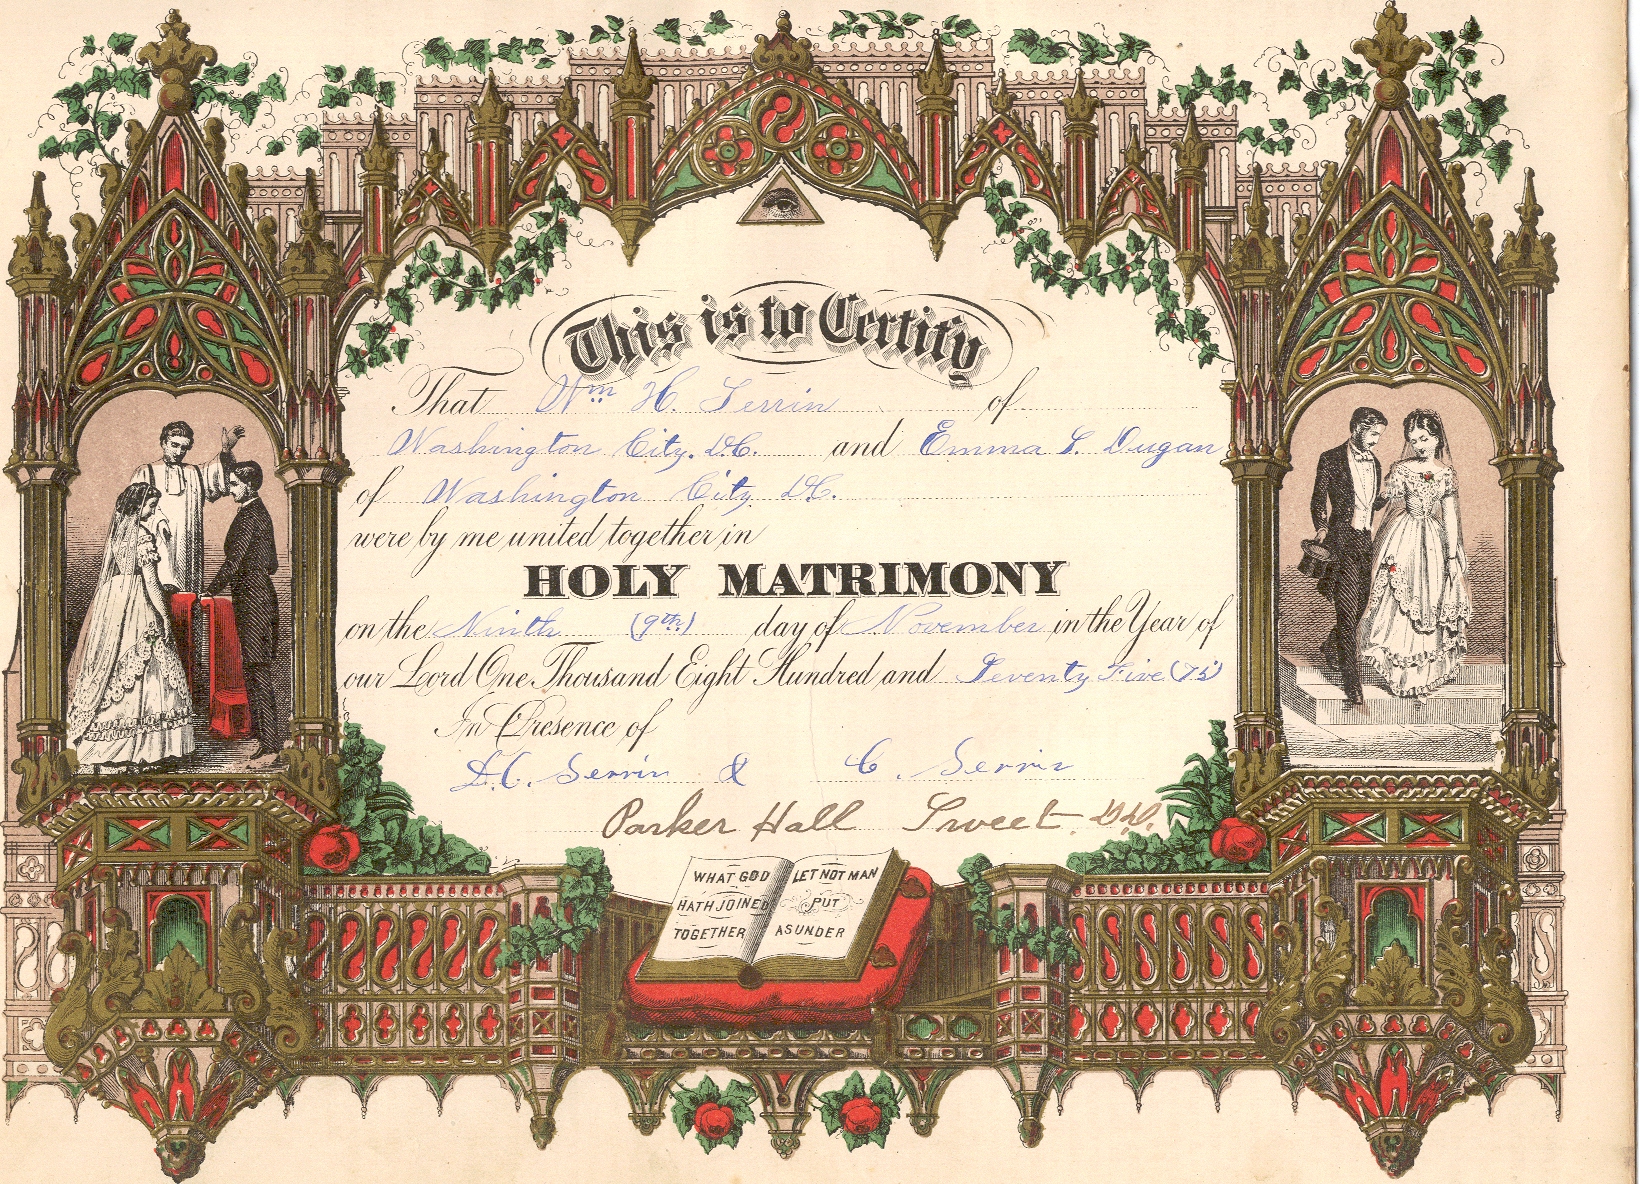
- A spotlight on new marriage records online for the U.S. and around the world.
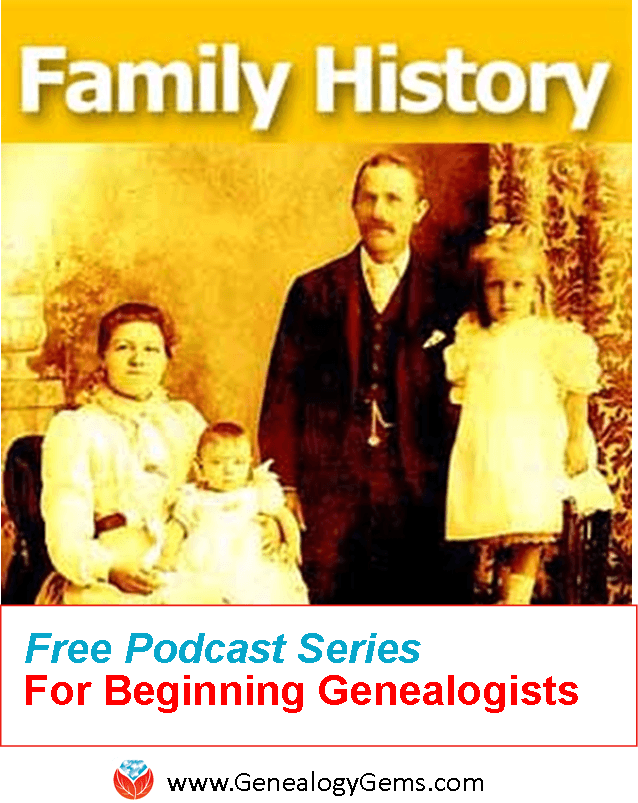
- Lisa walks a listener through several tips for learning more about her immigrant ancestors (a mother and daughter). Lisa shows how to use today’s technology tools to help with traditional research skills such as locating passenger lists, immigrant society records and naturalization.
- Your DNA Guide Diahan Southard talks about organizing your DNA matches so you can get the most out of them.
- Genealogy Gems Book Club featured author and Victorian lifestyle expert Sarah Chrisman describes what it’s like in her home–which doesn’t use electricity–as the days grow shorter and the darkness comes earlier.
NEW RECORDS ONLINE: Marriage Records
New York City Marriages: a new index to more than 3 million marriage licenses for recent New York City marriages (1950-1995)
Free FamilySearch marriage record collections recently added or updated include:
- Arkansas Church Marriages, 1860-1976
- Nebraska, Box Butte County Marriages, 1887-2015
- Ohio, County Marriages, 1789-2013
- Tennessee, County Marriages, 1790-1950
- Washington, County Marriages for 1855-2008
- Washington, Marriage Records, 1854-2013
- California, County Marriages, 1850-1952
- New Zealand, Civil Records Indexes, 1800-1896
- Belgium, Antwerp, Civil Registration, 1588-1913; Belgium, East Flanders, Civil Registration, 1541-1914; Belgium, Liège, Civil Registration, 1621-1914; Belgium, Limburg, Civil Registration, 1798-1906
- Nicaragua Civil Registration, 1809-2013
- Russia, Tatarstan Church Books, 1721-1939
- Argentina, Cordoba, Catholic Church Records, 1557-1974
- Sweden, Gävleborg Church Records, 1616-1908; index 1671-1860
Learn more about marriage record research: Listen to Using Marriage Records in Family History: Episode 24 in Lisa Louise Cooke’s free step-by-step podcast, Genealogy: Family History Made Easy.
BONUS CONTENT for Genealogy Gems App Users: Finding Copies of Images Online with Google on Your Mobile Device
If you’re listening through the Genealogy Gems app, your bonus content for this episode is an exclusive step-by-step tutorial PDF that shows you how to use your mobile device and Google to locate copies of images online. Remember, the Genealogy Gems app is FREE in Google Play and is only $2.99 for Windows, iPhone and iPad users.
MAILBOX: Finding a Female Immigrant Ancestor
 Question from Jo: “I have been fortunate to find information about most of my great-grandparents. I have hit a wall with my maternal great grandmother who immigrated from Switzerland to the US in the 1880s when she was 8 years old. I was hoping that by upgrading to International records on Ancestry that I could find the ship and where she and her mother came from. The curious thing for me is that she and her mother traveled solo to the US and went to Cincinnati, Ohio. I’ve been to Cincinnati and have searched there and have found directories with addresses but no profession is listed like other people. I didn’t find any ship records either. Where might you suggest that I look or search to find more information?”
Tips for searching passenger arrival lists:
Consider what ports would have been the most logical point of arrival for an immigrant ancestor based on the time period and the U.S. location in which you find them. Cincinnati, Ohio, was reachable by rail by the 1880s from major ports, as well as by water via the Mississippi River for southern ports, so that doesn’t narrow things down much. According to an Ancestry.com article, more than 80% of immigrants arrived at the Port of New York by the 1890s, so Jo might scrutinize those New York passenger arrival lists for the 1880s again.
Free New York City passenger arrival databases at
- Castlegarden.org
- Major U.S. Immigration Ports (Ancestry.com)
- New York, Passenger Lists, 1820-1957 (Ancestry.com)
- New York Passenger Lists, 1820-1891 (FamilySearch.org; New York City, NARA M237)
- New York Passenger Lists & Arrivals, 1846-1890
Search multiple NYC passenger lists simultaneously at Steve Morse’s One-Step web portal
For “deeper” searching at Ancestry.com or other sites with powerful, flexible search interfaces: do a “nameless search” (without any name) for girls around age 8 for arrivals in particular years. Try additional searches with various combinations of name, place of origin (Switzerland) or “Swiss” in the keyword field, which will bring up that word in the ethnicity or nationality column. That column doesn’t have its own search field in Ancestry.com but it is indexed, so use the keyword field to search it.
Research Swiss immigration to Cincinnati during that time period. Who was coming, why they were coming and where they were coming from? Click here for free tips about researching historical questions such as these.
The Swiss in the United States at Internet Archive
Swiss-American Historical Society and Swiss Center: Genealogy
Tips for researching records of immigrant societies:
In the U.S., the time between an immigrant’s arrival and naturalization is often documented in records of ethnic organizations such as fraternal benefit societies, immigrant aid and colonization societies. These kinds of community groups often existed in cities and towns where specific immigrant groups had a strong presence.
- Germans in Hamilton County, Ohio (FamilySearch wiki)
- Finding aid for the Swiss Benevolent Association (Cincinnati, Ohio) records, 1871-2011
- Swiss Benevolent Association, Cincinnati, OH
- Cincinnati Library’s Genealogy and Local History Department
- Hamilton County Genealogical Society
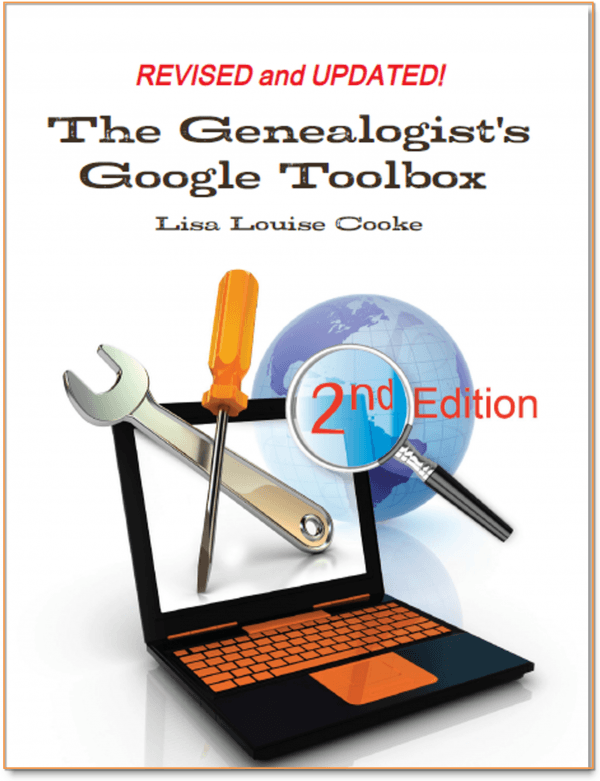 Become an expert Google searcher (for genealogy and everything else you want to find online) with The Genealogist’s Google Toolbox, 2nd edition, by Lisa Louise Cooke. Or click here to get started with basic Google search strategies you can use now.
Tips for researching naturalizations:
Naturalization records from that time period won’t reliably tell you where an ancestor was from. But they’re still worth looking for, especially if census or other records indicated that the person naturalized.
When looking for women’s and children’s naturalization records, remember that during this time period, they automatically became naturalized if their husband or father did, so individual records for married women and minor children won’t exist under their own names. But a woman could apply on her own, too. Click here to read a free article on women’s naturalizations.
Learn more in a free, 3-episode series on immigration and naturalization records: episodes 29-31 in the free, step-by-step Genealogy: Family History Made Easy podcast.

Lisa Louise Cooke uses and recommends RootsMagic family history software. From within RootsMagic, you can search historical records on FamilySearch.org, Findmypast.com and MyHeritage.com. In the works: RootsMagic will be fully integrated with Ancestry.com, too: you’ll be able to sync your RootsMagic trees with your Ancestry.com trees and search records on the site.
![]() Keep your family history research, photos, tree software files, videos and all other computer files safely backed up with Backblaze, the official cloud-based computer backup system for Lisa Louise Cooke’s Genealogy Gems. Learn more at http://www.backblaze.com/Lisa.
Keep your family history research, photos, tree software files, videos and all other computer files safely backed up with Backblaze, the official cloud-based computer backup system for Lisa Louise Cooke’s Genealogy Gems. Learn more at http://www.backblaze.com/Lisa.
INTERVIEW: Sunny Morton on recording your own life stories
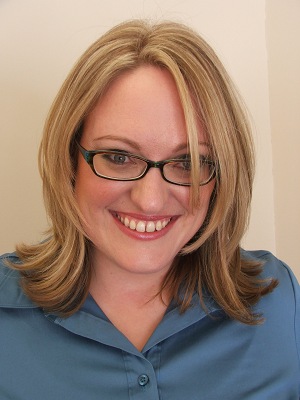
“Some people about writing their life stories like I do about going to the gym. I put off going, but once I do I remember how much I enjoy it?and how much good it does me.” -Sunny
Story of My Life: A Workbook for Preserving Your Legacy available as a writeable PDF ebook or as a full-sized softcover workbook
GENEALOGY GEMS BOOK CLUB: Sarah Chrisman
![]()

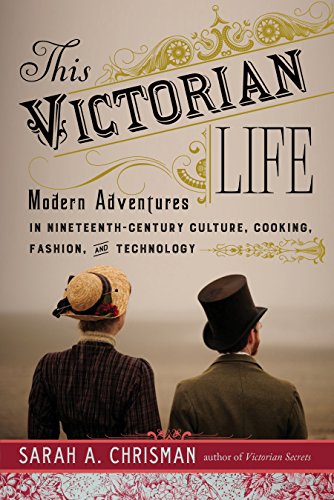
Featured Genealogy Gems Book Club author Sarah Chrisman describes what it’s like when the days get shorter and the darkness comes early?in a house without electricity.
 Legacy Tree Genealogists provides expert genealogy research service that works with your research goals, budget and schedule. The Legacy Tree Discovery package offers 3.5 hours of preliminary analysis and research recommendations: a great choice if you’ve hit a brick wall in your research and could use some expert guidance. Click here to learn more.
GENEALOGY GEMS EXCLUSIVE OFFER: Go to www.legacytree.com/genealogygems and use coupon code SAVE100 with your purchase of research services.
![]()
MyHeritage.com is the place to make connections with relatives overseas, particularly with those who may still live in your ancestral homeland. Click here to see what MyHeritage can do for you: it’s free to get started.
DNA WITH DIAHAN SOUTHARD
Parents spend a good portion of their parenting time ferreting out the real story from their children. One time when Henry was in Kindergarten he was playing outside with another little boy. I was in and out of the house watching him and checking on other things. Hours later I noticed that his bike had been spray-painted black. When confronted, he claimed he had no idea how such a thing could have happened. Unfortunately, I jumped to conclusions and blamed the other kid (you have to give me credit, at six Henry was such a good boy and had such an angelic face with his blue blue eyes and blonde blonde hair). But as I was on the phone with my husband telling him about the issue I looked over at Henry and I saw it- that guilty look and my stomach sank, recalling the things I had said to the other boy’s mom. “I’ll have to call you back,” I told my husband.
As genealogists, we spend our time trying to ferret out the real story from our ancestors, or at least from the records they left behind, because they’re not sitting in front of us with guilty looks on their faces. We are constantly checking family stories against, say, the information on a census record, then comparing it to the family will, then making sure it all agrees with what’s in the military records. And even if we have total agreement, which isn’t always, more information often comes along, like in the form of DNA testing, and we may find even more apparent discrepancies.
I recently read an article in the Wall Street Journal about a reporter, Cameron McWhirter, who talks about finding just that kind of discrepancy between his family lore and his DNA. He even goes so far as to say, “I am descended, at least partially, from liars.” And he makes the point that “many immigrants reinvented themselves when they arrived here (the United States),” which could be a nice way of saying they had a chance to INVENT a new legacy, not just reinvent it. His assessments are certainly interesting, and worth reviewing, to help us see how DNA testing can affect the way we look at family stories and traditional research results.
McWhirter may be the classic modern genealogist, never having set foot inside a courthouse or scanned through microfiche, relying instead entirely, he reports, on internet research. Now before you roll your eyes, just stop for a minute and appreciate how exciting this is. Here is a man who never gave his family history a second thought, yet because of the death of his parents started to tinker around a bit, and then due to the large volume of information online “was quickly pulled into the obsessive world of modern genealogical research.” I say, score one for the genealogy world!
What he found was that while his dad was proudly and solidly a self-proclaimed Scot, the records and DNA revealed his heritage was actually from Ireland and eastern Europe. McWhirter says that his “father hated Notre Dame, but judging by my results he could have been one-quarter to one-half Irish. He spoke dismissively of people from Eastern Europe, but part of his genetic code likely came from that region.”
McWhirter’s evaluation of his genetic report includes only his ethnicity results, which as you can hear, were meaningful to him in the way they flew in the face of his father’s prejudices and assertions of his own identity. But the ethnicity results fall short of the point of testing for most genealogists. He might even more powerfully transform his sense of family identity if he took a look at his match list and saw an actual living cousin, for example, a third cousin perhaps who was also descended from his German great-grandmother, who maybe never mentioned that she was also Jewish.
Connecting with other cousins who also have paper trails to our ancestors serves to provide further confidence that we have put all of the pieces together and honored the right ancestor with a spot on our pedigree chart. It’s like we multiply our own research efforts by finding more people like us?literally?who are descended from the same people and interested in finding them. As long as they’re as diligent in their research as we are, of course.
At a recent conference I met a 5th cousin. Even with a connection that distant it was exciting, and it made we want to look again at our connecting ancestors and pause for just a minute to marvel how my DNA verified my paper trail back to them, and that part of them was around, in me, and in my new cousin. To me, THAT’s a bigger picture I want to see?when the paper trail comes together with the DNA trail and turns into real live cousins, even if they turn out to be a little different than the stories and sense of identity that were handed to us when we were young.
Maybe you’re something like Cameron McWhirter: you’ve taken a DNA test, been intrigued (or disappointed) by the ethnicity results, but haven’t yet fully explored all your matches on your list.  I’m telling you, you may be seriously missing some opportunities. If that’s you, I may actually have written my new DNA quick guide just for you. It’s called “Next Steps: Working with Your Autosomal DNA Matches.” This guide will teach you how to leverage the power of known relatives who have tested. You’ll get an intro to chromosome browsers and their role in the search process, and access to a free bonus template for evaluating the genealogical relationship of a match in relationship to the predicted genetic relationship. This guide also gives you a methodology for converting UNknown relatives on your match list into known relatives, which is what we’re going for here.
 So check it out, either as a solo purchase or as part of my Advanced DNA bundle.
*Update: The Next Steps guide has been replaced with Breaking Down Brick Walls with DNA.
PROFILE AMERICA: Lights Out
PRODUCTION CREDITS
Lisa Louise Cooke, Host and Producer
Sunny Morton, Editor
Amie Tennant, Content Contributor
Vienna Thomas, Audio Editor
Lacey Cooke, Additional Production Support
FREE NEWSLETTER:
Subscribe to the Genealogy Gems newsletter to receive a free weekly e-mail newsletter, with tips, inspiration and money-saving deals.

Disclosure: This article contains affiliate links and Genealogy Gems will be compensated if you make a purchase after clicking on these links (at no additional cost to you). Thank you for supporting Genealogy Gems!