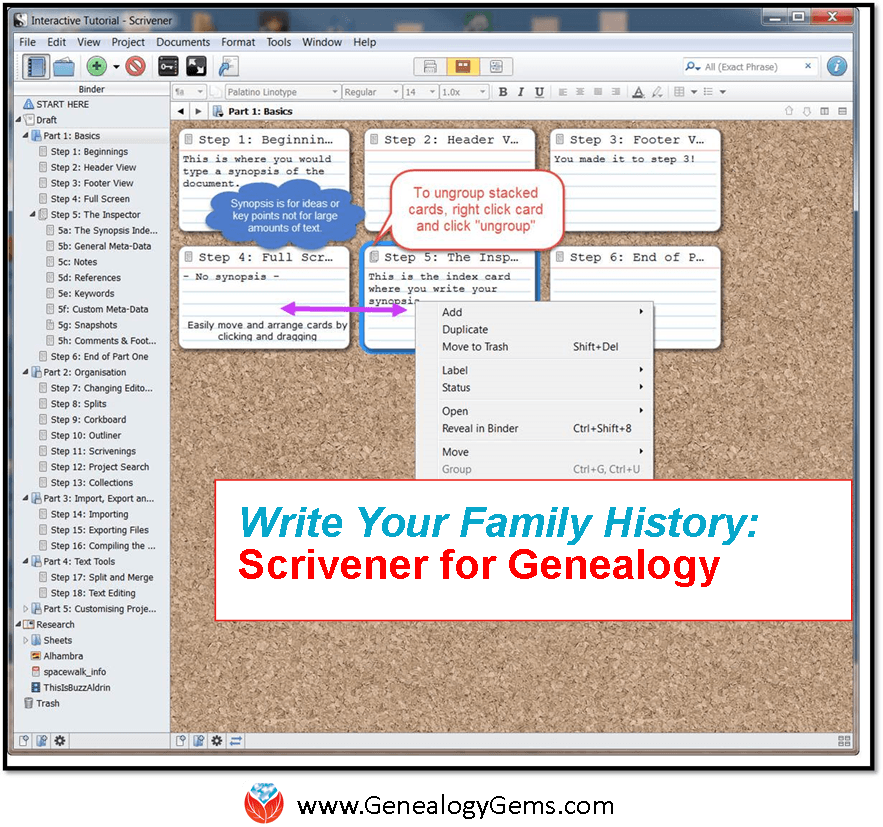
Scrivener software may be just what you need to write up your family history writing. Genealogist Lisa Alzo shares 4 steps for getting started.
What is the Scrivener Software Program?
Scrivener is a software program that offers templates for screenplays, fiction, and non-fiction manuscripts. After composing a text, you can export it for final formatting to a standard word processor or desktop publishing software.
Scrivener is much more than a word processor. Thanks to the wide range of interfaces and features it offers, it is valued as a project management tool for writers.
It’s little wonder that Scrivener has grown in popularity with family historians who want to tell their ancestors’ stories. Genealogical information can become unwieldy at times. Scrivener makes it much easier to organize your material and write.
At RootsTech 2016, Lisa Alzo introduced Scrivener to fascinated audiences in the Genealogy Gems demo theater in the Exhibit Hall. I invited her to follow up by sharing Scrivener for genealogy with you, too. Here’s what she has to say.

“It is no secret that I am an avid user of Scrivener, a multifaceted word processor and project management tool. I have been using this program for all of my personal and professional writing projects since 2011.
Here are four steps to get up and running with Scrivener so you can use it to organize and write your family history:
1. Download Scrivener
Scrivener is produced by Literature and Latte and is available for purchase for use on Mac ($45) and Windows ($40). (Pricing as of the writing of this article.) There is also a 30-day free trial available.
Double click the Scrivener “S” icon on your desktop to open the program.
Before you start your first project, take a few minutes to review the Scrivener manual for your and watch the helpful interactive tutorials.
2. Start your first project
Go to File and New Project.
The New Window allows you to choose from different project templates.
I highly recommend starting with the “Blank,” which is the most basic and creates a simple project layout you can build upon and customize later.
The “Save As” box appears for you to give your project a name (e.g. Alzo Family History) and tell Scrivener where you would like to save your project (e.g. a desktop folder, or you if you are a Dropbox user you can easily save your projects there so that you can easily access them from another computer or laptop). You will not be able to continue until you save your project.
TIP: Start small!
Begin with a smaller project like an ancestor profile or blog post rather than attempting to write a 200-page family history book your first time in.
3. Plot, plan, and outline away!
Whether you are a visual writer who likes to storyboard, or if you prefer text outlines, you can use Scrivener your way. When you start a new blank project, you will be see the “Binder” (located on the left-hand side), which is the source list showing all documents in the project.
 By default you’ll see three folders:
The “Draft” board (called “Manuscript” in other Scrivener templates) is the main space where you type your text (you can compile everything in that folder for printing or export as one long document later on).
The Research folder is where you can store notes, PDF files, images, etc. (not included in your final compiled document). The Trash folder holds any deleted documents until you empty. You will have one Untitled Document showing.
Simply add a title and then start typing. You can move sections around by dragging and dropping.
Click the green plus sign (+) icon to add files or folders.
Scrivener also lets you import files that you already have prepared in Microsoft Word or text based formats.
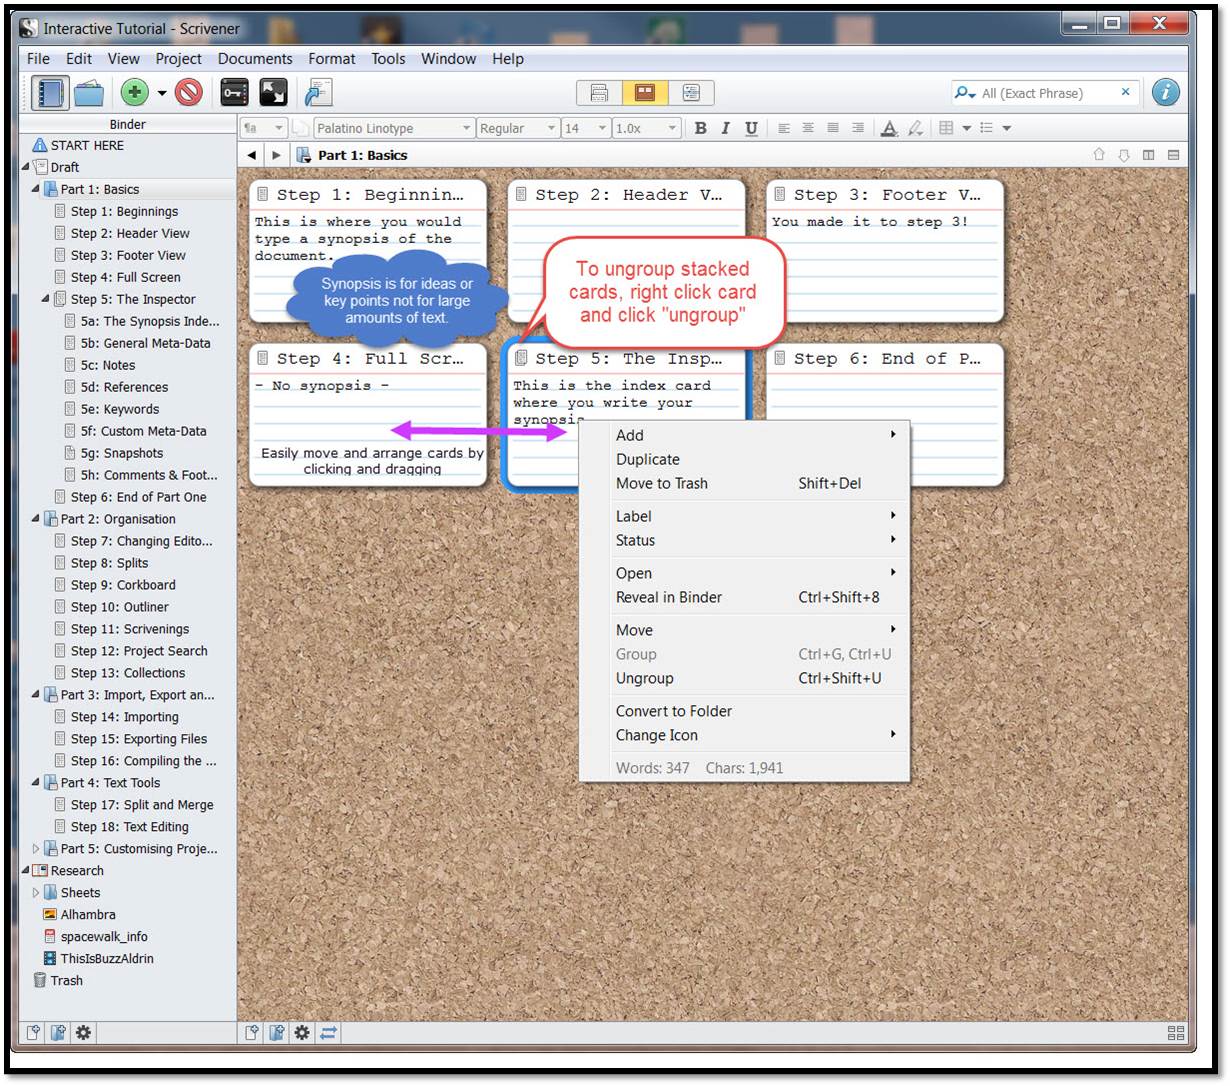
As you work, Scrivener allow to easily “toggle” between its key modes:
- Corkboard (where you can summarize on “virtual index cards” the key points you want to cover—the virtual cards can easily be arranged in any order you like);
- Outline (use it if you prefer to control the structure of your work; and
- Scrivenings (this mode temporarily combines individual documents into a single text, allowing you to view some or all documents in a folder as though they were all part of one long text).
- There is another pane called the “Inspector” that offers additional features to help you manage your project.
4. Finalize your project
The true power of Scrivener resides in its “Compile” feature. (Compile is just a fancy term for exporting your project into any number of final formats—print, eBook, Kindle, PDF, etc.). With Compile you specify what Scrivener does/does not include, and how it should look. Mastering Compile takes some practice, so you should refer to the Scrivener tutorials and forums for guidance.

Want even more Scrivener secrets? Pick up a copy of my Scrivener for Genealogists QuickSheet (available for both Mac and Windows versions). Visit my website to watch the free video “Storyboard Your Family History with Scrivener” and to sign up for my Accidental Genealogist Newsletter.”
Thanks for the post, Lisa Alzo! I’d love to hear from you if Scrivener works for you.
More Gems on Writing Family History
WHY and HOW to Start a Family History Blog