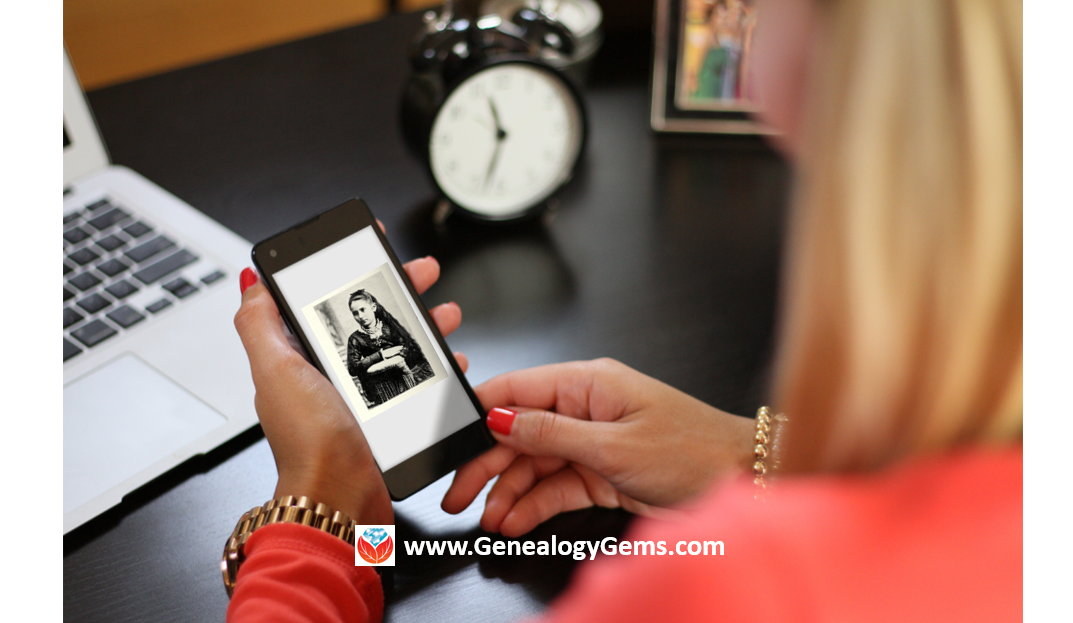
Using your mobile device for genealogy is a great idea, but with that convenience takes some additional know-how. Back-up your mobile device images in a few simple steps and you’ll never say, “I lost my photos on my phone!”
“I lost my photos on my phone!!”
This is NOT what you want to hear from a dear friend who is also a genealogist. So my heart sank when Genealogy Gems Contributor Amie Tennant’s email dropped into my inbox.
Amie wrote:
“I spent 6 hours researching at a cemetery and archives in a far away location. You won’t believe this, but when I got home I realized my smartphone wasn’t working. I had taken all the tombstone images with it, all the document copies were made with it, all my notes were on it. And I hadn’t even had time to back it up.”
That’s the problem, unless you back up as you go, you can’t be sure that just an hour later it won’t all be gone. These days you’re more likely to snap photos of records with your phone than a camera. But with that convenience comes the need for a new game plan to keep those precious images safe.
Back-up Your Mobile Device Images: The Plan
I put together an immediate email to Amie with a restoration and preservation game plan. If, like Amie, you are using your smartphone and mobile devices more and more, you’ll want to put this plan into place too.
First, I advised Amie to visit her phone store (for example, The Apple Store if you have an iPhone) and see if they could retrieve the lost photos and data. You never know unless you ask!
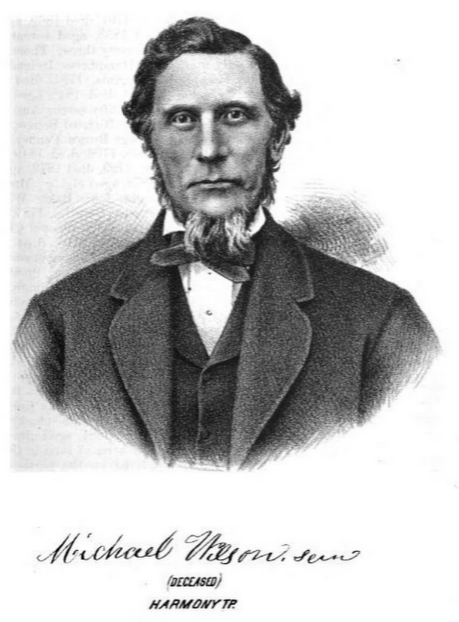
Image of Amie’s 4th great-grandfather she was able to retrieve.
Next, it’s important to consider automatic back-up options. Automatic back-ups are great, which is why I love BackBlaze. But BackBlaze is back up for your computer. The BackBlaze app on your phone only gives you access to those computer files, and doesn’t back up your phone.
One option is to back-up manually as you go. In other words, as soon as you snap that image of a record, save it to a Cloud storage service such as Google Drive or Dropbox. You could even activate Cloud back-up so that it happens automatically, though with the size of image files, you would likely need a paid subscription service to allow for adequate storage space. However, if you are going to continue to use your phone as a genealogy tool, it may be well worth the investment. Let’s look more closely at these two options:
Free Manual Option: If cost is an issue, you can save your photos to a free Dropbox account at the time you take the photo, and then move to more permanent storage on your computer at a later time.
1. Take the photograph
2. Tap the photo in my iPhone’s Photos app
3. Tap Edit and do a quick edit to clean it up (improve contrast, rotate so that it is right side up, crop to get as close-up as possible)
4. Tap Done to close the editor
5. Tap the Share icon and tap Save to Dropbox
6. Select the folder in Dropbox where I want to save the image and tap Save
However, it would definitely be faster and simpler to have your phone automatically backing up to the Cloud.
Low Cost Automatic Option: If your phone is going to be one of your genealogy tools, then automatic cloud back-up may be worth the low cost of around a dollar a month.
Personally, I am not a fan of iCloud even though I have an iPhone. I just don’t find it very user friendly to work with. Setting up your photos and videos to automatically back up to your Google Photos library via Google Drive is another option. Again, since photos and videos do take up a lot of space you’ll likely need to invest in a low cost monthly storage plan. Click here to learn more, or Google search Google Drive Plan Cost (or substitue the name of the service you are considering)for current plans.
Bottom line: There are several Cloud services available for our smartphones and mobile devices, so there’s sure to be one that’s right for you. Where ever your images find their final resting place, make sure it has Cloud back-up.
Amie’s Response to the Plan
I quickly sent the plan to Amie. She responded by saying:
“Thank you, Lisa! It was devastating. You were right, a nice man at the phone store was able to restore them! But, I don’t ever want to have this happen again. When I set up my new phone, a Samsung Android, I noticed a setting that said something like “automatic save to Google drive” and it would sync your images. So I clicked it “on” but now I can’t find where I did that! Any ideas?”
Troubleshooting Backing-up Your Mobile Device
When people shoot me a question, my usual response is “Just Google it!” I Googled Automatic backup of android phone and got several great hits on the results list.
One article on Android Fact.com was particularly helpful. (Read the full article here.) Remember, it can get pretty expensive to be instantly uploading images with your cell phone carrier. I suggest clicking Wi-Fi Only to ensure that uploading only takes place when you are connected to Wi-Fi.
I regularly emphasize backing up important documents that live on your computer. But let’s face it: If you have a smartphone, it would be oh, so sad to have to say “I lost my photos on my phone!” So don’t wait—back up your smartphone or mobile device today.
Smartphones and other mobile devices offer a plethora of editing tools. It is well worth the investment of a few extra seconds to clean up and maximize images as you go. This is particularly true of records that need to be clear for future reference or printing.
Try applying a filter to your images for maximum readability. I like the Noir filter in my iPhone’s Photos app editor.
In this blog and video series I’m showing you how you can create captivating videos about your family history quickly and easily with Animoto.
In the First Episode
In episode 1 we laid a foundation for the family history video that you are going to create. Doing this will save you time and ensure a cohesive, well-told story. We also:
defined your audience
identified and outlined the story that you want to tell
collected the content that you will include in your video
If you missed episode 1, you can watch it below:
Get a Free Animoto.com Account
The first thing to do is to go to Animoto here and sign up for a free trial account, which gives you the full power of Animoto Pro. No credit card is required. This trial period is the perfect opportunity to test drive Animoto and see just how easy it is to use. As I’ve said before, if you can click, drag, and drop, you can make videos with Animoto.
The videos you create during the trial will be watermarked, but still downloadable and shareable. If you decide to use Animoto beyond the trial period, there are several pricing plan options. You can purchase as little as one month for around $16 (check their site for current pricing). If you’ve done your prep work like we did in episode 1, you can create several videos in that time period.
OK, I know you’re anxious to get going, so let’s create a video!
Create!
It’s super easy. Once you’re signed into your account, click the Create button.
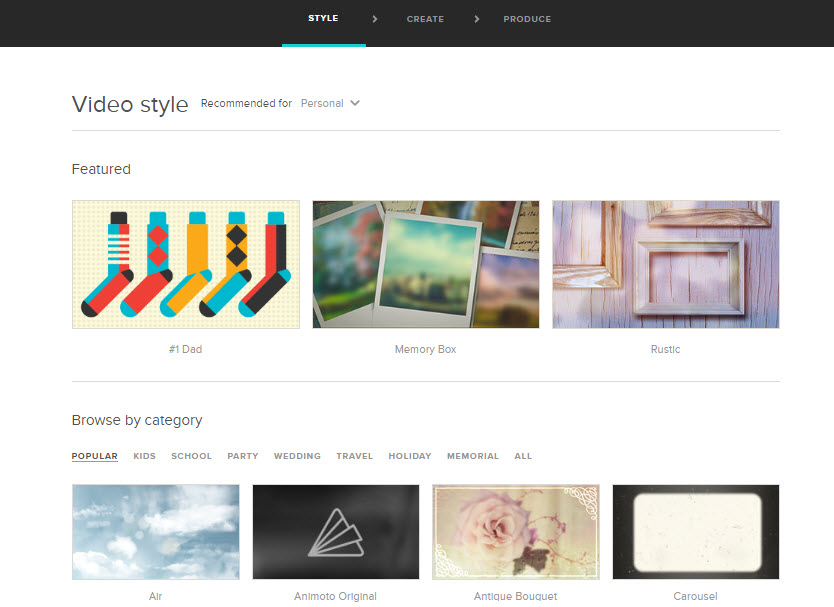
Style
First up, select a style that fits your story. Here are some of my favorites for family history:
Memory Box
Antique Bouquet
Remembrance
Vintage Voyage
Rustic
You’ll notice that some styles have a Premium banner. Those require a Premium subscription. However, if you’ve opted for a Personal level subscription you still have lots of wonderful styles to choose from.
Click on a style that catches your fancy and watch a preview of what it will look like. When you find the one you want, click the Create Video button on that style page. This will load the Video Creator.
Music
The style you chose will include a song, but you can change that if you want to. To select a new song, click Change Song, and you can pick a song from the Animoto library.
You can also upload your own music mp3 file from your computer. (Remember to keep copyright in mind, and make sure you have the rights to use the song.)
But wait, you can add more than music! You can also upload an audio file, such as a family history interview, or even an mp3 file that you created that includes both music and words.
Adding Pictures & Video
Now it’s time to add your photos, images, and video clips. Of course that’s easy because in episode 1 of this series you created an outline for your story, and you copied the files you wanted to use to illustrate that story into a folder on your computer. So you’re all set to go!
There are two ways to add files. From the menu, click AddPics & Vids, or on the timeline click the plus sign in the empty box. In the pop up window you’ll find lots of options for imagery, including stock photos from Animoto. But for now, let’s add the images you put in the folder on your drive (see episode 1).
Under Your Computer click Upload Pictures and Video. Navigate your way to your content folder on your computer’s hard drive. Click to select the first image, and then you can select them all by holding down the shift key on your keyboard, and clicking the last image in the folder. Press Enter on your keyboard to add them to your project.
You can rearrange the order of your images and videos by dragging and dropping them with your mouse. If you decide to eliminate an image, simply click to select it and from the menu click Delete.
Text
Next, we’re going to add text to your videos, creating title cards. Again you can do this from the menu, or just click the plus sign in the empty box on the timeline, and then click Add Text.
In the pop up box you’ll type a title (or the main text) and then you have the option to add a subtitle. This is where the outline we created in Video 1 comes in so handy! When you’re done, click Save. And don’t worry because you can always go back and change any text at any time.
Title cards are great for the beginning and ending of your video and also for transitioning to different parts of the story.
Simply click and drag the cards into the order that you want them.
You can also add text captions to each of your images. Hover your mouse over the image and click Caption under the image. In the pop up window containing your image, click to place your cursor in the text area, type in the desired text, and then click Save.
Spotlighting an Item
You may have a few images or title cards that you want the “camera” to spend a little more time on, thereby spotlighting it. To create that effect, just click to the select the image or title card, and then click Spotlight in the menu. I particularly like to Spotlight title cards so that the viewer has plenty of time to read them.
Previewing
So let’s see how this looks so far, and to do that we’re going to click PreviewVideo. You can preview your video at any time during the production process.
A low resolution version of your family history video will be created in about 15 seconds. Then you can watch and see what little tweaks and changes you want to make. Click Continue Editing to head back to the timeline and keep working.
Next Steps
I hope you’re getting excited about your video projects. Next time we get together, we’re going to bring our projects down the homestretch and produce them into glorious shareable videos.
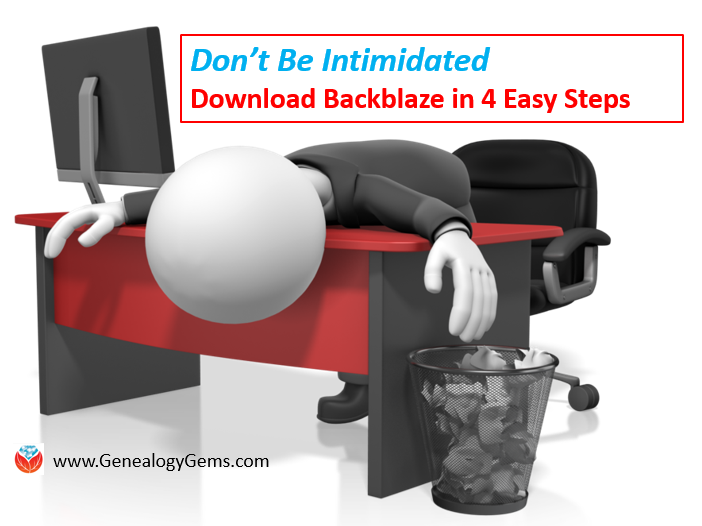
Don’t be intimidated by signing up for Backblaze, the cloud-based computer backup service I recommend.
Here’s how to download Backblaze in four easy steps. Protecting genealogy data, family photos, and other files is essential!
I was pretty startled when I discovered that the cloud backup service I used to use wasn’t backing up my video files! That was a deal-breaker for me. So, after reviewing other cloud backup service options, I chose Backblaze. I’m really glad I did. Backblaze runs 24/7 through my internet connection and is constantly saving changes I make to every file. That means if my computer is lost, stolen, destroyed, or hit with deadly viruses, I’ll always have copies of my files and that even includes my large video files!
Genealogy Gems Premium website member Kathy felt a little intimidated about downloading BackBlaze for the first time:
“I received your e-mail yesterday with all the helpful information. I remember you mentioning Backblaze in previous e-mails, and I looked up their website and read the information I could find. However, it did not show the download steps, so I could not tell how difficult it would be and if it would ask me really hard questions that I would not know how to answer during backup, so I didn’t subscribe.
I have had a few external hard drives with backup programs before and they were very difficult and I didn’t want to go through that again. But, I decided that today would be the day, that I would back up my computer…I subscribed to Backblaze. I trust your judgement, so thank you for your advice.”
Have you wondered, like Kathy did, if it would be complicated to set up Backblaze? Has it held you back from taking the leap to protect your files? I want you and our other readers and listeners to feel 100% confident in downloading this awesome back-up service. Here’s how to download Backblaze to your device in four easy steps.
You will be asked to create an account using your email address and choosing a password. Once you have clicked “Start Backing Up,” a pop up window will appear and you can download Backblaze to your device.
Next, another pop-up window will ask your permission to install Backblaze to your device. Click “Ok.”
Wait patiently. Yet another pop-up window will appear and ask you to “Install.” Click “Install Now.” It may take several minutes depending on the speed of your internet connection.
You have now installed Backblaze and the back-up process has begun. You can continue to use your device normally as all your data is backing up.
How to Schedule Your Back-up Time
It is quick and easy to set up a time for Backblaze to back-up your data. By clicking on “Settings,” and then “Schedule,” you have the pull-down menu options of a continuous backup (this is the option Backblaze recommends, and the one I chose,) a daily backup, or “when I click <back up now>.” Choose whatever option is best for you and then click “Apply” and “Ok” at the bottom of the window. You are all set!
A Crucial Aspect of Your Genealogy Research
So, why did Kathy want cloud backup service? She says:
In 2013, we had a house fire and we lost everything but the clothes on our backs. I lost 30 years of genealogy, all my records and my genealogy library, plus all the ancestral photos that can never be replaced. I did have a back-up system, but it burnt right along with my computer. At first, I thought I would never do genealogy again. I would never be able to replace all that I had lost. It was costly enough to order all the birth, death, and marriage records the first time. There was no way I could do it again. I bought another computer and a copy of Family Tree Maker 2012 and decided that I would just work on some of the families that I was most interested in. I have very limited resources now, but I am enjoying trying to rebuild little bits of my tree. Thank you for all you do for the genealogy community. It is greatly appreciated.
My heart aches for Kathy’s loss. I hear stories like her’s far too often. I truly believe that backing up our precious genealogy data is a crucial (and underutilized) aspect of family history research. I hope her story will help to encourage others to start backing up today. I am so happy that many Gems, like Kathy, are now using Backblaze.
After doing my homework, I was proud to bring Backblaze on as the official backup of The Genealogy Gems Podcast. Please get the word out there to your favorite genies that Backblaze is an effective and cost-efficient way to save us from loss of our most important data. They’ll be thanking you!
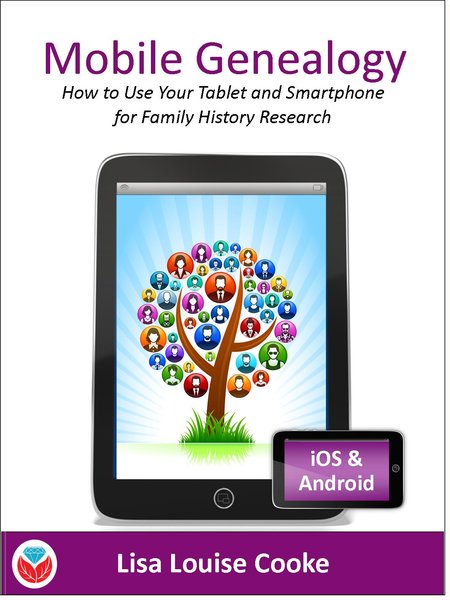 Here’s a another mobile computing tip my book Mobile Genealogy: How to Use Your Tablet and Smartphone for Family History Research.
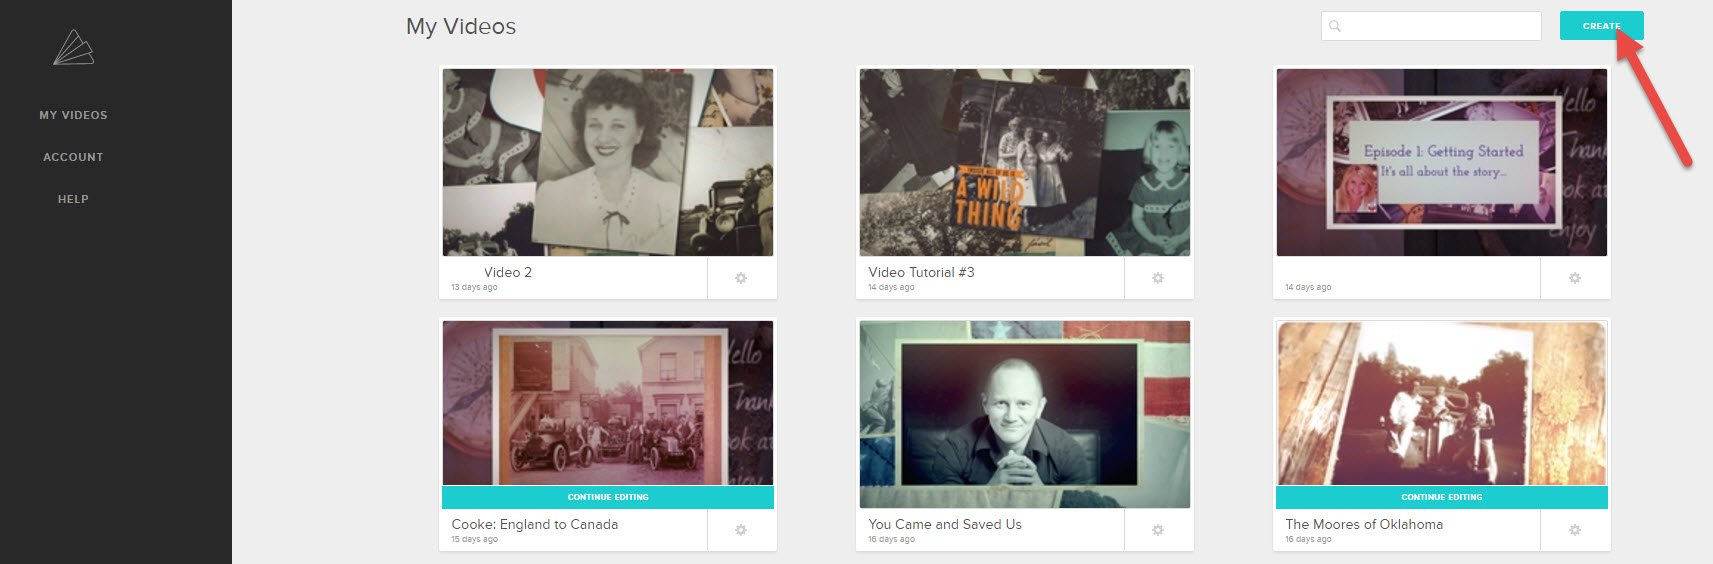
 Don’t be intimidated by signing up for Backblaze, the cloud-based computer backup service I recommend.

