The 1950 Census for Genealogy
Countdown to the 1950 Census – Show Notes
- the interesting and little known stories behind the 1950 census,
- what it can reveal about your family, (and who you will NOT find!)
- the important documents associated with it that you can access right now!
Get the HD version by clicking the gear icon in the video player.
1950 Census Show Notes Cheat Sheet
Premium Members have access to the ad-free downloadable show notes cheat sheet in the Resources section at the bottom of the page. Click here to become a Premium Member.
What You Can Learn About Your Family from the 1950 Census
The 1950 Census may be able to answer all kinds of questions for you such as:
- Where was your family living in 1950?
- Did you have American relatives living abroad?
- What did your relatives do for a living?
- What was their household income in 1949?
The 1950 census also stands out because it ushered in some new features and data collection improvements with the goal of providing more complete and accurate information than ever before.
This census can help you confirm information you already have about your family while also providing new facts and clues for further genealogical research.
So, let’s dig into the 1950 US census. Oh wait…we better hold our horses! The 1950 census isn’t available yet!
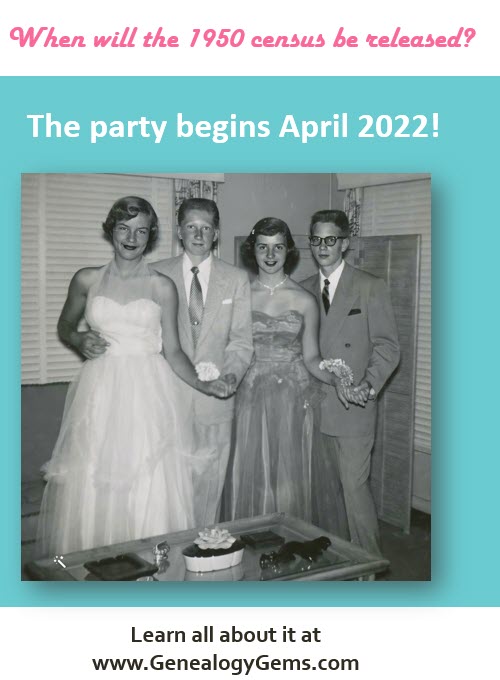
When will the 1950 census be released?
The official census day in 1950 was April 1. So as of April 2021 we are one year away from the release of the 1950 Census. However, it’s never too soon to get acquainted with this important genealogical record. There’s a lot we can do to get ready to research when it’s released by the National Archives in April 2022. That will be 72 years after the official 1950 census day.
So why don’t we get to see the 1950 census until 72 years have passed?
The “72-Year Rule” became law in 1978 (92 Stat. 915; Public Law 95-416; October 5, 1978). It restricts access to decennial census records to only the person named on the record or their legal heir.
Why is there a “72-Year Rule” for the Census?
It’s long been believed that the rule was based on the average life-expectancy at the time. However, that may not be the case at all. Letters at the National Archives dating back to 1952 from the census bureau director and the archivist of the U.S. support the rule, but don’t say what it’s based on. Joel Weintraub’s essay Why the 72 Year Rule for U.S. Census Privacy? proposes that the rule evolved for a variety of reasons when the National Archives was first created.
The bottom line: For now, we have to wait until 2022 for the 1950 U.S. Federal Census.
Who was counted during the 1950 census?
In addition to Americans living here in the States, for the first time Americans abroad were enumerated in 1950. This included:
- members of the armed forces,
- crews on vessels at sea,
- and employees of the United States government and their families living in foreign countries.
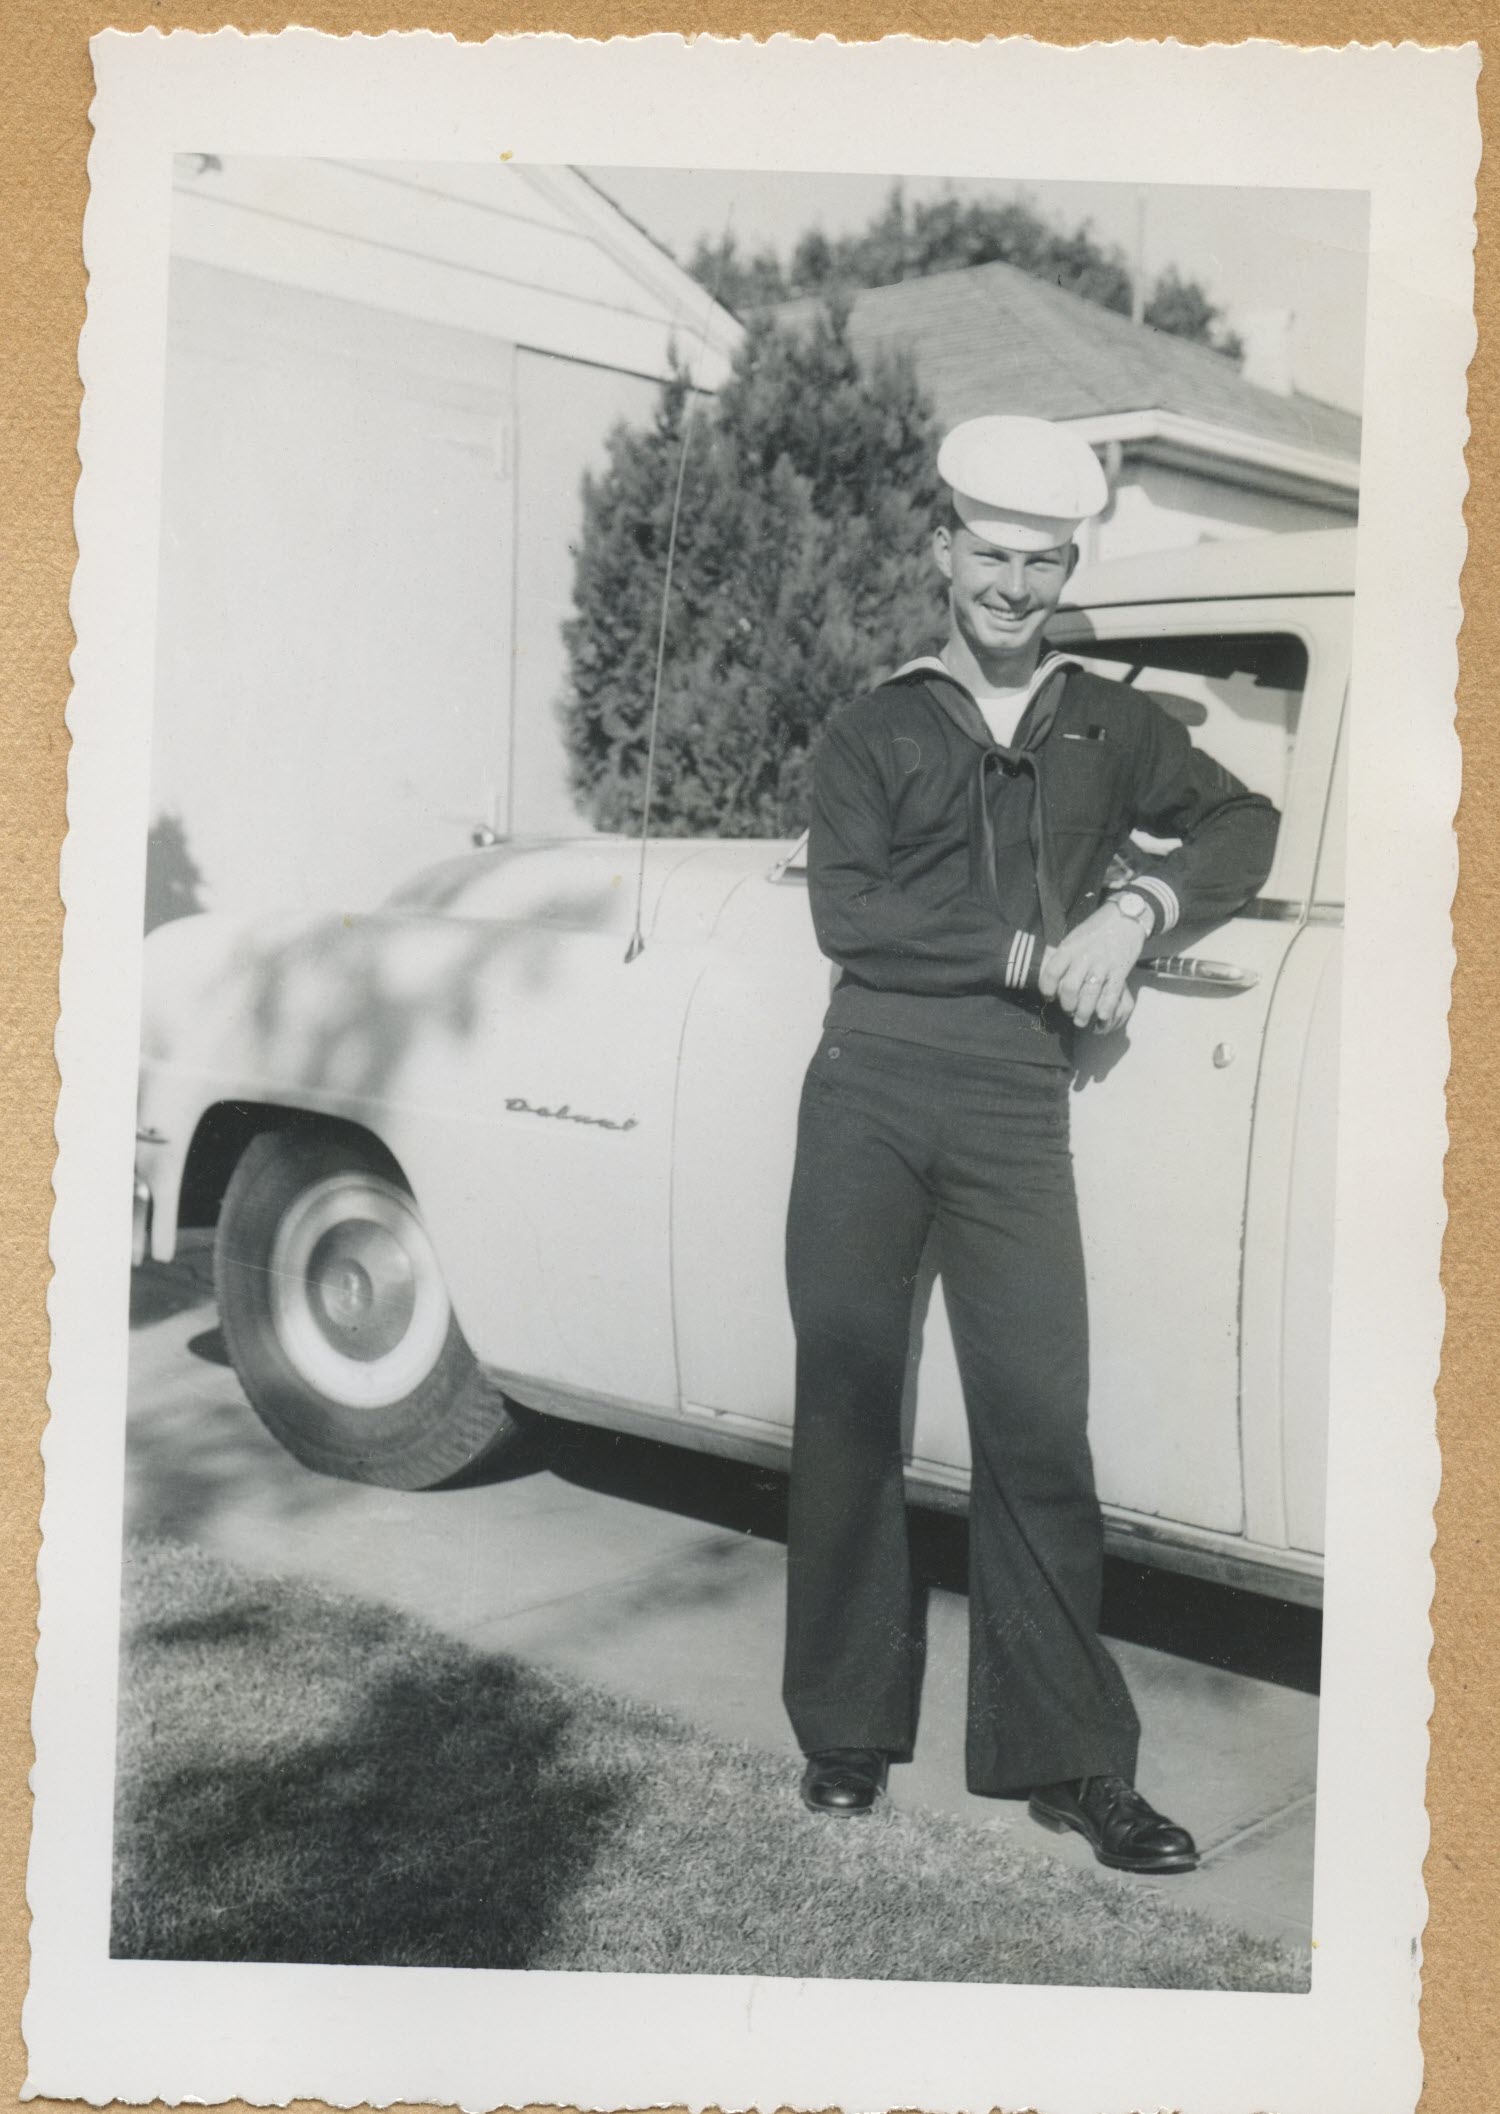
Sailors and soldiers serving overseas were counted in the 1950 census.
Be aware that there were other people living abroad at that time who didn’t fall within these official categories. In those cases, they were to be reported by their families or even neighbors who lived in the U.S. This was clearly second-hand information which means that the information wasn’t as reliable. In fact, so much so that these individuals weren’t included in the published statistics. Keep this possibility in mind if you have trouble locating a relative when the census comes out.
What Questions Were Asked in the 1950 Census?
The 1950 population census questionnaire asked for information such as:
- Address;
- whether their house was on a farm;
- name;
- relationship to the head of the household;
- race;
- sex;
- age;
- marital status;
- birthplace if they were foreign born,
- whether or not they were naturalized;
- their employment status;
- how many hours they worked in a week;
- occupation,
- industry,
- and class of worker.
The information provided by your ancestors has the potential to lead you to more genealogical records.
Geographic Areas Covered in the 1950 Census
So where were all these people living? The 1950 census covered:
- the continental United States,
- the territories of Alaska and Hawaii,
- American Samoa,
- the Canal Zone,
- Guam,
- Puerto Rico,
- the Virgin Islands of the United States,
- and some of the smaller island territories.
1950 Census Enumerators
In 1950 the population of the United States was about ½ of the population today. But it still took a lot of people and organization to count 150 million people. The people doing the counting are called enumerators. These enumerators came from all walks of life and had to be trained so that everyone got counted with the fewest mistakes possible. A technical training program was developed to accomplish this goal. 26 chief instructors would teach a few hundred instructors to train 8300 crew leaders who would ultimately train over 140,000 census enumerators.
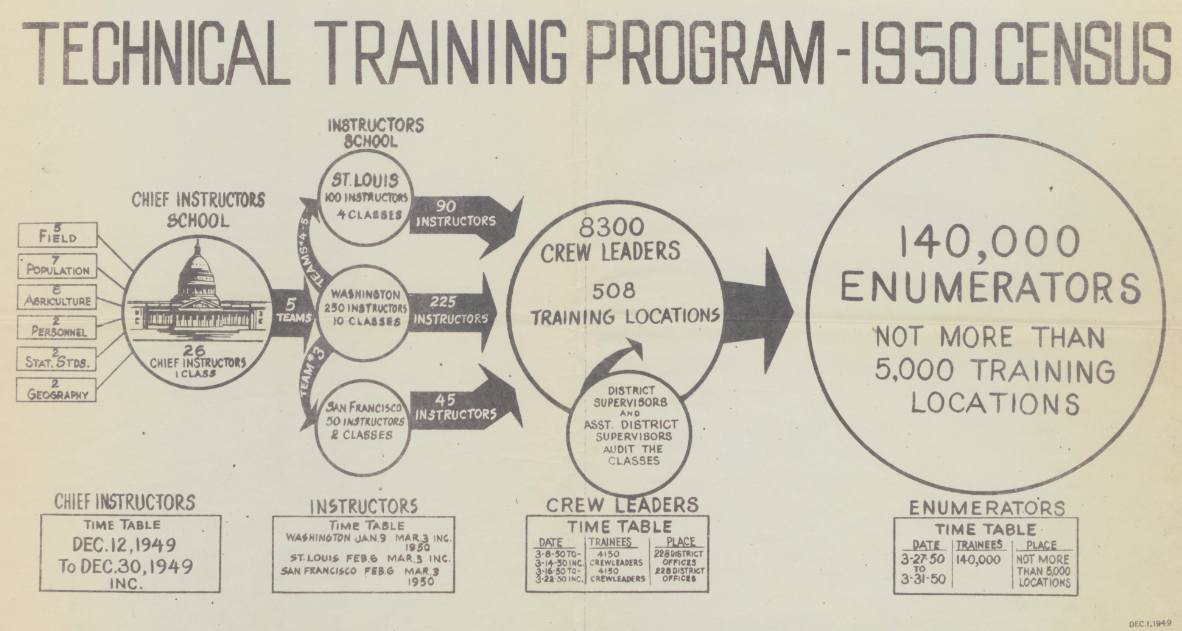
The 1950 census enumerator training program. (Source: census.gov)
1950 Census Enumeration District Maps
You may be wondering ‘how did the enumerators know where to go to count people?’ The answer is Enumeration Districts or EDs. The geographic area to be covered by the enumerator was divided up into Enumeration Districts. These ensured that enumerators were not crossing paths and duplicating efforts. EDs were just the right size so that the census taker could cover the area in one census period, which was about 2-4 weeks.
Enumeration District maps were drawn for the 1950 census. These are important for your genealogy research because they:
- describe your ancestors’ neighborhood in 1950
- are essential for figuring out where to find your ancestor in the census.
- don’t fall under the 72-year rule, which means that they are available now.
It takes time for the entire census to be indexed. If you want to start using it as soon as it’s released, you will need ED maps. You’ll need to know where your relatives lived so that you can find the address on the ED map. The map will provide you with the associated ED number. This number is needed to search the unindexed census.
There are 8000 ED maps for the 1950 census that have been digitized. You can find them at the National Archives website in Record Group 29: in the series called Enumeration District and Related Maps 1880-1990.
An alternative place to find 1950 Enumeration District maps is the One-Step Webpages by Stephen P. Morse website. It’s not only an easier way to find the correct map, but it includes maps not found on the National Archives website. It’s also worth reading the essay on the website called Problems Using 1950 Enumeration District Maps. It will help you better understand how to use the maps.
Links to tools demonstrated:
Search 1950 ED Maps at One-Step.
Unified Census 1950 ED Finder search at One-Step.
1950 Census Enumerator Instructions
Up until 1870 the job of census taker fell to the U.S. Marshals. The U.S. Marshalls received very little in the way of instructions or training. It wasn’t until 1830 that they even got printed schedules to record the information given by each household! That all changed with an act of congress passed in 1879 that shifted the job to people specifically hired to be enumerators. This was just in time for the 1880 census.
By 1950, 140,000 census enumerators hit the field armed with their Enumeration District map showing them where to canvas, and a lengthy set of instructions that they received during their training. In fact, 1950 was the last time that the census was taken exclusively in person because in 1960 the Census Bureau started mailing out questionnaires.
The 1950 census enumerator instructions are available for free as a downloadable and searchable PDF file. It’s 24 pages of specific instructions designed to help enumerators record the information they gathered.
The enumerator instructions are important for you as a researcher because they explain what you’re seeing on the census page. If we see a mark or a notation, or a field left blank, the instructions will explain why the census did it that way. If we understand the why behind the information we find we will be much more likely to interpret it correctly.
An example of this can be found in the 1940 census. You’ve probably noticed X’s in circles scattered about the pages. On a map that could be misinterpreted as there’s buried treasure in that house! But alas, it doesn’t. Only the census enumerator instructions can help us really understand their true and important meaning. The 1940 census enumerator instructions state “Enter (X in a circle) after name of person furnishing information.” This helps us better determine the validity of the information provided for each individual in the household.
Who Was Not Counted in the 1950 Census?
The instructions for the 1950 census also includes a list of those people who were not to be enumerated, such as:
- People temporarily visiting the household
- Foreign citizens visiting embassies and similar facilities. Do enumerate foreigners who are studying or working here temporarily.
- Students below college level who are boarding to attend school locally.
- College students visiting but who live elsewhere to attend school.
- People who eat with the family but don’t sleep there.
- Domestic workers who don’t sleep in the household.
- Household members who are currently an inmate in prison or other institution.
- Ship crew members or people who live in lighthouses
- Absent Soldiers and sailors
What are 1950 Census Infant Cards?
There’s also an entire page in the instructions devoted to explaining what Infant Cards were and the information they were to contain. If you have relatives who were born in January, February or March of 1950, they would have had a special Infant Card completed just for them. Learn more: Download the infant card PDF
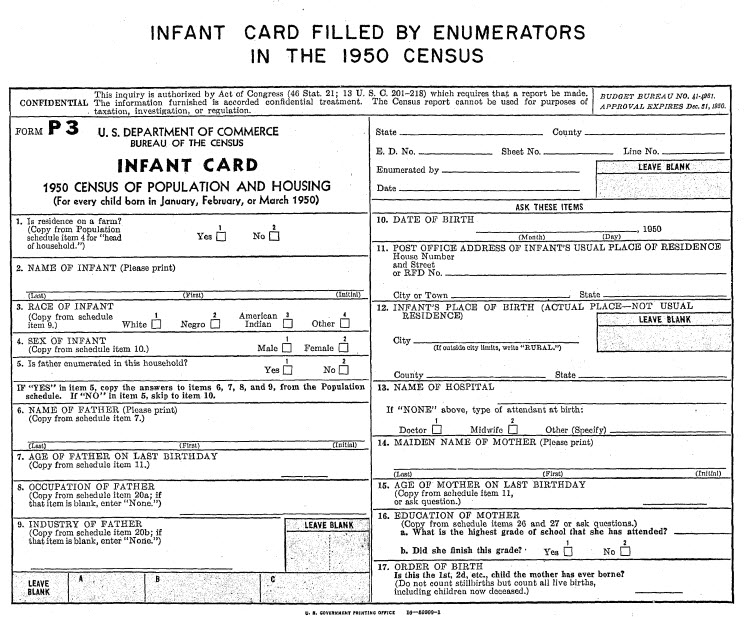
1950 census infant card.
How Accurate is the 1950 US Census?
Several procedures were put in place in an effort to dramatically improve the accuracy and completeness of the 1950 census. These included:
- improved enumerator training,
- providing enumerators with detailed street maps of their assigned areas,
- publishing “Missed Person” forms in local newspapers,
- and setting aside specific days to conduct a special enumeration of people staying in hotels, motor courts, and other places frequented by transient people.
Also, in an effort to ensure greater accuracy and completeness, a post-enumeration survey was instituted for the first time. The Census Bureau recanvassed a sample of approximately 3,500 small areas and compared these to the original census listings. The goal was to identify households that might have been omitted in the original enumeration. They also took a sample of about 22,000 households and reinterviewed them to determine the number of people who might have been missed in the first count.
How Were Transient People Counted in the 1950 Census?
The challenge of counting people is that people can move around. This means they could be counted twice, or the genealogist’s nightmare: not counted at all!
The solution to counting transient people in the 1950 census was T-Night canvasses. The “T” stood for “transient” and they were held on Tuesday April 11 & Thursday April 13, 1950. They were designed to provide a more accurate count of people who did not have a fixed address or were temporarily away from home.
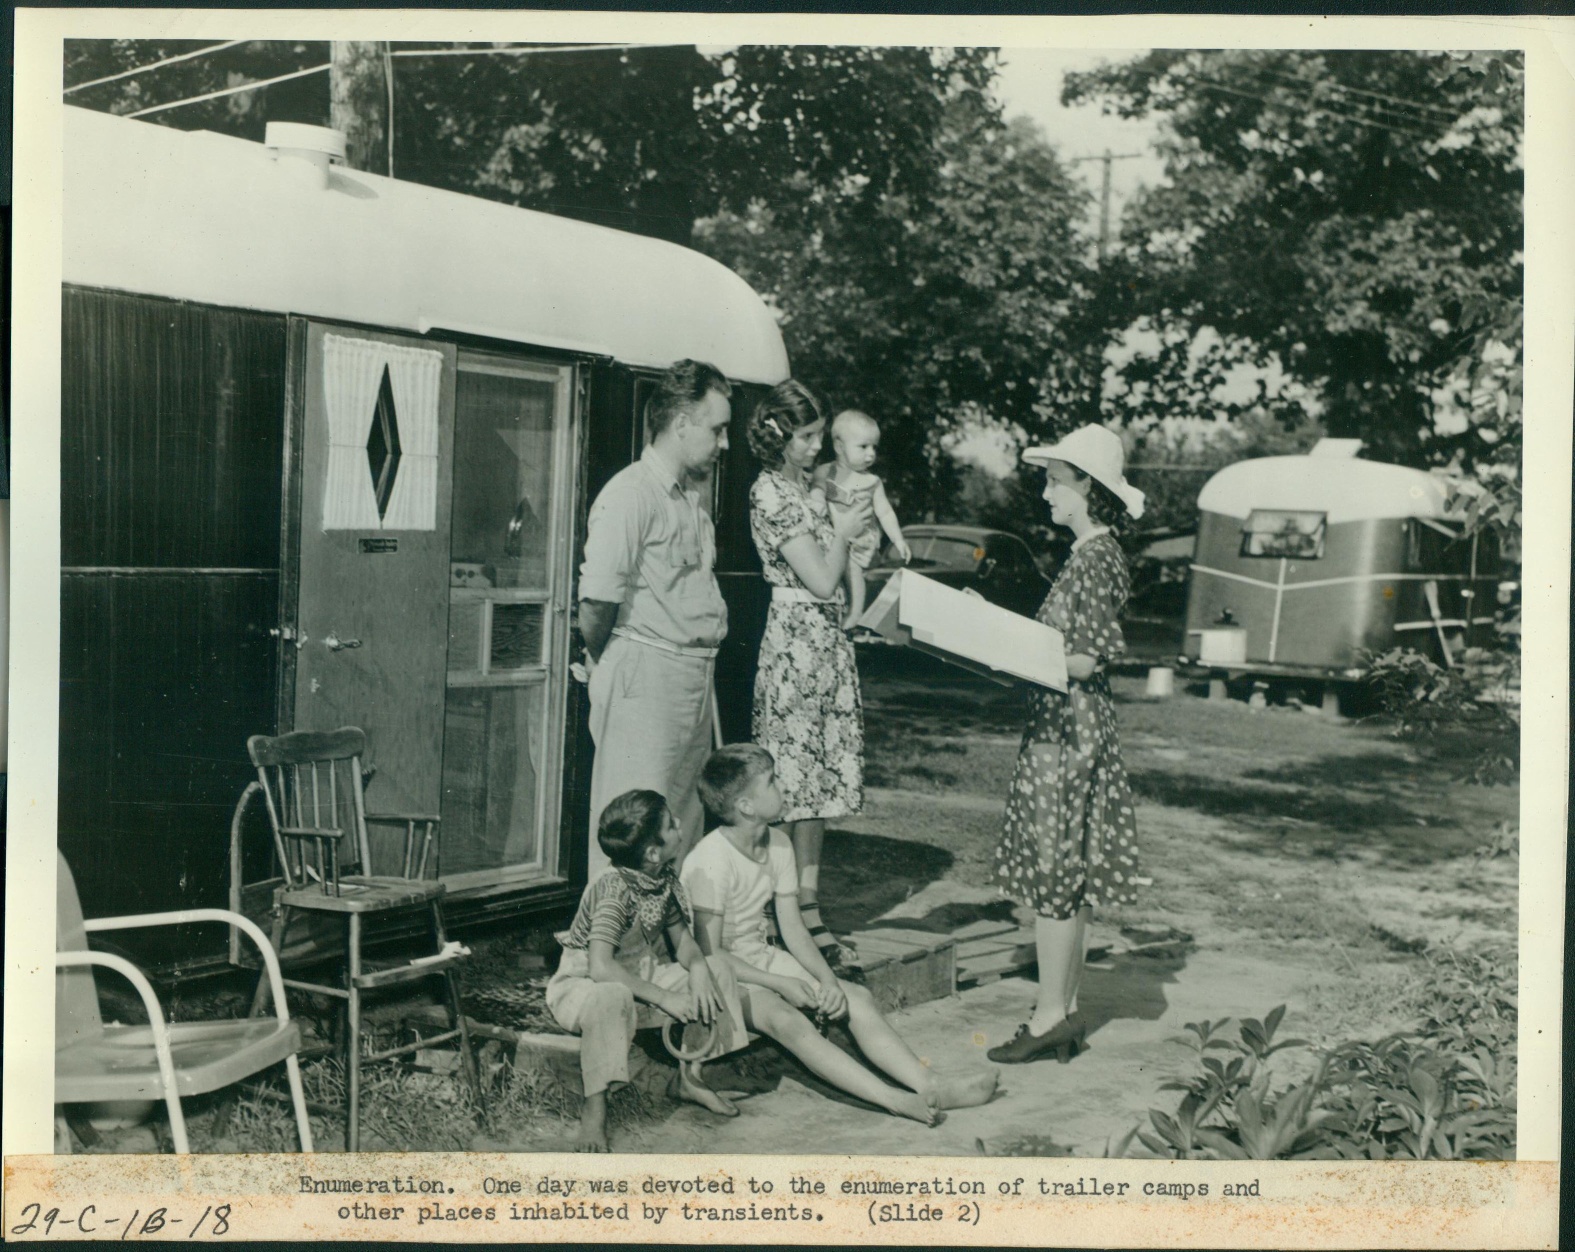
“Transient” enumerations were conducted on specially designated days in 1950. (source: census.gov)
Tuesday, April 11, 1950 was the date for “an intensive drive to cover in a single night the occupants of certain places usually devoted to transients” such as hotels, YMCAs, and tourist courts or camps (campgrounds). Young men were moving to the city from rural areas, and the YMCA (Young Men’s Christian Association) was a popular, safe and affordable place to stay. By 1940 YMCA room across the country totaled more than 100,000.
According to the instructions, enumerators were to visit these facilities from 5 p.m. to 11 p.m. on Tuesday evening and again from 7 a.m. to 12 noon the next day. On Thursday, April 13, 1950 enumerators turned their attention to missions and flophouses. T-Night enumerators assigned to these facilities were to “station themselves at the main entrance or the lobby of the place” and instructed to interview guests, resident staff and employees personally.
Another unique feature of T-Nights was that enumerators used the Individual Census Report Form (ICR). In an unusual move, it was completed by the person being counted instead of by the census taker. This ensured privacy for the informant since census interviews often had to be conducted in hallways or a room with other roomers. Thanks to the 1950 census enumerators working the hotel lobby, asking guests passing through if they had already completed an ICR, calling up guests on the house phone and working with staff on identifying those checking in, there’s an even better chance that we will find our family members in the 1950 census.
What Does “REG” mean on the 1950 Census?
Even after all of this extra effort, some people never completed the ICR form. In those cases, the enumerator would fill out the ICR on information taken from the hotel register. The entry on the census would be marked “REG” indicating that the information came from the hotel register.
The 1950 Census Residential Survey
A new feature of the 1950 census was the Residential Survey. In a separate surveying effort, information was collected on a sample basis from owners of owner-occupied and rental properties and mortgage lenders.
1950 Census Technology Trivia
According to the National Archives, “The Census Bureau began use of the first non-military computer shortly after completing the 1950 enumeration. UNIVAC I (for Universal Automatic Computer), the first of a series, was delivered in 1951, and helped tabulate some of the statistics for the 1954 economic censuses. It weighed 16,000 pounds and used 5,000 vacuum tubes.”
5 Things to Do While Waiting for the 1950 US Federal Census
Looking for something to do now while you wait for the 1950 census? Here are just a few things you can do while you wait:
1. Review your family tree.
Make a list of those families you want to look up. And look for gaps and questions that might be able to be answered using the 1950 census.
2. Look for 1950 family addresses.
- Old letters
- Diaries
- Scrapbooks
- Ask Relatives
- City directories
- Vital Records
- Occupational records
- Newspapers
- Social Security Records
- 1940 census addresses
3. Use the One-Step website to find Enumeration District Numbers
- Enter the state and town to retrieve the map
- Find your ancestor’s address on the map
- Make note of the ED number written on the map for that address
- Read the essay: Problems Using 1950 Enumeration District Maps
Note: The One-Step website includes some maps not found at the National Archives!
4. Download the Enumeration District Map for your Ancestor’s Home
Again, you can access the maps through the One-Step website or the National Archives website. These are excellent research resources to have on hand. They can be used to create map overlays in the Google Earth Pro software. Step-by-step instructions for doing so can be found in my book The Genealogist’s Google Toolbox and my downloadable video tutorial series Google Earth for Genealogy.
5. Check out the 1790 through 1940 census records online at the National Archives.
Census records can be found at many popular genealogy websites. The National Archives has a great resource page listing each decennial census and the associated online resources including where census images are hosted and searchable for free or on subscription websites. It also includes additional resources and background on each census taken.
For more ideas on what you can do now to prepare, read How to Find Your Family History in the 1950 Census.
Watch Next: 1950 Census Questions
WATCH NEXT: Elevenses with Lisa episode 53 1950 Census Questions
Resources
- Watch past free episodes of Elevenses with Lisa
- Get your official Elevenses with Lisa mug
- Subscribe for free to our Genealogy Gems YouTube channel so you’ll never miss another episode.
- Subscribe to my free email newsletter to get notifications.
- Bonus Download exclusively for Premium Members: Download the show notes handout. (Not a Premium Member? Become a Genealogy Gems Premium Member today.)