by Lisa Cooke | Oct 11, 2015 | 01 What's New, Gifts, Heritage Scrapbooking, Holidays, Oral History, Publishing, Writing Family History
This 3-step project will help you capture a relative’s life story in plenty of time for the holidays!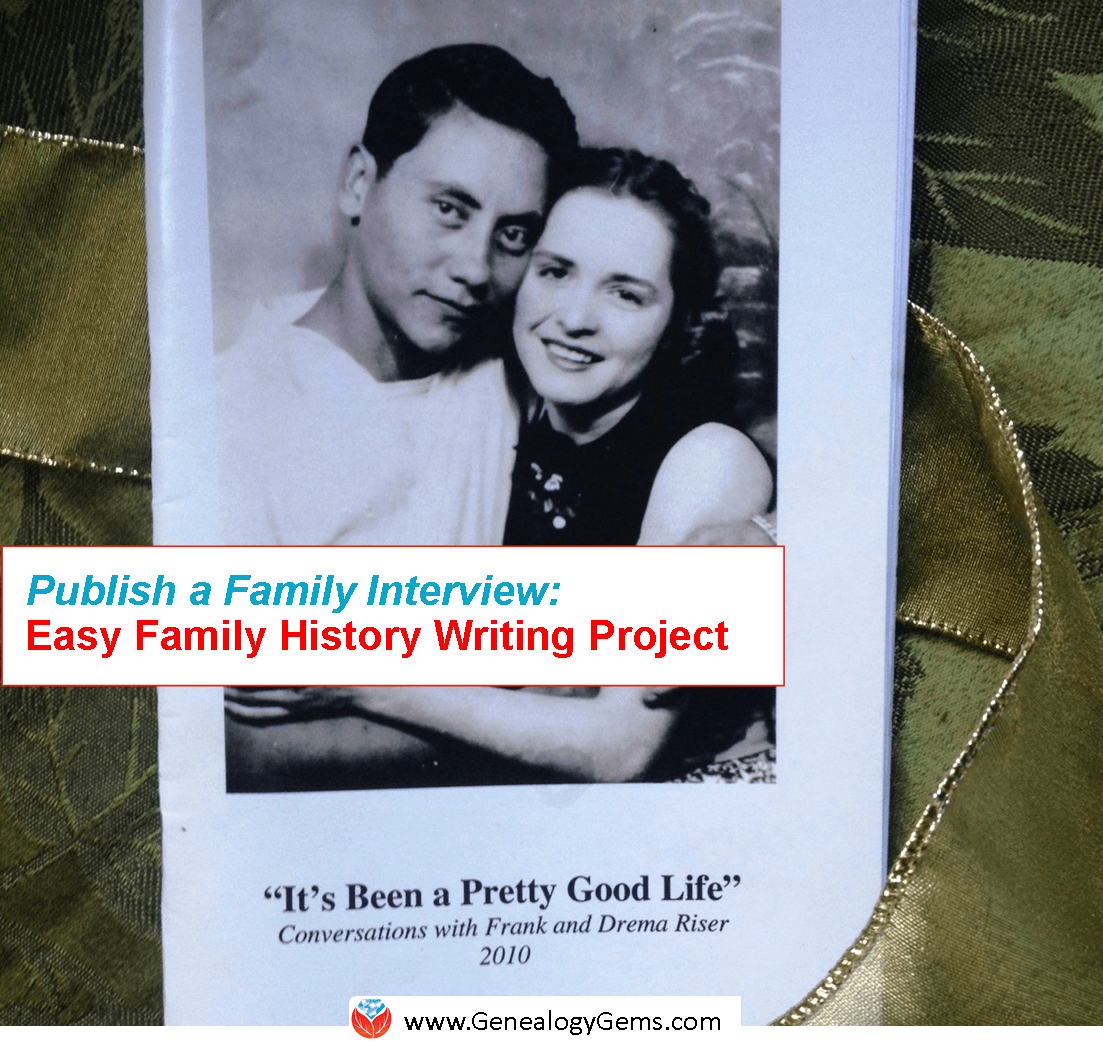
Reconstructing the life stories of our ancestors can sometimes feel like squeezing water from a stone. By comparison, gathering the life stories of the living can be like turning on a tap. All you have to do is direct and catch the flow.
Turn your family history interviews into a beautiful book–just in time for holiday sharing–with this three-step project. Simplify it or doll it up, depending on your time, talents and what you have to work with. Just do it! Write your family history! Here’s the basic outline:
1. Record an interview. Invite a relative to chat with you about his or her life stories. Decide together what the relative WANTS to talk about: childhood memories? Stories about a certain loved one or a particular time period? A little of everything? Consider using a list of life story questions or memory prompts like those you can find in my book, My Life & Times: A Guided Journal for Collecting Your Stories .
.
Before you begin, be clear that your goal is to write these stories up for the family. Meet in person, over the phone or by Skype (click here to learn how to record a Skype conversation). With permission, record the conversation. Ask plenty of follow-up questions, but otherwise keep your own comments to a minimum. For more interviewing tips, listen to this free Family History Made Easy podcast episode.
2. Transcribe the interview. After you’ve finished your chat, go back and type up the interview. Give yourself plenty of time: this takes longer than you think. Consider asking a fast-typing relative to help or hire a transcription service (here’s one option). Type things just as you hear them, incomplete sentences and all. Don’t include anything your loved one wants to keep “off the record.”
3. Print the transcript. Save an unedited copy of the typescript in your permanent files. Edit it a little to make it “reader-friendly” if you want to. Print it out. Add any extras, like family tree charts or copies of photos. Bind it however you prefer. (Genealogy Gems Premium website members can check out Lisa’s 3-part Premium podcast series on self-publishing: episodes 52-54). Share copies with loved ones: they make great holiday gifts.
Here’s a page from a sample project I did. It’s a simple stapled book, printed in landscape (sideways) format on regular-sized paper. I left the narrative in the format 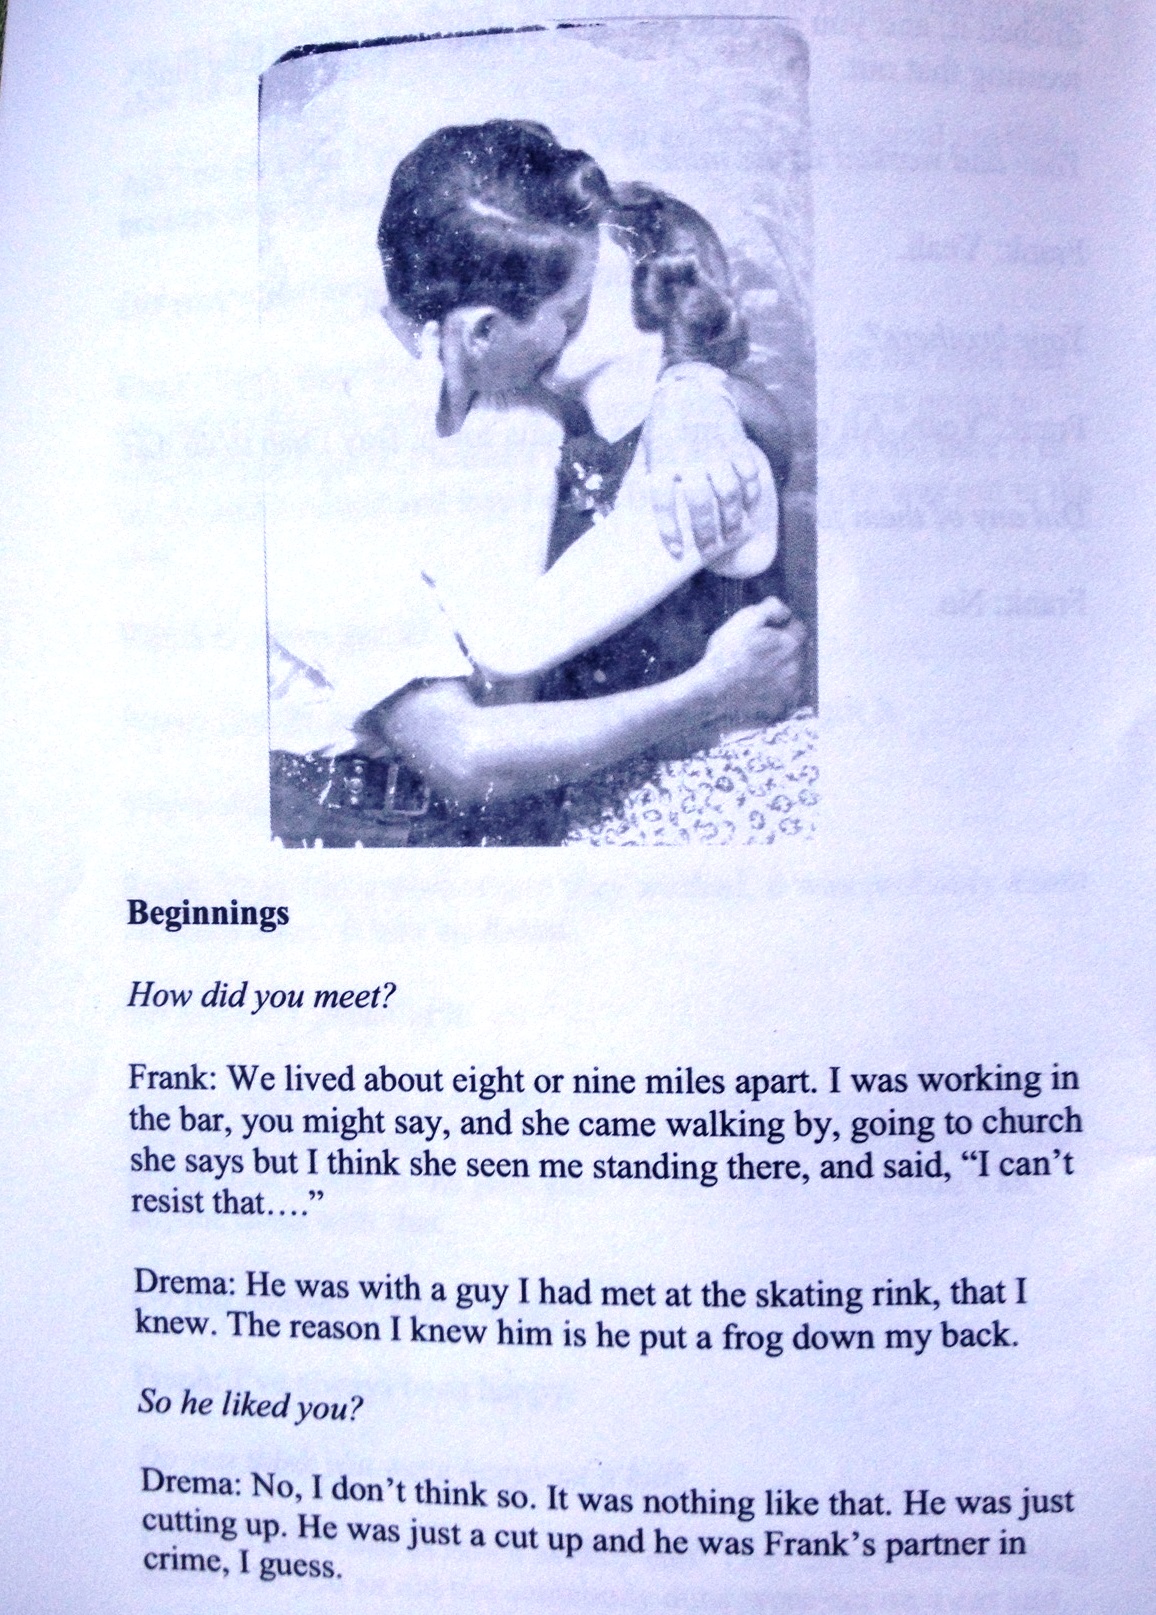 of a simple Q&A, just like it was spoken. I did edit slightly for clarity and flow. My questions are in italics and the speakers are identified (I was interviewing a husband and wife together). I added a few photos.
I shared copies of this book with every family member as holiday gifts a few years ago. Now everyone has a special legacy gift featuring this couple: their children, their grandchildren and even their great-grandchildren.
Now is the time for you to write a portion of your family history, and I’m here to help and support you. I will be conducting a fun and productive one-week workshop called the Genealogist’s Essential Writing Workshop at Family Tree University starting October 19. You can do this and I’m here to help!
Additional Family History Writing Resources from Genealogy Gems
Disclosure: This article contains affiliate links and Genealogy Gems will be compensated if you make a purchase after clicking on these links (at no additional cost to you). Thank you for supporting Genealogy Gems!
by Lisa Cooke | May 3, 2015 | 01 What's New, Apps, images, Interviewing, Memory Lane, Oral History, United States
 Recently a friend sent me a link to a TED talk by StoryCorps founder Dave Isay. As a radio broadcast journalist, Dave has spent his life capturing other people’s stories. The profound impact this had on him led him to found StoryCorps, which collects and archives interviews with everyday people.
“Every life matters equally and infinitely,” Dave learned, something we discover as family historians, too. He talks about how inviting someone to talk about his or her life “may just turn out to be one of the most important moments in that person’s life, and in yours.” This is something I try to explain to people about family history interviews: asking respectful questions and listening just as respectfully is a gift we can give our relatives when we interview them.
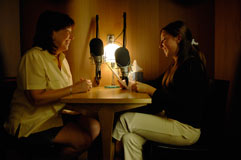
StoryCorps started with a little recording booth in Grand Central Terminal, one of the busiest places in the world to hold these intimate conversations. Two people share a conversation, one interviewing and the other being interviewed, and a facilitator helps them record the conversation and leave with a copy of it. Another copy goes to the Library of Congress.
In our own ways, we do this when we record loved ones’ life stories. We honor their feelings, experiences and opinions by asking about them and preserving them. Sometimes we share personal moments of understanding, forgiveness or revelation. In my experience, it’s similar to what unfolds in the StoryCorps booths: “Amazing conversations happen.”
In Dave’s TED talk, he shares snippets of some of those amazing conversations, like A 12-year old boy with Asperger’s syndrome interviewing his mother, and a husband sharing his love for his wife: “Being married is like having a color television set. You never want to go back to black and white.”
 StoryCorps now has an app that helps people capture conversations like these. A digital facilitator walks you through the interview process, the app records the conversation, and then you can save and share the resulting audio file. Why not record an interview in honor of Mother’s Day or Father’s Day this spring with the StoryCorp app? Or have a meaningful conversation with an aunt or uncle, sibling, cousin or your child or grandchild.
 Genealogy Gems Premium members can learn more about preserving the stories of your own life in the Genealogy Gems Premium Podcast Episode 116, in which I interview Laura Hedgecock, author of Memories of Me.
by Lisa Cooke | Dec 23, 2014 | 01 What's New, Evernote, images, Listeners & Readers, Oral History, Organization, Video
Do you have old home movies, footage of oral history interviews or any other type of family history video to keep track of?

I recently heard from Ricky with this question:
Q: How do I add video to Evernote?
A: Thankfully, it’s easy on your computer:
- Open Evernote.
- Click New Note button.
- Open Windows Explorer and resize so you can see both the window and Evernote.
- Locate the desired video on your hard drive.
- click on the video and drag and drop it on to the new note.
That’s it!
From your mobile device when you have the Evernote app installed:
- Locate the video (ex. on the iPhone open Video app).
- Tap Share icon.
- Select Email.
- Start to type “ever” and your unique Evernote email address associated with your Evernote account should auto-fill.
- Send.
This will send the video to Evernote as a new note.
Keep in mind that video files are very large so take up a lot of your monthly upload limit. If you are a Premium Member, that’s not so much of a problem.
Resources
How to Get Started in Evernote, and the Ultimate Evernote Education
Genealogy Gems Premium members can also access exclusive full-length videos on how to use Evernote for family history, like:
Not a Premium member yet? The Evernote video series alone makes Premium membership worth the low annual fee, but you get SO much more! Learn more here.
by Lisa Cooke | Jul 9, 2014 | 01 What's New, African-American, Digital Archives, Libraries, Oral History
 A video archive of oral history interviews about African-American life, history and culture and struggles and achievements of the black experience in the United States has been donated to the Library of Congress.
It’s called the HistoryMakers archive, and it’s the single largest archival project of its kind since the WPA recordings of former slaves in the 1930s. According to a press release, “The collection includes 9,000 hours of content that includes 14,000 analog tapes, 3,000 DVDs, 6,000 born-digital files, 70,000 paper documents and digital files and more than 30,000 digital photographs.”
“The collection comprises 2,600 videotaped interviews with African-Americans in 39 states, averaging three to six hours in length. The videos are grouped by 15 different subject areas ranging from science, politics and the military to sports, music and entertainment.”
“The HistoryMakers archive provides invaluable first-person accounts of both well-known and unsung African-Americans, detailing their hopes, dreams and accomplishments—often in the face of adversity,” said James Billington, the Librarian of Congress. “This culturally important collection is a rich and diverse resource for scholars, teachers, students and documentarians seeking a more complete record of our nation’s history and its people.”
 “The collection is one of the most well-documented and organized audiovisual collections that the Library of Congress has ever acquired,” said Mike Mashon, head of the Library’s Moving Image Section. “It is also one of the first born-digital collections accepted into our nation’s repository.”
This African American oral history archive was donated so it would be preserved and accessible to generations yet to come. However, this doesn’t mean the HistoryMakers organization is done gathering stories. According to the press release, “oral histories are continually being added to the growing archive. The oldest person interviewed was Louisiana Hines, who passed away in 2013 at 114. She was one of the iconic “Rosie the Riveter” workers during War World II. One of the youngest is a prima ballerina, Ayisha McMillan, who was 29 at the time of her interview.”
Visit the HistoryMakers Archive here.
by Lisa Cooke | Mar 19, 2014 | Beginner
 Free Family History has a nice ring to it!
Did you know you don’t have to pay for a subscription to anything to be able to start learning more about your family history?
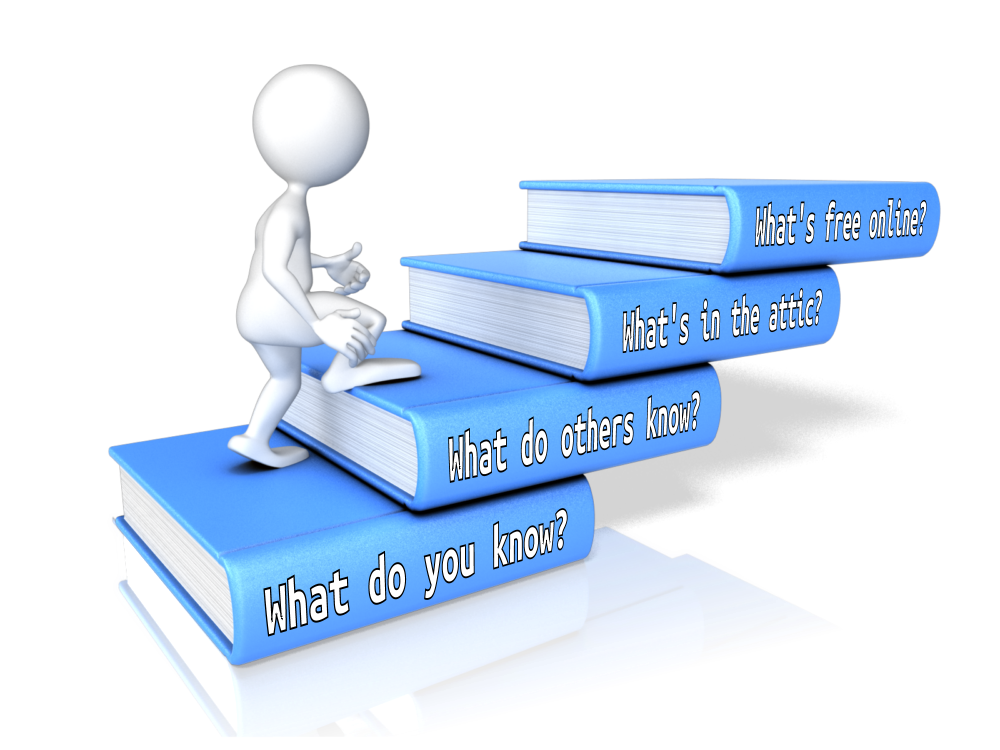
Start to find your family history for free by asking the four questions listed below.
1. What do you already know?
Chances are that you know something about your family already. The most important facts we start with are our relatives’ names and their dates and places of birth, marriage(s) and death. These facts can help you later to distinguish between records about our relatives and others with the same name.
Write down what you know about your “direct ancestors”–your parents, grandparents, great-grandparents, etc.–on a family tree chart like this free fill-in pdf format (these are also called pedigree charts). Then use family group sheets like this one to organize facts about each individual couple (this is where you can list all the children your grandparents had, for example).
2. What do your relatives know?
After filling out what you can, show your family tree chart and family group sheets to other relatives. Ask them if they can fill in some blanks. Remember these tips:
- Try to include a little note about who tells you each piece of information.
- Someone may dispute what you find. Everyone’s memory of an event is different. Don’t argue. Treat their information with respect:. Write it down. Then ask politely if they have any documentation you could see, or why they believe something to be true (who told them, etc).
- Ask whether anything is missing from your charts: a grandparent’s second marriage, a stillborn child or even whether someone’s name is accurate. You or others might know someone by a nickname or middle name.
- Be sensitive to information that might be confidential or not generally well-known, like a birth date that doesn’t appear more than 9 months after a wedding, or a first marriage. Consider asking living relatives if it’s okay for you to share certain facts. Consider only showing part of your charts to a relative.
3. What’s in the attic (or anywhere else)?
We can often find family documents in our own homes and those of our relatives. Look in attics, basements, storage units, safe deposit boxes and  safes, filing cabinets, photo albums, scrapbooks, shoeboxes and other places where papers and memorabilia may be tucked. You’re looking for things like:
- certificates of birth, baptism, marriage or death;
- obituaries or other news articles, like anniversaries;
- funeral programs, wedding and birth announcements;
- photos with names or other notes on the backs;
- insurance, pension, military or other paperwork that may mention births or deaths or beneficiary information;
- wills and home ownership paperwork–even outdated ones;
- a family Bible.
When you find family names, relationships, dates and places in these documents, add them to your charts.
4. What’s available online for free?
There are two major types of family history information online: records and trees. Records are documents created about specific people, like obituaries, birth certificates and all those other examples I just mentioned. Trees are a computerized form of other people’s family tree charts and group sheets. It can be tempting to just look for someone else’s version of your family tree. Eventually you will want to consult those. But other people’s trees are notoriously full of mistakes! Instead, start by looking for records about the relatives you already have identified.
I suggest that you start your search at FamilySearch.org because it’s totally free. At most other sites, you’ll have to subscribe or pay to see all the search results. At FamilySearch, you just need to create a free user login to get the most access to their records.
After logging in, click Search. Choose a relative you don’t know a lot about. Search for that name. Use the different search options to add more information–even a range of dates and a state/province or country–so you don’t have to wade through thousands of near-matches.
The most common records to find on FamilySearch for many countries are census and vital records.
- A census is a tally of residents, voters or another target population. Entries often include details about a household: who lived there, how they were related, how old they were, where they were born, etc. You can often extract family information from census listings, though some things (like ages or name spellings) may not be totally accurate.
- Vital records are official records of someone’s birth, marriage or death. In these, you’ll often find important dates and places as well as names of parents, spouses or others important to the family. They aren’t always totally accurate, and you may only be able to see an index of the record (not the actual document).
As you find search results, compare what they say to what you’ve already learned. How likely is it that this record belongs to your family? Consider how many people seem to have the same name in that location and time period (for example, how many are mentioned in the 1880 U.S. census in that state?). Don’t just look at the search results list: click through to look at the full summary of the entry and, if you can, the original record itself. You may find additional details in these that can confirm whether this record belongs to your relative. You may even find out about new people: your great-grandparents’ parents, for example. Write it all down or begin building a family tree right there on the FamilySearch website (because it’s totally free: learn more about that here.) And one of the greatest keys to long term success is citing your sources. It’s imperative that you make careful note of where you got the resource so that you can find and refer to it again later, and back up your research if it is ever called into question.
 People who research their family history often describe it as a puzzle with lots of different pieces. You will need to assemble a lot of puzzle pieces–information about each relative–to begin to see the “bigger picture” of your family history. You’ll start to sense which pieces may belong to a different family puzzle. You may put together a picture that is unexpected, or has some shadows and sadness. There will likely also emerge heroic, beautiful and touching images.
Ready to learn more?
Up next, read:
7 Great Ways to Use Your iPad for Family History
How to Find Your Family Tree Online
Best Genealogy Software
Search the SSDI for Your Family History