by Lisa Cooke | Dec 13, 2016 | 01 What's New, Holidays, Video |
Are you having a hard time coming up with the perfect gift for someone special on your list? The gift of video gives all year round, and doesn’t require you to buy the correct size. Make your video about family history, or the memories of the recipient, and get ready for hugs and smiles of appreciation for your thoughtfulness.
Do you remember the first Christmas that you realized it was better to give than to receive? It’s an amazing feeling when your heart swells at the thought of snagging the perfect present for the people you love the most. But if you’re like me, there are always one or two relatives who present daunting challenges. Perhaps it’s the elder members of your tribe who seem to want for nothing; or a Aunt who quietly returns everything.
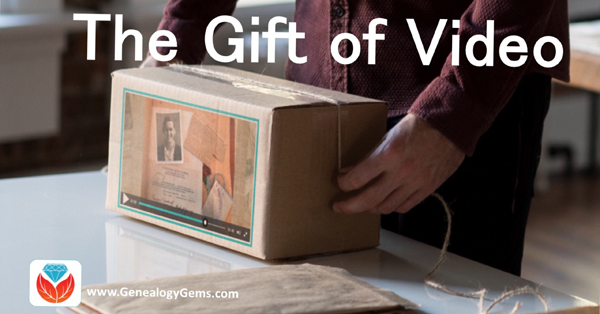
My challenge this year is my Dad. He seems to want for nothing, and having an Amazon Wish List isn’t even on his radar. Last year Dad passed his high school scrapbook on to me. It’s brimming with some of his fondest memories: his Boy Scout membership card, newspaper clippings of his football prowess, and the cardboard glasses he wore to his very first 3D movie. I’m pretty sure his heart was swelling when he handed this treasure chest of beloved memories to his daughter, the family historian.
And that’s when I was struck with an inspiration: give it back to him in the form of a video.
Video: Gift Perfection
Here’s why video makes a perfect gift:
- It doesn’t take up precious space on the shelf
- It can be enjoyed from any computing or mobile device again and again
- It can be shared easily with others
If you have been in search of the perfect holiday gift, follow along with me, and give the gift of video.
Creating a Video Gift
If you’re short on time, consider making a video of an old family scrapbook. All you will need is a smartphone and 30-60 minutes. Pull a scrapbook off the shelf, and dust it off because it’s about to get a new life!
Step 1 – Photograph the album
You could use a flatbed scanner to scan each page and the individual items you want to highlight. But you can save a ton of time by putting your smartphone or tablet to use. For me, this was the ideal solution also because so many of the items in the scrapbook had become loose, and I wanted to be able to show the pages as they were originally laid out. By setting the book on a table I could just snap photos rather than turning it upside down on the scanner glass. And don’t worry about snapping the perfect pics because we’ll get them all snazzy in step 3.
Save the images to a free cloud service like Dropbox so that you can easily retrieve them on your home computer.
Step 2 – Head to Animoto.com
(Full disclosure: This post contains affiliate links and I will be compensated if you make a purchase after clicking on my links. I appreciate you using these links because that compensation helps make the Genealogy Gems blog possible. Thank you!)
Although Animoto does have an mobile app, I like using the web version on my computer which provides the advantage of a bigger screen. Click here to go to Animoto, and sign in to your account. Then, just click the Create button to start a new video project.
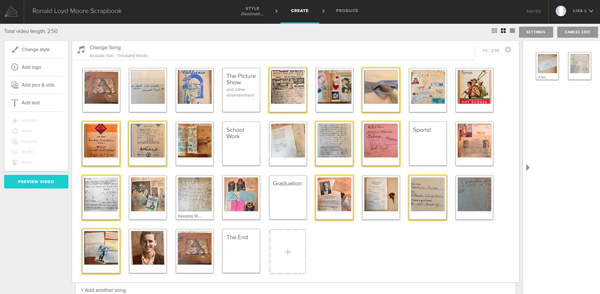
Choose a Video Style, which will include a music soundtrack. If the music isn’t quite what you had in mind, click Change Song and pick from a robust list of tunes. Animoto’s secret sauce optimizes and paces your slides to jive with the music. If the music is faster, the slides are faster, and if it’s slower, yep, the slides are slower. In the end though, you always have the final choice in the pacing of your slides and your entire video. Need a little extra time? Then just add a second music sound track.
Step 3 – Add Your Photos
Now it’s time to add your photos. Click Add Image, select Dropbox, and navigate your way to the folder where you saved your photos. Click the first one in the list, and then holding down the Shift key on your keyboard, click the last photo in the list, and click the Choose button. There you go: you’ve added all your images in one fell swoop! Imagine the time you saved over adding one item at a time.
I snapped all the full page photos first, and then I went back and snapped some of particular items I wanted to highlight with closeup images. That meant that when I added my photos they weren’t in exactly the right order. Thankfully, all I had to do was drag and drop them in the desired order. Easy peasy!
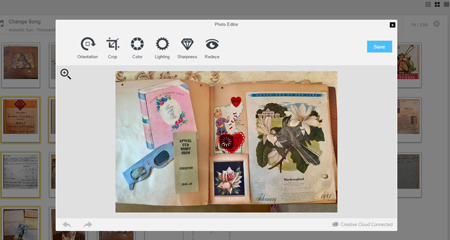
Edit your photos within Animoto.
Another reason I adore using Animoto is that I can do all my editing right there in the dashboard. With a few clicks you can apply a quick crop, slight rotation, and image enhancement with a great result. (Image right)
You even have the option to add video clips with Animoto. So if I had a fancy to add my original video of turning the pages of the scrapbook (above) I would just drag and drop it onto the timeline. And it is that ability to drag images and video from your hard drive straight into Animoto that makes it so quick and easy to use.
Step 4 – Add Title Slides
Although my Dad’s scrapbook really speaks for itself, I decided to add a few title cards to help guide the viewer like:
- The Picture Show
- School Work
- Sports
- Graduation
And title cards are great for “The End” and any other message or credits you want to add.
If you want to add text within your project, click to select the item that your text will follow, then click Add Text from the menu, and it will appear immediately after the previous item. To add text at the end, just click the plus sign in the last box and again type your text. And remember, nothing is set in stone. If you change your mind you can drag the text to a new location, edit it, or delete it all together.
Step 5 – Preview & Publish Your Video
At any time during the process you can click the Preview Video button to see your work. If you like what you see, then click the Produce button in the Preview window to create the final product. And speaking of final products, here’s mine:
Learn More
Are you ready to start creating memorable videos for the loved ones on your list? Click here to learn even more and give Animoto a whirl. (And just think: no wrapping required. You’re welcome!)
by Lisa Cooke | Mar 20, 2017 | 01 What's New, DNA |
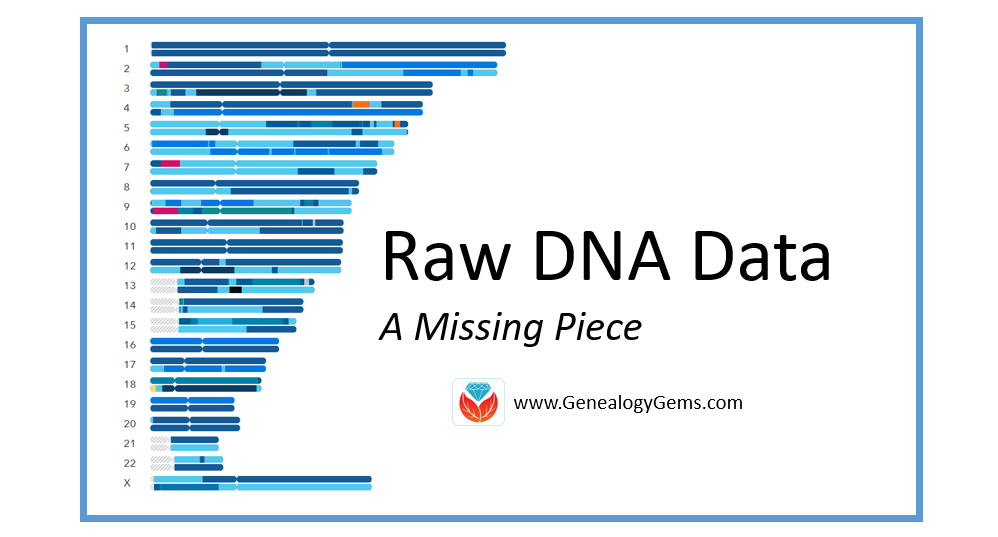
Your DNA test results come with raw DNA data. This raw data is the next piece in your DNA puzzle. Your DNA Guide, Diahan Southard, shares some interesting facts about raw DNA data and its use. Dig in and learn why!
What is Raw DNA Data?
Raw DNA data is the actual output file created by the DNA testing company. You can access your raw data at each testing company, and I strongly encourage that you do. You will need to download and save your raw data results to your computer. For instructions on how to do this, head on over to this page on my Your DNA Guide website.
This file contains your little DNA values at over 700,000 locations tested by your testing company. Any company with the right set-up and analysis tools can help you find matches with other people, and make additional genealogical discoveries. They may also be able to tell you if you like cilantro and are likely to have high blood sugar!
Raw DNA Data Research Projects and Destinations
Raw DNA data has to have a place to go. There are several research projects underway that utilize your data from any of the big four testing companies (Family Tree DNA, 23andMe, MyHeritage DNA, and AncestryDNA) for various genealogical or genetic purposes.
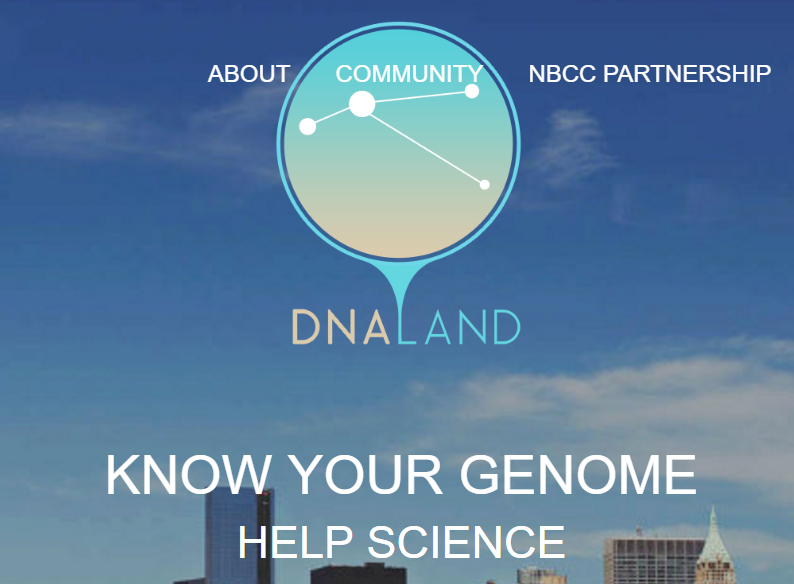
Home page of the DNA Land website
Let’s look at four examples of places you might upload your raw DNA data.
1. Family Tree DNA. If you have tested at 23andMe or AncestryDNA, you can transfer your raw data file to Family Tree DNA for free! You can access all of your matches and use the matching tools. For an additional $19, you can get access to the ethnicity features and other tools.
2. DNA Land. The not-for-profit DNA Land has over 26,000 individuals who have voluntarily uploaded their autosomal DNA test results into their website to be used for research purposes. Their self-stated goal is to “make genetic discoveries for the benefit of humanity.”
3. MyHeritage. MyHeritage also accepts your raw DNA data for incorporation into their genealogical database. You can upload your results for free and receive access to matches along with the ability to contact them. For a one-time fee of $29, you can unlock access to all of MyHeritage DNA’s features and tools as well. Learn more and upload your data here.
4. Geni.com. Geni.com (a family tree collaboration tool) jumped on the DNA bandwagon and announced they too would be integrating DNA into their family tree tool. Utilizing a partnership with Family Tree DNA, Geni.com is utilizing all three kinds of DNA (autosomal, YDNA, and mDNA) in their offering. The interface looks much like what you would see at your testing company: a list of matches with some family tree information.
The biggest takeaway from the recent influx of destinations for your raw DNA data shows us that the integration of DNA into genealogy is in full swing. I estimate every genealogy company and every major genealogy software will offer some kind of DNA integration within the next five years. DNA has certainly earned a permanent spot as a genealogical record type!
A Word of Caution
With all of these options available, and surely more to come, you will want to be careful about who you are giving your raw data to. Make sure you are comfortable with the company and its goals. Be sure you understand what role your DNA will be playing in their research, as well. These are exciting times in the world of genealogy.
Take the Next Steps in Your DNA Journey
 Wherever you are in your DNA journey, we can help!
Take your very first steps and learn how to get started using DNA testing for family history.
If you have already taken the plunge, learn how to harness the power of DNA matching.
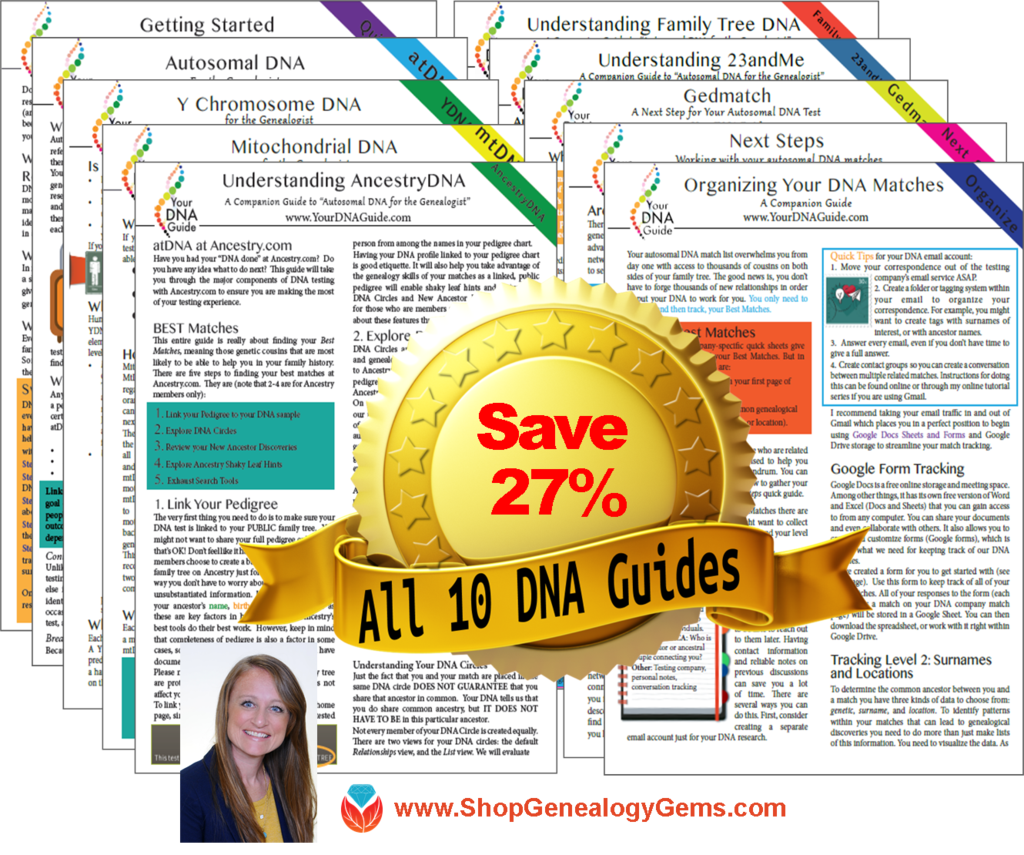
For the most help in understanding DNA for family history, take a look at the ten different DNA guides in both print and digital form from Your DNA Guide, Diahan Southard.
by Lisa Cooke | Sep 12, 2016 | 01 What's New, FamilySearch, Volunteer
According to an article on the FamilySearch blog, 90% of all indexed records on FamilySearch are those for English-speaking countries. While this is super exciting for me and my family tree, many of my friends are unable to trace their family histories past their great-grandparents. Why? Because the records in their native country have been digitized, but not indexed.
FamilySearch Indexing in These Easy Steps
I have been indexing at FamilySearch for years and you can join me! Just follow these simple steps:
- Go to www.familysearch.org.
- Sign-in and click on Indexing and choose Overview from
 the pull-down menu.
- Click on Get Started, which will direct you to the Get Started page. You will need to download the indexing program directly to your device.
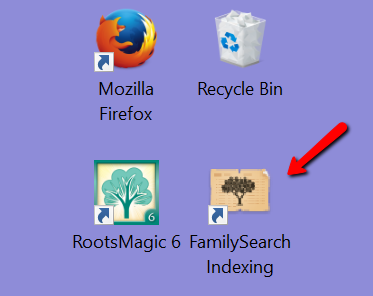
- From your desktop, open the FamilySearch Indexing program by clicking on the icon.
- Sign-in again and click Download Batch at the top left corner.
- Choose a project to work on.
If you feel you need some further instruction, watch these helpful videos below:
FamilySearch Indexing: How to Start
FamilySearch Indexing Training: Video 1
FamilySearch Indexing in Another Language
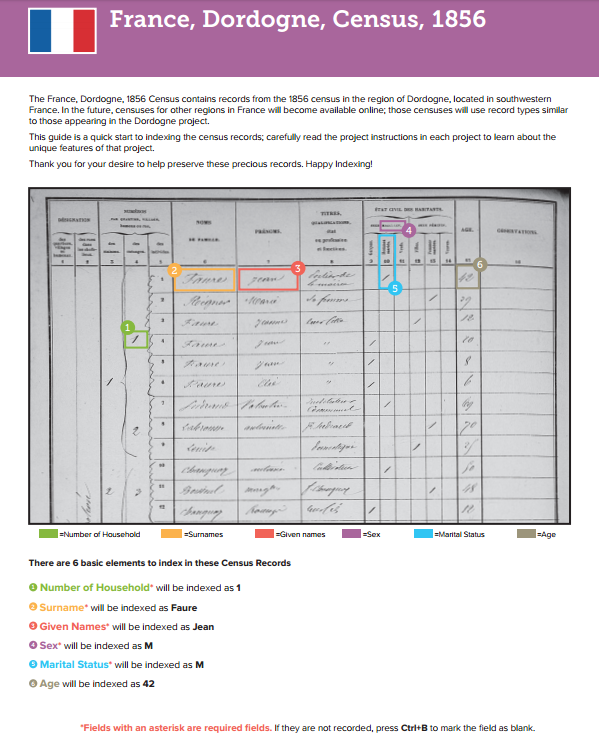
Training for French Language
FamilySearch is looking for three kinds of people:
- Fluent, native speakers of non-English languages living in their native county or in an English-speaking country.
- People who have extensive training in a non-English language.
- English speakers who are willing to learn how to index specific types of non-English records.
I know what you are thinking…you hardly passed French 101 in high school! But, you can do it.
There was recently a very successful Italian indexing training initiative in the U.S. It more than doubled the worldwide number of individuals working on Italian records. You can be a part of the growing need for French, Spanish, Italian, and Portuguese record sets.
Training guides and videos have been created for the French, Spanish, Portuguese, and Italian languages. As we accomplish the work for these places, FamilySearch will add more languages. The videos and guides will help volunteers to learn how to index specific types of records. Click here to learn about this language learning initiative and to get started.
What Else Can You Do for FamilySearch Indexing?
If you have friends or family who are fluent in another language, ask them to join you. Share this post with your friends on Twitter and Facebook to get the word out. Does your teen need some service hours for graduation, Girl/Boy Scouts, or other organization? This is a unique service project that even teens can do and that will be meaningful to many.
We would love to hear your stories of successes in indexing. Leave a comment below or post to our Genealogy Gems Facebook page.
More Gems on Indexing
Volunteer Gem: He Indexed Milwaukee Journal Obituaries Himself!
Want to Help Index De-Classified CIA Records?