You will find the complete show notes for the topic discussed in this episode at the Elevenses with Lisa show notes page here.
Google Books is a free online catalog of over 25 million books, 10 million of which are digitized and searchable. While you would expect to find books at Google Books, you may be surprised to discover there it also includes many other types of published materials. In this episode I’ll explain how to find 10 of my favorite surprising items at Google Books.
Click below to listen:
Learn More About Google Books for Genealogy
My book includes everything you need to know about improving your Google searches in Google Books:
Genealogy Gems Premium Members Exclusive Download:
This audio from this episode comes from Elevenses with Lisa episode 30. Log into your membership and then click here to download the handy PDF show notes that compliment this podcast episode.
Don’t miss the Bonus audio for this episode. In the app, tap the gift box icon just under the media player. Get the app here.
Get the Free Genealogy Gems Newsletter
The Genealogy Gems email newsletter is the best way to stay informed about what’s available with your Premium eLearning Membership. Sign up today here.
Get Unlimited Photo Enhancement and Colorization at MyHeritage
Get genealogy records and unlimited Enhanced and Colorized photos as a MyHeritage PremiumPlus or Complete Plan Subscriber. Click here to start a free trial.
It was a daunting thought! I had over 1650 miles to drive last weekend to make the move from California to Texas. And I’m notorious for getting sleepy on car rides.
My husband was driving the moving van, so I needed to drive the suburban on my own. How was I going to keep myself alert and occupied?
And then it hit me (the podcaster): Listen to podcasts! <SMACK> I coulda had a V8!
I loaded my iPad and smart phone with dozens of various podcast episodes. I ended up learning a ton, and having a grand time, with no zzzzzs!
I often hear from folks “I just can’t seem to find time to listen, or do half the other things I need to do.” But you don’t have to drive 1650 miles to make time to listen to podcasts.
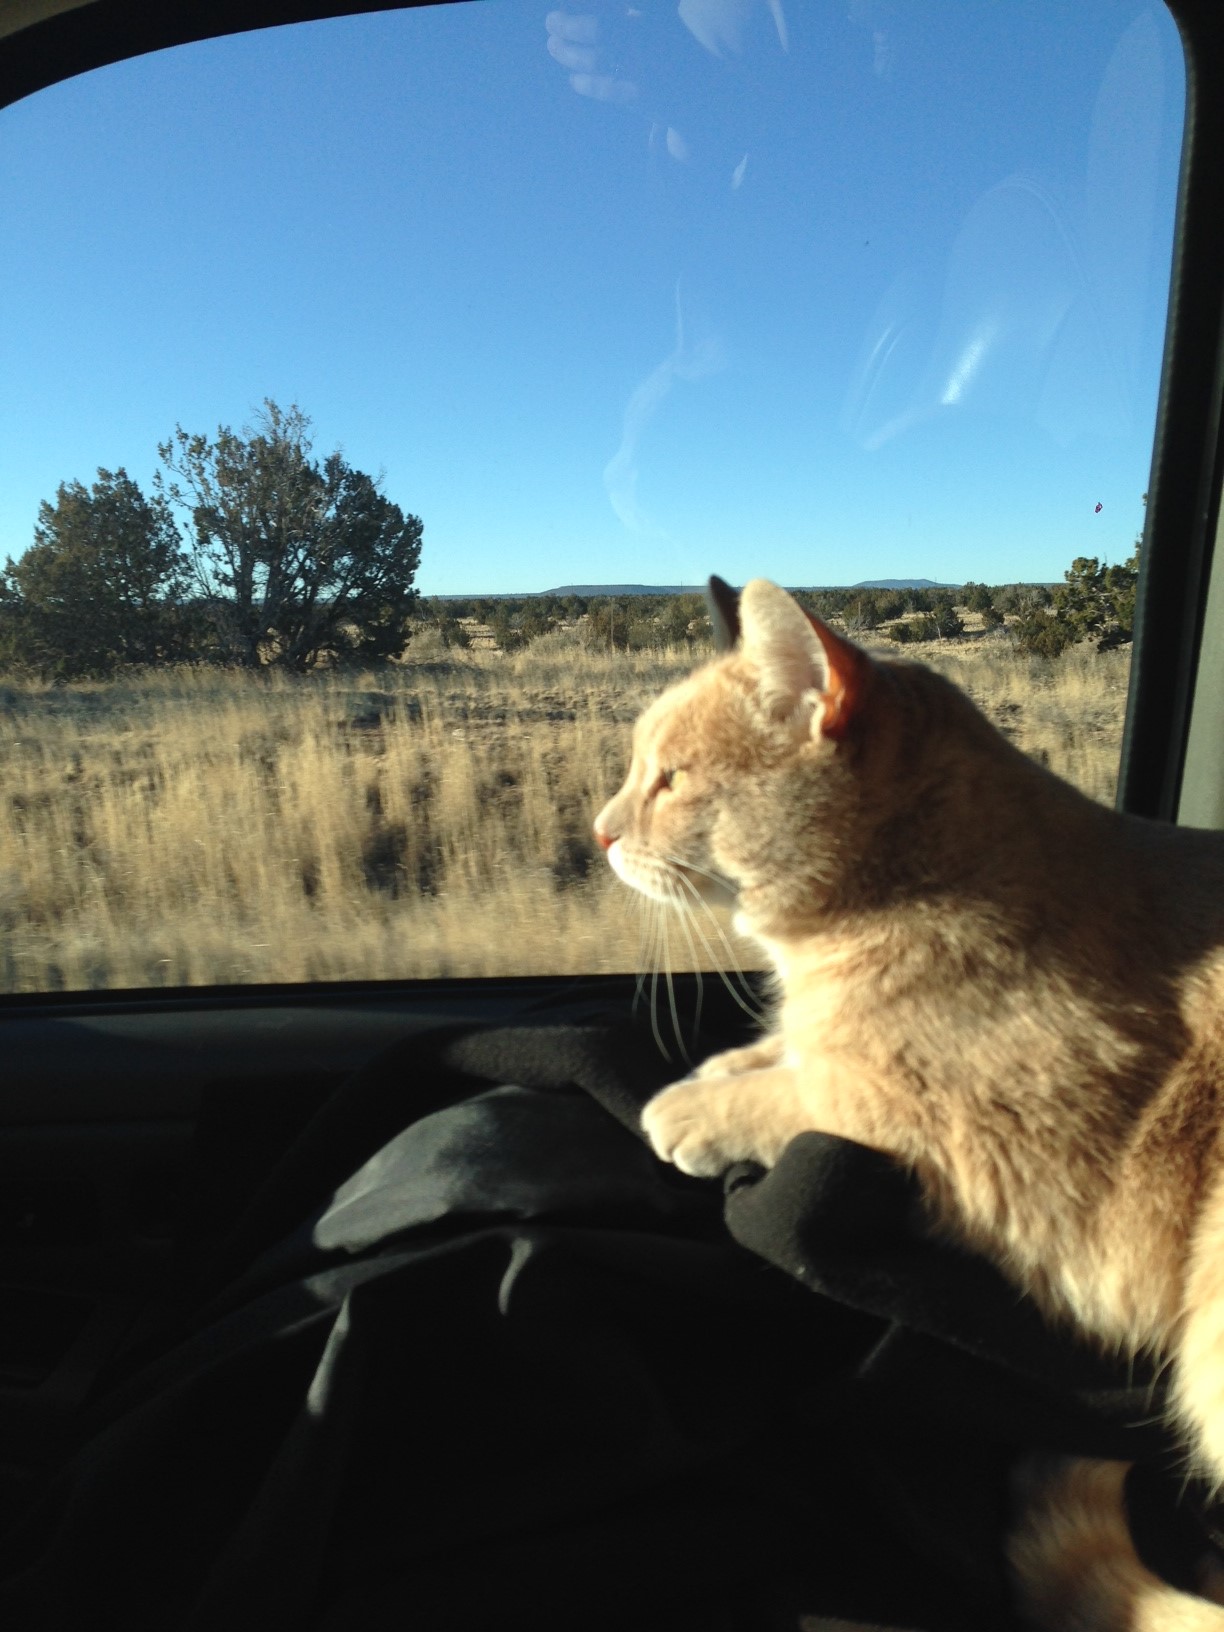
(By the way, I’ve heard from many of you asking if my cat Ginger survived the trip since in our last Genealogy Gems e-newsletter you saw how she had packed herself. Not only did she survive it, she became queen of the car. Here she is perched on the front passenger seat taking in the New Mexico landscape!)
Think You Don’t Have Time to Listen to the Genealogy Podcasts? Here are 5 Occasions When You Can, and Should, Listen:
1. When you are exercising
Many of my listeners are shedding pounds and getting fit while listening to the show. One listener told me she lost over 100 pounds listening to genealogy podcasts thanks to a waterproof mp3 player and her local swimming pool! And like many listeners, Roger in Utah takes the show on his daily walks, enjoying two of his favorite activities simultaneously: walking and genealogy.
2. When you are driving
Here’s an example of how one Genealogy Gems listener, gets into gear: “I recently stumbled upon your podcasts and I must say wow! They were awesome. I listened to episode 1-56 in 10 days. I drive a truck for a living so I have plenty of time to listen.
I was on a genealogy message board and someone mentioned genealogy podcast. I knew my wife had a ipod shuffle lying around so I said hey, let me see if I can find some genealogy podcasts on iTunes. I typed in ‘genealogy’ and up popped a few different choices. I downloaded most of them but yours just caught my attention. Your enthusiasm for genealogy clearly shows through in your podcasts. Your “bubbley” attitude, if I may, is pleasant to listen to and your podcasts are full of history.
I found myself enthralled with the story of the Lennon sisters and their tragic loss of their father and the lady talking about the quilts. Please don’t tell anyone I said that as my truck driving colleagues would razz me to no end if they heard me say that. I can’t count how many times I had to pull my truck over to write down a web site you mentions or a tip you gave. Then I get home and check out the show notes for photos and other goodies. So, just a note to say thanks for helping my day go by and for the great gems that I can’t wait to use when I get home.”
3. When you are cleaning and organizing your home office / genealogy space If you sit down just once a week and sort and clean while you listen to one episode (usually about 45 mintes) you not only be well-informed but your genealogy space will be ready for greater success! (Come on, you know you need to!)
4. When you are scanning old family photos We all have piles of old photos and documents that need scanning. Do double duty by scanning while you listen. Check out Genealogy Gems Podcast Episode 57 for more on photo scanning and preservation with Sally Jacobs, the Practical Archivist.
When you are doing housework, yard work, or working at the office
Genealogy Gems listener Bryan writes: “Whenever I am doing housework, yard work or driving in the car I am listening to you. I have been listening to you for weeks and I am still 3 years behind…I am enjoying these podcast as they are entertaining and informative. I am eagerly trying to listen at every opportunity so that I can get current.”
And Line in Denmark writes: “I recently stumbled over one of your Podcasts, and after listening to just a few episodes I was hooked.I listen to them every day at work. Some times even twice. Extra benefit: I´m shaping up my English!
And where there’s a will, there’s a way! Here are 5 Ways to Listen:
On your computer (through this website)
On your iPad or Tablet (via the Genealogy Gems App)
On your smartphone (via the Genealogy Gems App)
MP3 Player (Load it up with downloaded episodes from the website, or through iTunes)
Burned CD (Use iTunes to burn the downloaded MP3 files to CD and play it on your stereo)
May is Mystery Month, so the Genealogy Gems Book Club is spotlighting a favorite genealogical mystery series writer: Nathan Dylan Goodwin. In his latest, forensic researcher Morton Farrier finally confronts his own past.
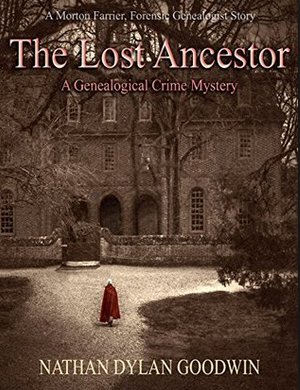
We first met British novelist Nathan Dylan Goodwin when we featured his novel The Lost Ancestor in the Genealogy Gems Book Club. The hero, Morton Farrier, is a forensic genealogist. He’s dogged, thorough and totally likeable. Morton now appears in an entire series about his research adventures–both his professional ones and his personal ones. We think they’re all worth reading! Enjoy them individually–or grab the value bundle on Kindle.
Here’s the lowdown on the full series or Morton Farrier mysteries, in order:
Hiding the Past.In this debut novel, we meet British genealogist Morton Farrier. He’s tenacious and thorough, qualities that make him an excellent investigator–but put him in danger when he starts investigating the mysterious identity of Peter Coldrick. Despite the clear danger to himself and his tough-and-adorable fiance Juliet (a police officer), Morton won’t back off. Meanwhile, he learns a startling truth about his own roots.
The Lost Ancestor. Morton is hired to find out what happened to his client’s great-aunt Mary, who disappeared without a trace a century ago while working as a maid at a grand English estate (gotta love the Downtown Abbey-style drama!). This is the book we featured in the Genealogy Gems Book Club, which Nathan talked about in the Genealogy Gems Podcast episode 180 (free excerpt) and the Genealogy Gems Premium Podcast #124 (subscriber-only).
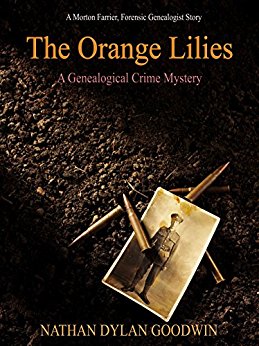
The Orange Lilies: A Morton Farrier novella. Morton confronts a long-standing mystery in his own family–one that leads him just a little closer to the truth about his personal origins. This Christmas-time tale flashes back to Christmas 1914: World War I, to a turning point in his relatives’ lives. Don’t miss it!
The America Ground. A no-man’s piece of land–formed from the sea as Hasting Harbor silted in–became home to a lawless neighborhood where a woman was killed more than 180 years ago. It falls to Morton Farrier to uncover her story. Distracted by the unfolding mystery of his own parentage, he doesn’t realize the danger he’s unwittingly stumbled into until it’s almost too late.
The Spyglass File: A Morton Farrier novella. A client’s unknown past leads Morton to a young woman’s secret mission during World War II. Her name ends up in the mysterious Spyglass File, a subject so dangerous that Morton has bad guys after him as soon as he starts prying. He may or may not get kidnapped right before he’s supposed to marry the lovely Juliette. Meanwhile, Morton anguishes over the continuing mystery of his own roots.
The Missing Man. Morton Farrier can’t wait any longer: he must unravel the mystery of his own past. Who is his American father and why did he disappear from his mother’s life, despite letters evidencing his devotion? What, if any, role did a devastating house fire play in his disappearance? Morton and Juliet head to the east coast in the United States to confront surviving relatives, learn what they can about Harley Jacklin and help Morton come to terms with whatever he discovers.
On his must-read list of genealogical fiction are two we’ve mentioned on the Genealogy Gems Book Club page:
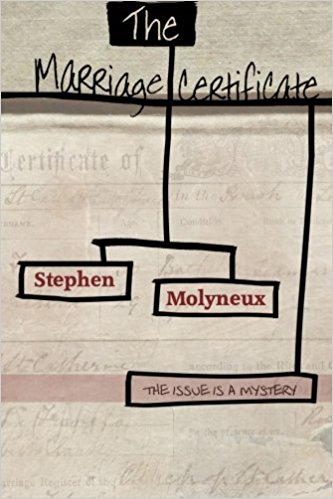
The Marriage Certificate by Stephen Molyneux. Peter, a genealogy buff, buys a marriage certificate on display at an antiques gallery. He begins researching the couple with an idea of returning the certificate to them. Eventually he uncovers several secrets, one with some money attached to it, but others are also chasing this money. Surprise twists bring the story into the present day and Peter has a chance to become a hero.
The Forgotten Garden, a novel by Kate Morton. Recommended by a Gems fan. The premise was inspired by Kate’s own family history: “A tiny girl is abandoned on a ship headed for Australia in 1913. She arrives completely alone with nothing but a small suitcase containing a few clothes and a single book—a beautiful volume of fairy tales. She is taken in by the dockmaster and his wife and raised as their own. On her twenty-first birthday, they tell her the truth, and with her sense of self shattered and very little to go on, ‘Nell’ sets out to trace her real identity.”
Keep up with great reading recommendations like these ones! Follow the Genealogy Gems Book Club. Click here to see what else we’ve recommended.
The New Jersey Death Index tops this week’s list of new and updated U.S. genealogy records online. Along with a Native American census collection, our list includes family history records for Georgia, Illinois, New York, North Carolina, Tennessee and Virginia. Among...
Record collections and digital archives of US history reveal fascinating stories from our collective past. Here we report on resources relating to the US Colored Troops in the Civil War, old Southern architecture, higher education in Virginia, Southern burial grounds,...


 I had over 1650 miles to drive last weekend to make the move from California to Texas. And I’m notorious for getting sleepy on car rides.