Our Black Friday genealogy sale is on! Start with a limited-time FREE viewing of the new Premium video, Your Guide to Cloud Backup. Then snatch up rare and exclusive savings on Backblaze cloud backup service, a new mobile genealogy bundle, and our new Irish guide and Irish genealogy guide bundle!
Backblaze Cloud Backup Sale: A Genealogy Gems Exclusive
Backblaze continually backs up all your computer files to a remote ‘cloud’ server. In the event of any loss (including a computer crash), all of your files can be restored. Ensure your research is protected from disaster with Backblaze!
Use coupon code gems2017cyber for 10% off any new Backblaze subscription. Offer good through November 27, 2017. Check it out at www.Backblaze.com/Lisa.
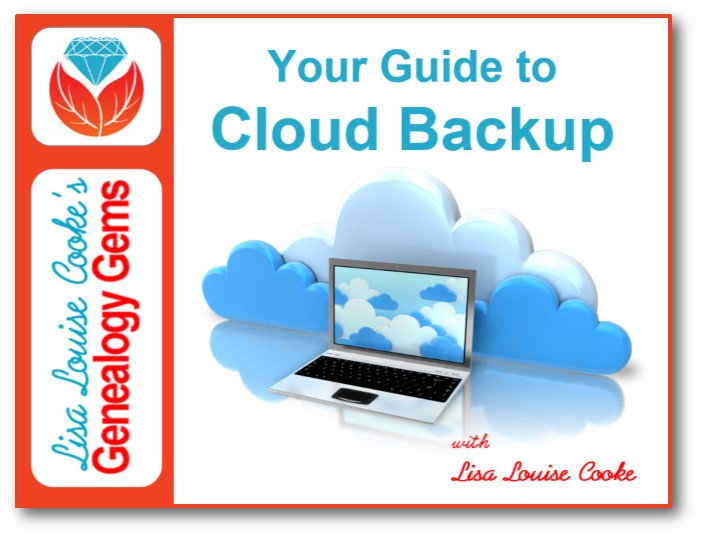
Not Sure About the Cloud? Watch this Free Video Now
Now through next Monday, November 27, 2017, you can watch the new Genealogy Gems Premium Video for FREE. In this brand new, half-hour video tutorial, Lisa Louise Cooke will provide answers to questions like:
What is cloud backup?
Why should I use cloud backup?
How does cloud backup work?
Is cloud backup safe?
What should I look for when selecting a cloud backup service?
Mobile Genealogy: How to Use Your Tablet & Smartphone for Family History Research
by Lisa Louise Cooke (paperback book)
Whether you have an iPad, an Android tablet, or a smartphone (or all three), Mobile Genealogy will help you put them to work for your genealogy research. Explore apps in-depth, get the latest cutting-edge strategies for mobile genealogy and family history, and use Lisa’s tips and tricks to make your mobile device a genealogy powerhouse!
Using Social Media for Family History
by Lisa Louise Cooke (45 min. video)
Discover how sharing your research on social media can benefit you, your family, and your research. Lisa will focus on two of the top site that you might not be using: Pinterest and Instagram. They are fun and easy to use, and the perfect place to reach the next generation.
The bundle is a $39.90 value but this weekend you’ll pay just $19.95.
Available through Monday, November 27. Click here to buy it now! (Bundle includes print book and video class download. Book ships to U.S. and Canada only.)
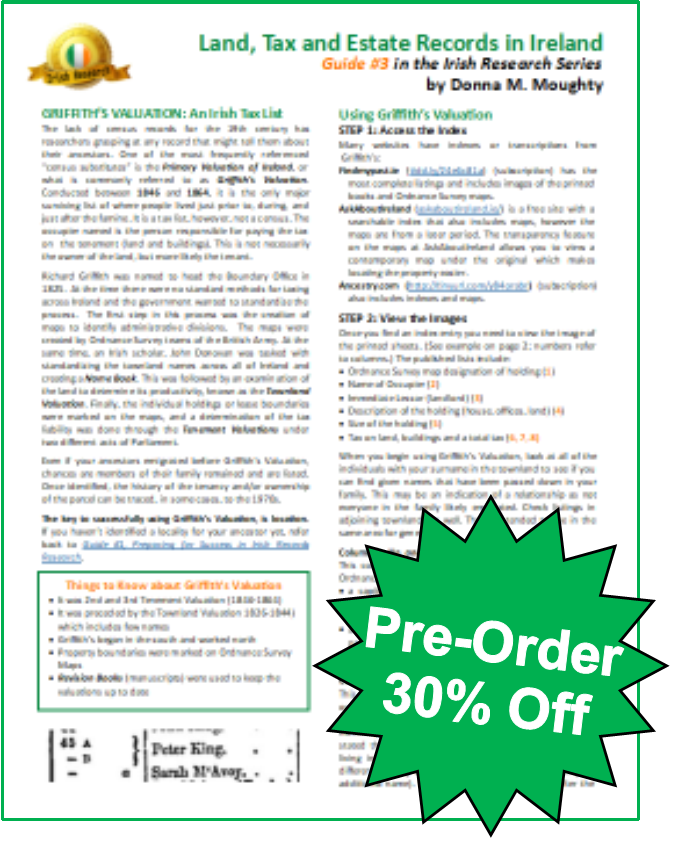
NEW Irish Genealogy Guide #3: Land, Tax and Estate Records
Donna Moughty’s Irish Guide series has proven so popular, we’re adding a third one! Jump on our Black Friday pre-order sale (shipping begins approximately Dec. 11, 2017) and you’ll get 30% offIrish Guide #3: Land, Tax, and Estate Records.
This Guide explains how and why Griffith’s Valuation was done, and how to use it to glean the most information about your family. After Griffith’s Valuation, the Revision Books allow you to follow the land and in some cases, to the 1970s, possibly identifying cousins still living on the land. Quick reference guide includes:
Explanation of the columns in Griffith’s Valuation
Save even more! Get 40% off the entire 3-guide Irish genealogy research bundle by Donna Moughty:
Irish Guide #1: Preparing for Success in Irish Records Research
Irish Guide #2: Irish Civil Registration and Church Records
Irish Guide #3: Land, Tax, and Estate Records
Purchase all three for only $20.90 through Monday, November 27, 2017. (Guides ship to U.S. and Canada only. Shipping estimated to begin December 11, 2017 on orders including Irish Guide #3.)
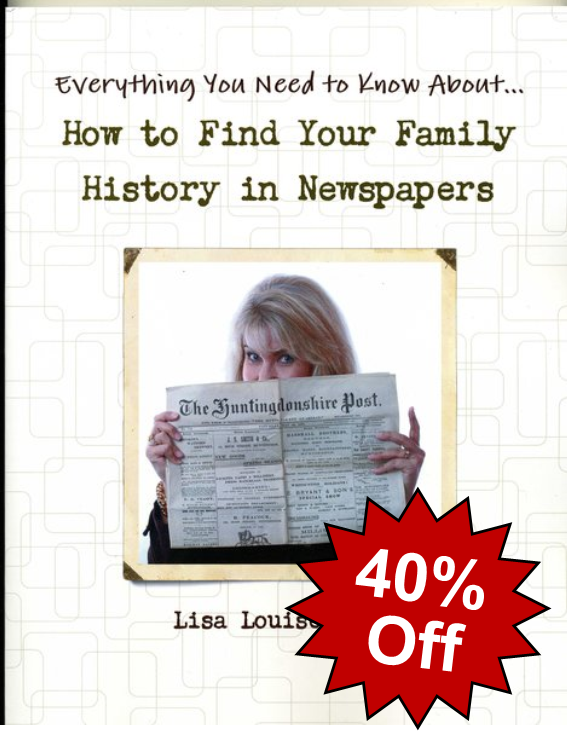
40% offHow to Find Your Family History in Newspapers
Lisa Louise Cooke’s tried and true methodology for genealogical newspaper research! If you think you know how to search for newspapers, this book will make you think again.
Please share these gems with your genealogy friends–or send them as your “wish list” to a loved one. Remind them to act quickly as these offers are only good through Monday, November 27, 2017.
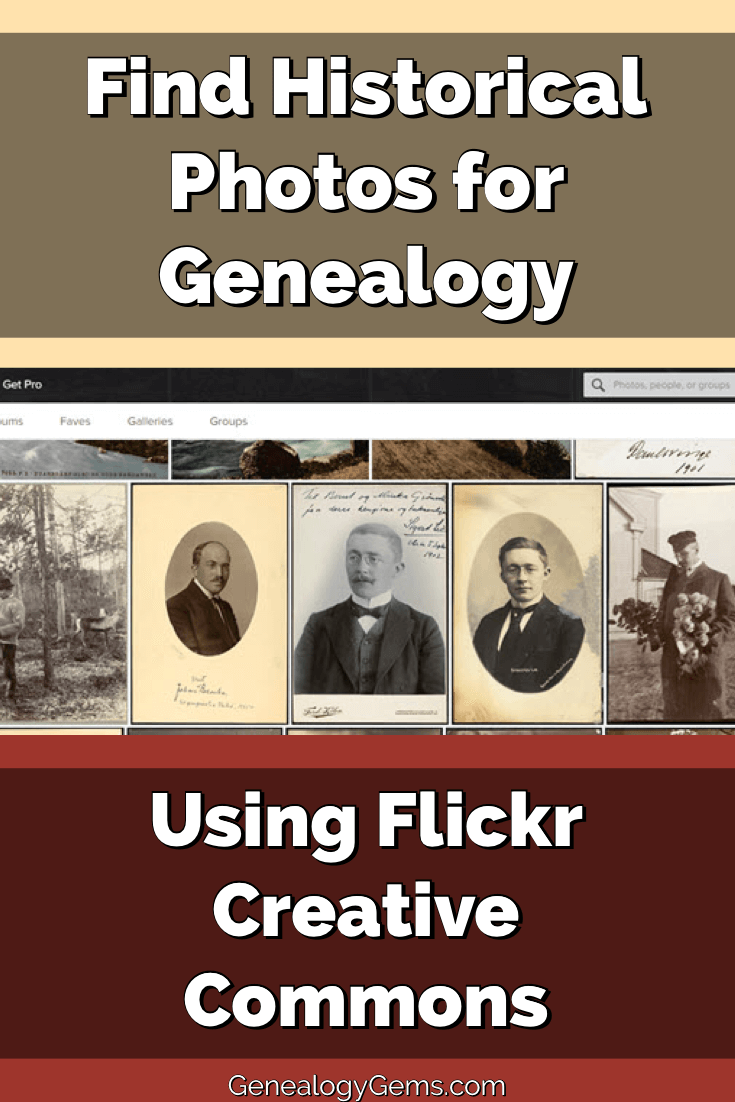
Historical photos and images can bring depth and understanding to genealogical findings. In the case of sharing your family history with others in your family who don’t share your passion for genealogy, they are an essential part of bringing family history to life.
Flickr is a popular photo, image and video hosting and sharing service. It’s a great platform for sharing your favorite photos with family and friends. It’s also an excellent place to find images that fit into your family history.
An important part of the Flickr world is Creative Commons, which describes itself as part of a “worldwide movement for sharing historical and out-of-copyright images.”
Groups and individuals alike upload old images, tag and source them, and make them available to others through the Creative Commons. And when it comes to groups, the list of participants is impressive.
The British Library photostream features over a million images in its photostream! And a robust collection of historical photos and images can be found at the (U.S.) Library of Congress photostream, with over 34,000+ photos.
Searching the Creative Commons
When searching the Creative Commons, be sure to look for your favorite libraries and historical societies. If you don’t find them today, don’t worry. Check back regularly because new content is being added all the time.
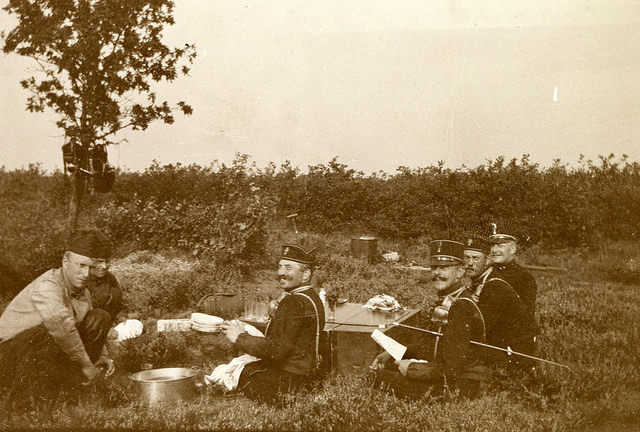
Here’s another example of what you can find at the Creative Commons. The Netherlands Institute of Military History (Nederlands Instituut voor Militaire Historie) has a photostream.
“Exercise Field Artillery Corps” album, image AKL092038, Netherlands Institute of Military History uploads at Flickr Creative Commons, https://www.flickr.com/photos/nimhimages/16026248719/.
According to the Netherlands Institute of Military History blog, “The Institute exists to serve all those with an interest in the military past of the Netherlands. Its sphere of activities covers the Dutch armed forces on land, at sea and in the air, from the sixteenth century until now. The staff of the NIMH administer a unique military history collection containing approximately 2 million images, of which they will be uploading many to the site.”
Back in 2015 when we first wrote about their brand new photostream it only included a couple dozen images, like the one shown here. Today they have well over 3,300.
Tips for Finding and Using Historical Photos at the Creative Commons
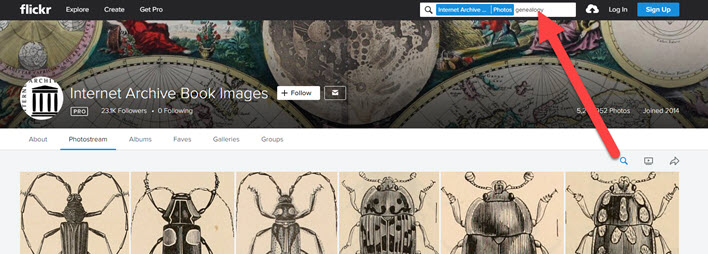
Searching for Historical Photos: On a photostream home page, click the search icon (magnifying glass) just above the first row of photos in the upper right corner. A search box will pop up at the top of the page. Enter Keywords to search for images within that photostream. (Image below)
Location isn’t Everything: Just like with brick and mortar libraries, don’t let the location of the library or archive hosting the photostream fool you! Their collections are not limited to only items in their area. If you’re in search of something specific, try the Flickr Advanced Search page here.
Understanding Downloading and Copyright: Those who post images to Flickr Creative Commons offer different rights to those who want to download and use their images. Described here (and searchable here by the kinds of rights you want), those rights may include the ability to use a photo as long as it’s for noncommercial purposes and proper credit is given. Perfect for a responsible, source-citing genealogist!
10 Favorite Flickr Photostreams with Historical Focus
It would be impossible to list all of the potential photostreams at Flickr’s Creative Commons that feature historical photos, so I won’t even try. However, I’m happy to provide this list of favorites, which illustrates the breath and depth of possibilities. I hope it inspires you to search out your favorite library or archive at the Creative Commons.
(Organized by number of photos)
Internet Archive Book Images
5,240,000+ Photos
Though not currently organized by Albums or Galleries, there is something here for absolutely everybody! Use the search feature to zero in on what you want. (See tips section below)
The British Library
1,000,000+ Photos
A gloriously eclectic mix of images. Just one example: World War I: The Canadian Experience. This photo album covers 1895 and 1924, and contain depictions of Canadians’ experiences of the First World War. From the British Library: “Either produced by photographers on home soil or individuals in Europe employed by Lord Beaverbrook’s ‘Canadian War Records Office’ the photographs provide a wide ranging account of the many Canadians involved in and impacted by the war.”
The National Archives UK
20,000+ Photos
the UK government’s official archive contains more than 1,000 years of history, so their photostream is not to be missed! Nicely organized into Albums focused on location, the images offer a sampling of their massive holdings.
The U.S. National Archives
16,500+ Photos
Nicely organized into a vast array of albums, these photos represent only a small sampling of the photographs in their collection which totals more than 25 million photos and 20,000 graphic images. Early on they focused on uploading photos from the Women’s Bureau, the Environmental Protection Agency, and a few staff favorites. According to the National Archives, “These photographs, most taken by agents of Federal agencies over the years, cover a wide range of subjects and themes documented in the work of the United States government. Higher resolution versions of many of these images can be obtained from the U.S. National Archives by following the links located below each image.”
SMU Libraries Digital Collections
10,000+ Photos
Southern Methodist University Digital Collections includes the digital libraries and online digital collections from the six SMU Libraries. You’ll find an emphasis on digital collections of Mexican photographs, locomotives, Texas history, art, and currency notes, and more.
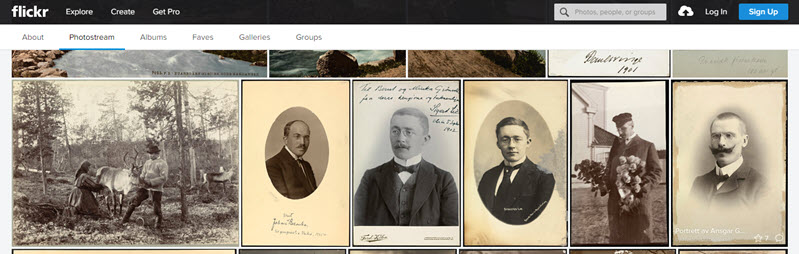
National Library of Norway
3600+ Photos
These images either fall in the public domain or the copyright belongs to the library and has been wavered. You’ll find photos, postcards, stereograph cards and other ephemera depicting life in Norway. With all of the portraits you may just spot an ancestor!
National Library of Norway photostream
The New York Public Library
2500+ Photos
Considering how many Americans passed through New York, this photostream is definitely worth a visit.
National Library of Ireland on The Commons
2500+ Photos
Here you’ll find a range of items from the Ephemera Collections of the National Library of Ireland. They provide a snapshot of different periods in Ireland’s social, political, economic and cultural history. They’ve also added items from their Manuscript collections, Prints and Drawings, Exhibitions, as well as photos from Library Events.
UBC Library Digitization Centre
of the University of British Columbia
2400+ Photos
Just one of many Canadian library photostreams, the UBC Library shows off it’s diverse image collection in well organized albums. My personal odd-ball favorite is the Tremaine Arkley Croquet Collection!
Library Company of Philadelphia
1280+ Photos
They’ve organized their current photo collection into more than 50 albums, making it easy to quickly spot the historical collections. Notable albums feature unique historical images from the Civil War era.
VIDEO & SHOW NOTES: Video #4 of our 25 Websites for Genealogy Playlist. In this video, my guest presenter Gena Philibert-Ortega covers digital collection websites that are must-haves for family history research. You’ll find plenty of genealogy gems waiting for free at websites #18 through 22.
Websites 18 through 22 of our 25 Websites for Genealogy
Some of these websites will be new to you, and others are going to be very familiar to you. In talking about the familiar websites, I want to get you thinking about them differently, explain a little bit more about what you can do at these websites, and how to get the most out of them.
In this series of 25 Websites for Genealogy, we’re going to be looking at websites in different categories. Our third category is Digital Collection websites (#18 through 22).
At the DPLA you can search for public domain research materials that will benefit your genealogy research. It offers a searchable access to millions of items including photographs, manuscripts, books, sounds, moving images, and more from libraries, archives, and museums around the United States.
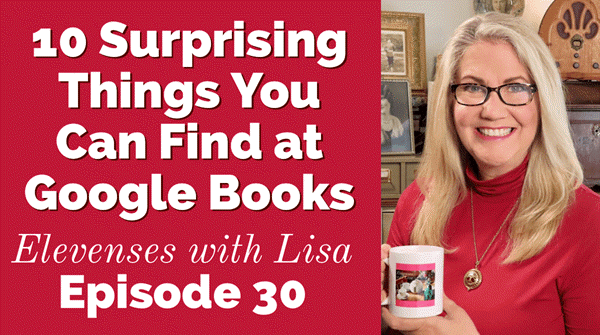
According to Lisa Louise Cooke, Google Books is the tool you should use every day for genealogy. It puts 25 million digitized and searchable free books at your fingertips.
Learn much more about how to get the most out of Google Books with these videos by Lisa Louise Cooke:
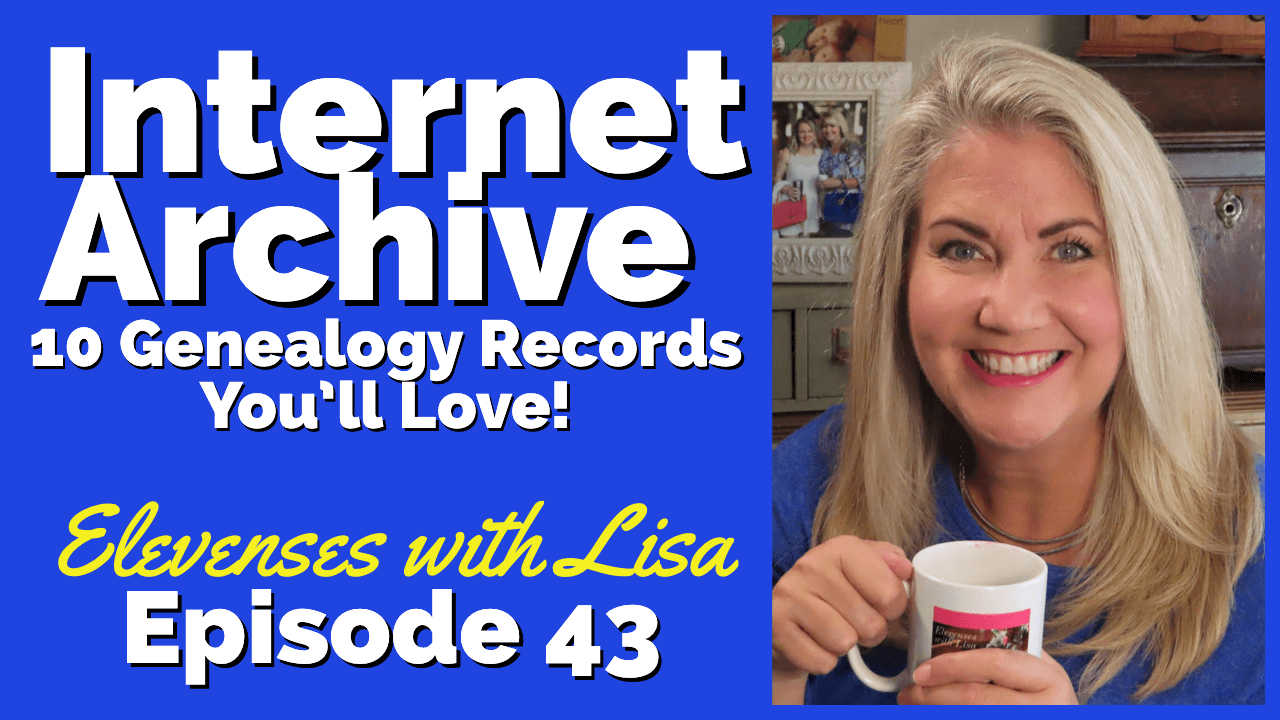
If you’re looking for new information about your family history, an important website to add to your research list is the Internet Archive. It’s a free website that attempts to archive the web, and that includes a vast array of genealogy materials!
Founded in 2008, the non-profit HathiTrust provides access to 18+ million digitized items in the HathiTrust Digital Library. Reading access varies depending on the item and whether you belong to a participating organization, but it’s definitely worth a look.
StoryWorthfor Father’s Day: Invite your dad to share stories with loved ones every week, and then get them all bound in a beautiful hardcover book at the end of the year. Go to http://www.storyworth.com/lisa for $20 off when you subscribe. This Father’s Day is actually a gift for you, too!
Click here to view several recent Friday records posts and see what new records have appeared online lately!
Tell Lisa Louise Cooke about your “Friday records post” discoveries or anything else at genealogygemspodcast @ gmail.com or call the podcast voicemail at 925-272-4021.
Listen to the Family History: Genealogy Made Easy podcast by Lisa Louise Cooke. It’s a great series for learning the research ropes and well as refreshing your skills.
Listen to Lisa’s other podcast
Lisa Louise Cooke uses and recommends RootsMagic family history software. Visit www.RootsMagic.com
Lisa Louise Cooke uses and recommends RootsMagic family history software. From within RootsMagic, you can search historical records on FamilySearch.org, Findmypast.com and MyHeritage.com.
Keep your family history research, photos, tree software files, videos and all other computer files safely backed up with Backblaze, the official cloud-based computer backup system for Lisa Louise Cooke’s Genealogy Gems. Learn more at https://www.backblaze.com/Lisa.
MAILBOX: MILITARY DRAFT REGISTRATIONS
Click hereto read about finding military draft registrations
INTERVIEW: JIM BEIDLER ON PENNSYLVANIA RESEARCH QUESTION
Lisa Louise Cooke, Host and Producer
Sunny Morton, Editor
Hannah Fullerton, Audio Editor
Lacey Cooke, Service Manager
Disclosure: This page contains affiliate links and Genealogy Gems will be compensated if you make a purchase after clicking on these links (at no additional cost to you). Thank you for supporting this free podcast and blog!


 Now through next Monday, November 27, 2017, you can watch the new Genealogy Gems Premium Video for FREE. In this brand new, half-hour video tutorial, Lisa Louise Cooke will provide answers to questions like:
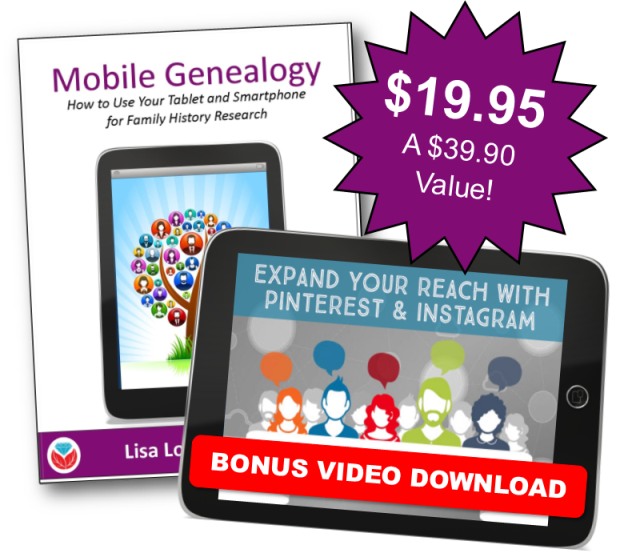
 Donna Moughty’s Irish Guide series has proven so popular, we’re adding a third one! Jump on our Black Friday pre-order sale (shipping begins approximately Dec. 11, 2017) and you’ll get 30% off Irish Guide #3: Land, Tax, and Estate Records.
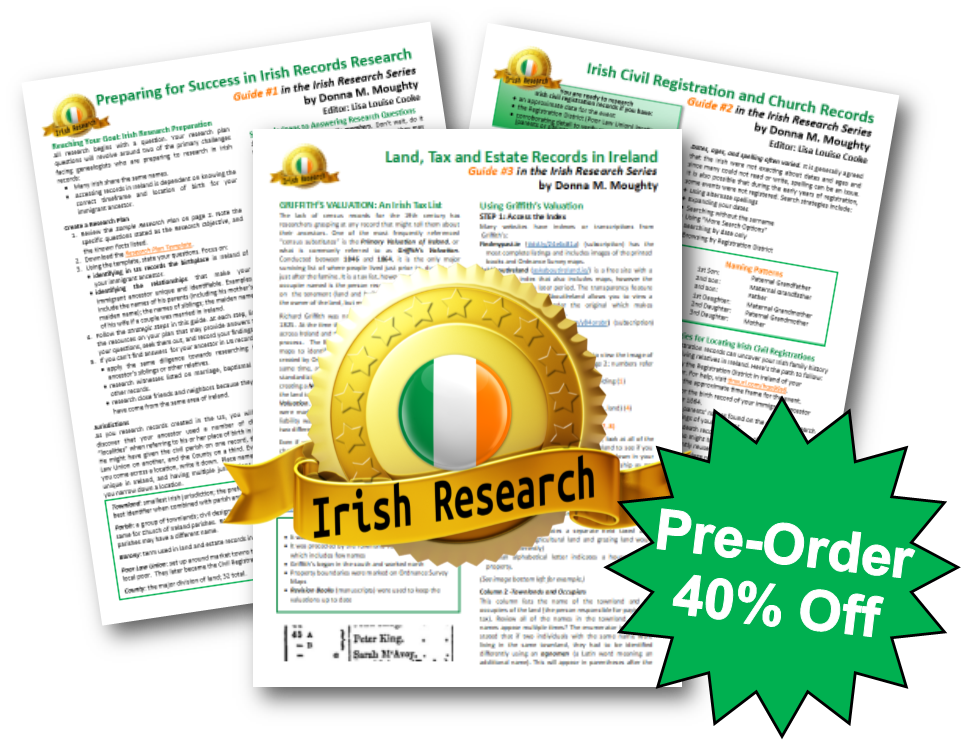
 Lisa Louise Cooke’s tried and true methodology for genealogical newspaper research! If you think you know how to search for newspapers, this book will make you think again.