Please take our quick podcast survey which will take less than 1 minute. Thank you!
In this episode:
Exploring what you can do to go deeper in your genealogy research for a more accurate family tree with Elissa Scalise Powell
Irish genealogy podcaster Lorna Moloney, a professional genealogist with Merriman Research, discusses Irish genealogy.
Mailbox
Marcia Finds Treasure on eBay
“I recently remembered your idea of searching for family related things on eBay.
My grandfather and his brother both worked as agents for the Wrought Iron Range Co. of St. Louis. They sold excellent quality wrought iron stoves and my great uncle did very well there as a supervisor.
I did a search for the Wrought Iron Range Co on eBay and immediately pulled up a history of the company, an advertisement for the range and a metal they gave away. I bought them all!
However, the best goodie which I am still bidding on is a “salesman’s sample Wrought Iron Range stove about 12 inches tall and 14 inches long in color and with all working parts.
(Photo: The stove Lisa inherited from her grandmother.)
I may not win the bid, but I am thrilled with what I found.
This will bring my grandfather’s occupation to life for my great nephews!!!!”
“I came across a new site that you might like to inform your listeners about. It is very new and just getting started, so I know they would appreciate a mention.
The name of this new site is “German Letters in Letters” [germanletters.org]. What they are doing is trying to collect letters written between German immigrants to the US and their relatives back home in Germany.
You can very easily submit scanned copies of any letters you have and the really neat thing is that they will post them at their site. Once they post them, they are asking for translations by any volunteers. So, this is an excellent way to have any letters in your possession to be translated….. for FREE!
I was given about 30 letters written to my GG grandfather, Johann Bernard Husam, who immigrated to Adams Co., Illinois about 1855.
They are from his siblings, nieces, and a nephew back in Germany. They range from 1866 to the early 1900s.
I scanned them and they are now on this site. I was given these letters by great granddaughter-in-law [my aunt] who spoke German as she had grown up in the Sudetenland area of Czechoslovakia. She had escaped Czechoslovakia at the end of WWII before the Russians invaded. She, thankfully, had translated all of the letters.”
Resource:
Learn more about German research from these articles at Genealogy Gems.
What Ann Likes About the Podcast
Hi, Lisa, I’d love to say that your podcast has helped me with a genealogy brick wall but at this point I’m only a “drop-in genealogist,” figuring that I’m the only one in the family interested at this time (working on one grandson though, because I think he’d be a real asset) in finding and preserving family stories.
I do research in fits and starts. But, I do love your podcasts. I’m catching up on back episodes now and recently listened to one that started with you describing a granddaughter’s first Christmas coming up.
It reminded me of one of the best things about your podcasts – it’s like you’re sitting in my living room with me, having a cup of tea, discussing your stories and tips and tricks to help with mine.
Thank you so much for all the information, and for your casual, personal, yet professional style!”
Kristine is No Longer a “Cooke-Cutter” Researcher
“I just retired and guess what is first on my list of things I WANT to do? 🙂 I jumped in with both feet listening to your Premium podcasts and realized a few times that I am the ‘cookie-cutter’ researcher. But, no more. You are the Captain of my ship now. Thank you!
After binging on your podcasts the last two weeks, the first bit of advice I took was changing the way I searched on Newspapers.com. My family’s everyday life’s treasures were buried in the pages of the local news! You made me take a second look after I dismissed the possibility of ever reading about them.
Thank you so much for your dedicated work on behalf of all the genealogists. My Premium subscription will NEVER run out. When a family member says “I don’t know what to get you” I’m prepared to solve that dilemma!
GEM: Overcoming Shallow Research with Elissa Scalise Powell
About today’s guest:
Elissa Scalise Powell, CG, CGL, is co-director of the Genealogical Research Institute of Pittsburgh (GRIP); past-president of the Board for Certification of Genealogists, and 2017 She won the Association of Professional Genealogists Professional Achievement Award. She is a Certified Genealogist®, and Certified Genealogical LecturerSM. You can reach Elissa at Elissa@PowellGenealogy.com. (Thank you to Elissa for contributing notes for this episode.)
The Genealogical Proof Standard (GPS)
The Genealogical Proof Standard was created to help genealogists gain confidence in their research conclusions by providing criteria that can be followed. A genealogical conclusion is considered proved when it meets all five GPS components.
The 5 Components of the GPS
Reasonably exhaustive research – This type of research emphasizes original records that provide the information for all evidence that might answer a genealogist’s question about an identity, relationship, event, or situation
Complete, accurate citations to the source or sources of each information item contributing—directly, indirectly, or negatively—to answers about that identity, relationship, event, or situation
Tests—through processes of analysis and correlation—of all sources, information items, and evidence contributing to an answer to a genealogical question or problem
Resolution of conflicts among evidence items pertaining to the proposed answer
A soundly reasoned, coherently written conclusion based on the strongest available evidence
Resource
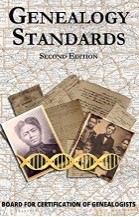
The book Genealogy Standardsby the Board for Certification of Genealogists provides a standard by which all genealogists can pattern their work.
About Sources
Some sources are considered “Low-hanging fruit.” They can be described as:
straightforward research
easily accessible
record type is easily understood
document states the fact desired
Many times, genealogists will need to stretch and reach for harder to find sources. These types of sources are:
not straightforward
possibly unknown to you at this time
not easily accessible
time-consuming to explore
take study to understand it
not self-explanatory
Elise’s Examples of the Pitfalls of Shallow Research
Believing that family stories have been accurately passed down in all details.
Believing that official documents are always correct.
Believing that published records, especially transcriptions or abstracts, are faithful representations of the original.
Premature conclusions can come back to haunt us.
Disregarding ill-fitting evidence can create brick walls.
Careless citation practices do not give us the tools we need for analysis.
Researching and understanding historical context is crucial to solving problems.
Barriers requiring expertise beyond our own should not hamper the research process.
Assuming there is only one record and suspending research when the first one is found.
Assuming that details are unimportant, or not noticing them at all.
Elissa also points out that when we do shallow research, we can actually do more harm than good. Shallow genealogical research:
Doesn’t allow our ancestors to reveal themselves or their reasons for actions
Puts them in the wrong time and place
Can create wrong kinship ties
Misleads future researchers
Causes brick walls
Wastes our time
Does a disservice to our current family and descendants
GEM: Irish Genealogy with Lorna Moloney of Merriman Research
While speaking at THE Genealogy Show conference in Birmingham England in June of this year I got a chance to sat down for the first time with Lorna Moloney host of The Genealogy Radio show which is produced at Raidio Corcabaiscinn. It airs live on Thursday at 4p.m. and is podcast (click here for episodes). Lorna runs Merriman Research which is dedicated to bringing educational solutions and resources to a wide audience.
In this post I’m going to answer common questions about the best strategy for creating and maintaining your family tree data.
Should I build my family tree online?
This is a question I get in various forms quite often from Genealogy Gems Podcast listeners. But there’s really more to this question than meets the eye. Today’s family historian needs a master game plan for how they will not only build their family tree, but where they will build it, and where they will share it.
On the podcast I describe it this way:
Plant your tree in your own backyard and share branches online.
I’m going to explain what I mean by this by starting at the beginning.
When You Start Your Family Tree
If you’re new to researching your family’s history, you probably started out with one of the big genealogy websites, such as Ancestry, MyHeritage, Findmypast, or FamilySearch. I refer to them as the Genealogy Giants because they have millions of genealogical records, and they offer you the tools to build your family tree on their website. (Learn more about what each of the Genealogy Giants websites have to offer here in this handy comparison guide.)
These sites make it easy to start entering information about yourself, your parents, and your grandparents either on their website or through their mobile app. But should you do that?
My answer is, “not so fast!” Let’s think through the long-term game plan for this important information that is your family’s legacy.
Family is Forever
Genealogy is a hobby that lasts a lifetime. It’s nearly impossible to run out of ancestors or stories to explore.
But have you noticed that websites don’t last forever? And even if they do, their services and tools will undoubtedly change over time.
And there are many, many genealogy websites out there. A large number of them will encourage you or even require you to start creating an online family tree on their site in order to get the most value from the tools that they offer for your research.
As you work with these different genealogy websites, you may start to feel like your tree is getting scattered across the web. It’s easy to find yourself with different versions of your tree, unsure of which one is the most accurate and complete version.
It’s this inevitable situation that leads to my conclusion that you build and protect a master version of your family tree. I’m not suggesting that you can’t or shouldn’t use an online tree. In fact, regardless of whether you do, you need a “Master Family Tree.”
Plant Your “Master Family Tree” in Your Own Backyard
What do I mean when I say that you should plant your “master family tree” in your own backyard? I’m talking about using a genealogy database software program that resides on your own computer. Let’s explore that further.
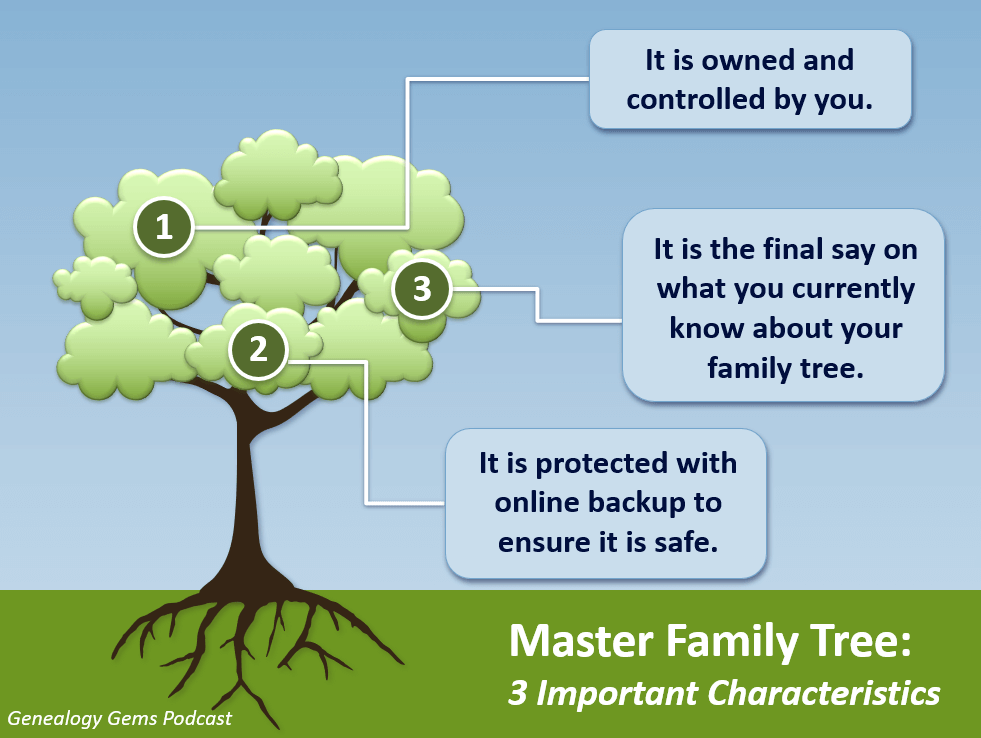
A master family tree has three important characteristics:
It is owned and controlled by you.
It is the final say on what you currently know about your family tree.
It is protected with online backup to ensure it is safe.
Your Master Family Tree
1. Your master family tree is owned and controlled by you.
If you create an online family tree on a genealogy website (or in the case of FamilySearch’s global online tree, you add your information to it) you have given final control of that information to the company who owns the website.
In order to own and control your tree, you will need a genealogy database software program installed on your own computer. I use RootsMagic(and I’m proud to have them as a sponsor of the Genealogy Gems Podcast) but there are other programs as well.
A genealogy database software program is installed on your computer. The program and the data you enter into it belongs to you and is under your personal control.
Genealogy databases allow you to not only easily enter data, but also to export it. If you wish to use a different program later, or add your existing data to an online tree, you can export your family tree data as a universally accepted GEDCOM file. (Learn more about GEDCOM files in this article.)
2. It is the final say on what you currently know about your family tree.
As you research your family tree, you will come to important conclusions, such as an ancestor’s birthdate or the village in which they were born. It can take a while to prove your findings are accurate, but once you do, you need one location in which to keep those findings. And most importantly, you must be able to cite the sources for that information. That one location for all this activity is your genealogy database.
However, the nature of genealogy research is that it can take some digging to prove the information is correct. During the process of that research you may find information that you aren’t sure about, and it can be helpful to attach it to the online tree that you have at the same website where you found the information. That gives you a way to hang on to it and keep researching. You can always remove it later. We’ll talk more about strategies for using online family trees a little bit later.
Once you are convinced that the information is correct, then its final resting place is your Master Family Tree. You enter the information and add source citations. This way, whenever you need an accurate view of where you are in your completed family tree research, you can turn to one location: your genealogy database software and the Master Family Tree it contains.
3. It’s protected with online backup to ensure it is safe.
Your family tree isn’t safe unless the database file is backed up to the cloud.
Who among us hasn’t had a computer malfunction or die?
It isn’t good enough to simply back up your computer files to an external hard drive, because that external hard drive is still in your house. If your house is damaged or burglarized, chances are both will be affected.
Another problem with backing up to an external hard drive is that they can malfunction and break. And of course, there is the problem of remembering to back it up on a regular basis.
Cloud backup solves all these problems by backing up your files automatically and storing them safely in an offsite location.
Cloud backup is actually very simple to install and requires no work on your part once it’s up and running. (We’ve got an article here that will walk you through the process.)
There are many cloud backup services available. I use Backblaze (which you can learn more about here). As a genealogist I have a checklist of features that are important to me, and Backblaze checked all the boxes.
Regardless of which service you choose the important thing is to not wait another day to set it up. This protection is a critical part of your Master Family Tree plan.
Using Online Family Trees
Now that you have your own database on your own computer that is backed up to the cloud for protection, let’s talk about strategic ways that you can use online family trees.
First, it’s important to realize that you don’t have to create a tree on a genealogy website just because they prompt you to do so. While there are benefits for you to doing so, the company who owns that website actually benefits tremendously as well.
In today’s world, data is very valuable. I encourage you to read the terms of service and other fine print (I know, it’s boring!) because it will explain the ownership and potential use of that data.
While it’s not the focus of this article, it’s important to understand that other industries are interested in family history data, and data may be shared or sold (with or without identifying information, depending on the terms).
But as I say, there are benefits to using online family trees. These benefits include:
Hints – Online family trees generate research hints on the Genealogy Giants websites and some of the other websites that offer trees.
Cousin Connection – Online family trees offer you an opportunity to possibly connect with other relatives who find your tree.
DNA – Online family trees can now dovetail with your DNA test results (if you took a test with the company where your tree resides). This can offer you additional research avenues.
These benefits can be helpful indeed. However, problems can arise too. They include:
Copying – When you tree is public other users of the website can copy and redistribute your information including family photos.
Errors – If you discover an error in your tree, you may fix it, but chances are it has already been widely copied and distributed by other users.
Email – If you have your entire tree online and your email notifications are active, you may receive an onslaught of hints for people in your tree. Often these are very distant cousins that you are not actively researching. And let’s face it, the emails can be annoying and distract your focus from your targeted research. For example, as of this writing at Ancestry.com you can’t select which ancestors you want to receive email hint notifications for. You can only select hints for the entire tree.
So, let’s review my strategy:
Plant your tree in your own backyard and share branches online.
Now that you’ve planted your tree in your own backed up software, let’s explore the ways in which you can share branches online.
Targeted Online Family Trees
Many people don’t realize that you don’t have to add your entire tree to a website. You can just add parts of your tree.
For example, I may just put my direct ancestors in my tree (grandparents, great-grandparents, and so forth). This can still be a fairly larger number of people. I may want to include their siblings because they grew up in the same household. But I can leave out the far-reaching branches and relatives that really don’t have a direct impact on that line of research.
You can also have multiple trees that focus on specific areas of your research that are important to you.
Exploratory Online Family Trees
Some genealogists also create trees that represent a working theory that they have. This type of tree can help expose where the problems or inaccuracies lie. As you research the theory and as hints arise it can become very clear that a relationship does not exist after all.
An exploratory tree is an excellent reminder that we can’t and shouldn’t make assumptions about someone’s intent or purpose with their online tree. I’ve heard from many people who are angry about inaccuracies they find in other people’s trees. But we can’t know their purpose, and therefore, it really isn’t our place to judge.
However, it is a fair argument that a good practice would be to clearly mark these exploratory trees accordingly to deter other users from blindly copying and replicating the inaccurate information. An easy way to do this is in the title or name of the tree. For example, a tree could be titled “Jonas Smith Tree UNPROVEN”.
Creating multiple, limited trees can be an effective strategy for conducting targeted online research that only generates hints and connections for those ancestors that you are interested in at the current time.
And remember, you can remove any of your trees at any time. For example, you can delete an exploratory tree that has served its purpose and helped you prove or disprove a relationship.
Plan Now for Success
A family tree can seem like a simple thing, but as you can see there’s more to it than meets the eye. A bit of planning now can ensure that your family tree stays healthy and growing.
Disclosure: This article contains affiliate links and Genealogy Gems will be compensated if you make a purchase after clicking on these links (at no additional cost to you). Thank you for supporting Genealogy Gems!
Among the totally free new US genealogy records recently put online are collections from 8 states: CA vital records and photos, GA Reconstruction oaths, IL photos, MA naturalizations, NY passenger lists, and digital newspapers from NJ, NC, NY and OH. Also: the...
Welcome to this step-by-step series for beginning genealogists—and more experienced ones who want to brush up or learn something new. I first ran this series in 2008-09. So many people have asked about it, I’m bringing it back in weekly segments.
Episode 40: How to Start a Genealogy Blog, Part III: Step by Step
In the last two episodes you’ve been hearing from experienced genealogy bloggers about family history blogging. I hope it piqued your interest and got you thinking about the possibility of doing it yourself. As we’ve discussed, it’s a great way to share your experiences with other researchers and potentially connect with long lost relatives.
Well in today’s episode I’m going to walk you through setting up your own family history blog step-by-step. By the end of this episode you could have your own family history blog up and running and sharing your enthusiasm about genealogy with the world. How does that sound? Are you willing to give it a try? And even if you’re not looking to start blogging today, listen in and plant the seeds for the future.
From the Mailbox:
A long-time listener wrote in this last week about the recent blogging episodes:
“The Transcript software mentioned by Denise Levenick looks great – I downloaded and installed it this morning. I am giving a brief software demonstration at the Greater Portland Chapter of the Maine Genealogical Society’s 30th Anniversary Celebration tomorrow and I am going to let people know about this product.
Episode 38 and Episode 39 have really got me thinking about starting my own blog. It won’t be easy with my 50 hours plus a week civil engineering job, but your podcasts have motivated me. Thank you!” -Will Haskell, Listener to All Your Podcasts
Transcript software is really cool: download the most recent version for free here. And that’s just one example of the kind of great tech tips that Denise Levenick blogs about at The Family Curator Blog!
Follow-up: when republishing this episode, we were curious about whether Will ever started a blog. He did! It’s very cool! Find Will’s Genealogy Blog at http://wchgenealogyblog.blogspot.com/.
Also, listener Anne-Marie had some questions about how to make progress with her Maw-gee research, specifically how to track down their immigration records. She wrote in again to say that she’s going to follow up on our suggestions and let us know what she finds. But she also had some comments about my interview with genealogy blogger the Footnote Maven (Episode 38):
“I have begun listening to Family History and Genealogy Gem podcasts from the beginning again. When I listened the first time I was so novice that I did not always understand what I was hearing. It’s great to have this audio reference guide.”
How to Start a Genealogy Blog: Step by Step
Now before we get started on created your blog let me just say that there are probably countless websites for setting up blogs and certainly countless ways to go about it. My goal in the approach that I’m going to take is to get you up and running in a short period of time for free. This is a great way to get your feet wet, see if it’s for you, and if you decide to get more elaborate with it later you can always do that.
1. Decide what the purpose of your blog is.
When it comes to a genealogy themed blog there are still lots of options – so here are some ideas:
A Research Log
A Surname Focus
Family Traditions, Family Recipes, Photos
Genealogy News
Focus on a certain record type
Provide beginner education
Interviews with relatives
History of an ancestor’s home or community
Have a general all purpose blog
Follow a pattern for each day
And remember the Footnote Maven’s good advice – You can’t be an expert in everything, so don’t even try. To me a good way to stay out of that trap is to stay narrowly focused. If you find yourself having to be an expert in everything you’re blog theme is probably too broad. And of course, be yourself. Do what you do best!
2. Use Blogger (http://www.blogger.com) to create your blog. It’s free, and easy to use.
Blogger is owned by Google so if you already have a Google account than you’re one step ahead of the game. If not that’s the first thing you’ll need to do. Then click “Create Your Blog Now.”
Note: As on any website, the organization and features of Blogger change over time. The following description was current at the time of publication. Use this following descriptions and concepts to guide you through the current version of Blogger.
Name your blog.Of course, the name should reflect what your blog is about, but it’s also good to think of one that is catchy, and one that you can get the URL address for. The URL name you pick has to be something that isn’t already being used, so it might take a few tries.
How to Name Your Blog:
Type in the Title Field
Type the URL you want in the “Blog Address URL” field
click the Check Availability link to see if it is available
Type in the word verification code
Click the CONTINUE button.
3. Select a Design Template:
Scroll through the design templates and pick one you like
Click the select button
Click the CONTINUE button
You’ll get a page that says Your Blog has been created!
Click the orange arrow that says START BLOGGING.
There are a couple of more things we’ll want to do with our blog before we get to the business of actually posting blog articles. First let’s just get familiar with the blog dashboard. This is sort of the “behind the scenes,” an area your readers will never see, but where you will actually do your blogging.
There are 4 tabs along the top: Posting, Settings, Layout and Monetize.
Blog Tune Up: From the Posting Tab….Click the SETTINGS tab. Type up a short description of the blog.
Vocab Word: KEYWORDS
Keywords label your blog so that when readers go searching for a blog to read they will find it. So some good keywords for this new blog that I’m creating would be
Genealogy
Family history
Family tree
Blog
How to
Keywords can be single words or a short keyword phrase such as “family history” which readers will very likely be searching for. Blogger allows you 500 characters.
The rest of your options on this Basic Settings page are mostly about how your content will be labeled and found on the internet. You can take a look through the options but in most cases you will want to leave them on their default settings. When you’re done just click the SAVE SETTINGS button at the bottom of the page. And for right now you can leave all of the other types of settings as is as well. There are about 9 different categories within the Settings Tab that you can tweak, but the default settings on these are just fine for now.
4. Add at least one gadget. Click the LAYOUT tab. I love working with this area because this is where you get to customize the layout and the types of gizmos and gadgets that are on your blog. We don’t want to overdo it but there are some really good ones you’re not going to want to miss.
Blogger will automatically add a couple of gadgets to the sidebar of your blog. They are:
Followers – people who use blogger who subscribe to your blog’s RSS feed.
Blog Archive – This gadget automatically archives your older blog posts.
About Me – This is just a place where you can tell your readers a little more about yourself and include your email address if you wish.
To see what other types of gadgets you can add just click the Add A Gadget link in top side box. That will bring up a window with lots of choices for you:
Search Box
Text
Photos
Slide show
Video Bar
Polls
Lists
RSS feed
Subscription Links
HTML / Javascript
Each one of these is very easy to use and pretty self-explanatory. But I recommend not overloading your blog. Only include, at least to start, the items you really think your readers would get some value from. Otherwise it can just be annoying distraction that gives readers a reason to leave your blog.
How to Add a Picture Gadget to Your Blog:
Cick the plus sign on the right hand side of the page for the PICTURE gadget.
This will bring up a page call CONFIGURE IMAGE.
Give the image a title
Type a Caption
Link to an image on the web OR upload from your computer hard drive.
(To upload from your computer make sure the “From your computer” button is selected and then just click the BROWSE button. Navigate your way to the location of the photo on your computer’s hard drive and select it.) Once the image appears that means it has been successfully uploaded to Blogger.
(If you want to link this image to another website, then you will want to type in the address in the LINK field.)
Click the orange SAVE button and we’re done.
Now you will be back at your dashboard in the Layout mode. You will see that the top box on the side is now labeled as the title you gave your image.
Click the blue PREVIEW button at the top and a preview window will open showing how your blog currently looks and it will include the image you just uploaded.
5. Rearrange Your Gadgets on Your Blog. Hover your mouse over the gadget and your cursor will turn into a cross with arrows. Click and grab the gadget and drag it where you want it and drop it in place. Click the PREVIEW button to see how that looks.
Genealogy Blogging Summary
We’ve made a lot of progress on our blog in a very short amount of time. Take some time this week to take the steps we took in this episode:
Decide on the theme or focus on of your blog
Get a Google Account and create your Blogger blog account with your chosen name and secure the URL address to go with it.
Pick your design template
Add at least one gadget from the choices provided
And move the gadgets you have so far around until they are in the order you want.
Next week we will finish up this family history blogging lesson with adding a few more gadgets and details, doing a bit of pre-planning for our blog posts, publishing your first article, and then talking about how your readers will subscribe to your blog.
Finally, here’s a link to genealogy expert (and blogging guru) Amy Coffin’s blog post, “Another Jones Surprise or Why Genealogists Should Blog.” Next week’s episode will include handouts on Amy’s great ideas for up to a year’s worth of genealogy blog posts by societies or individuals—you won’t want to miss that!
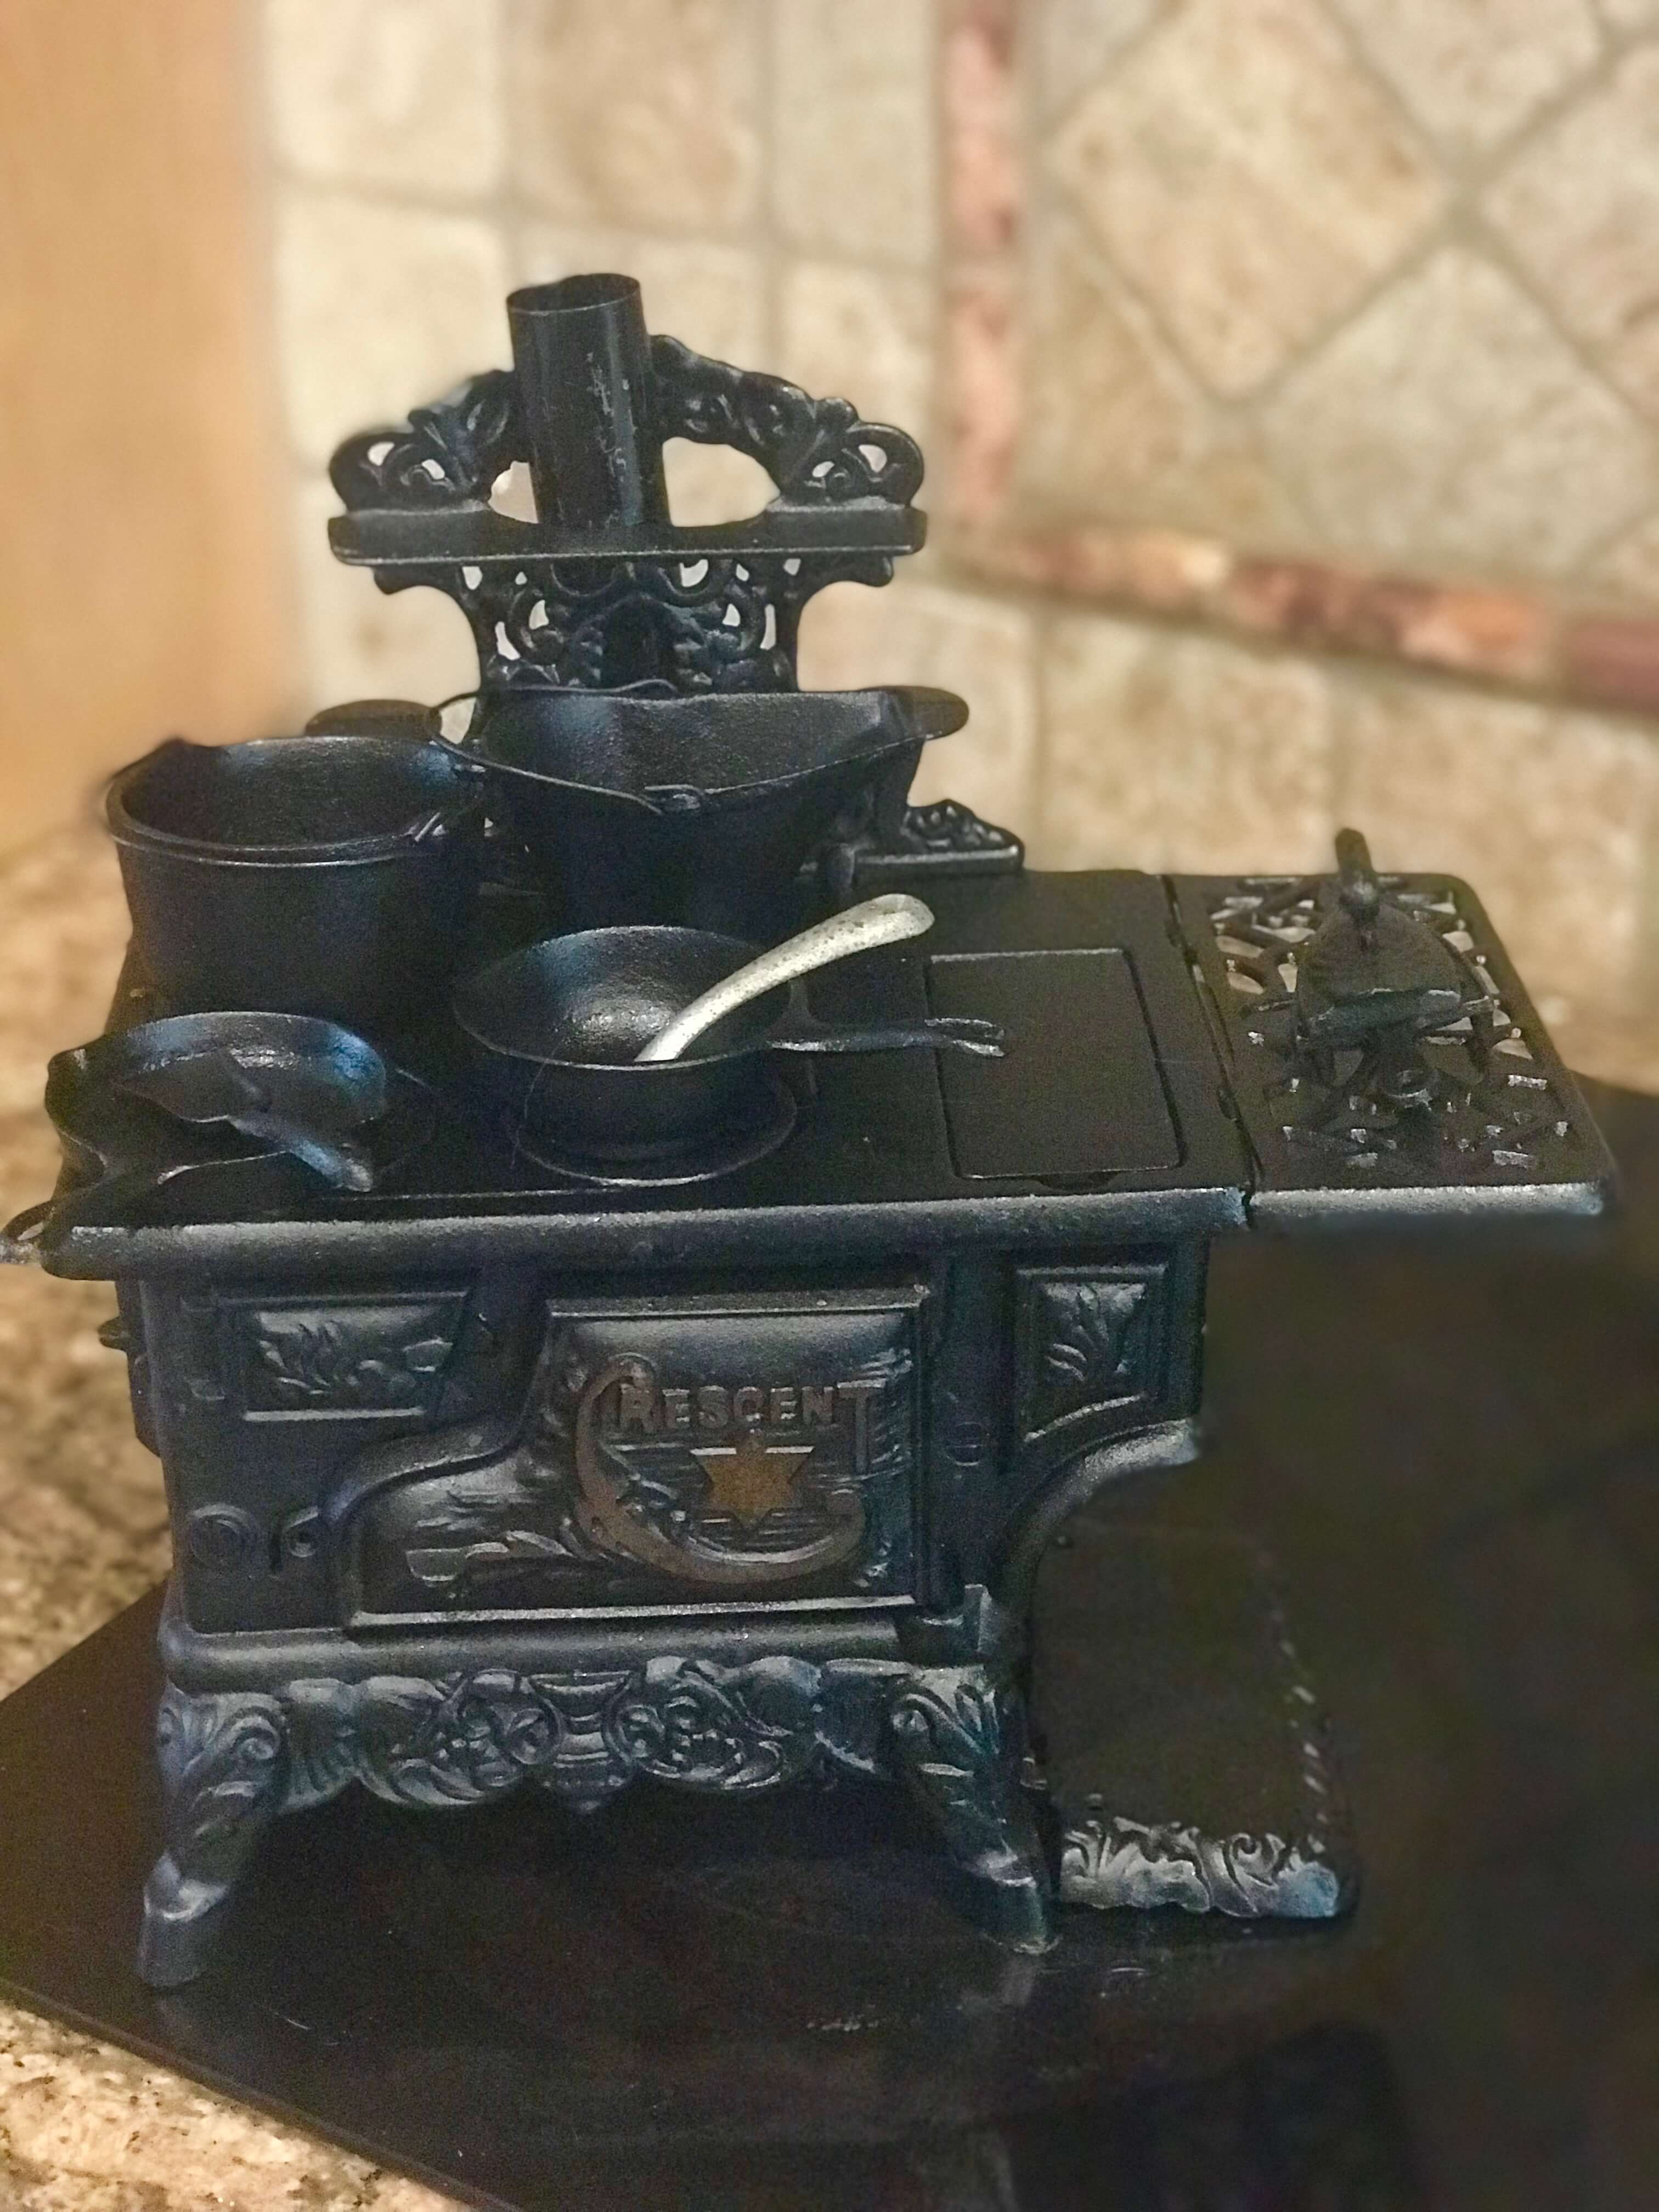 (Photo: The stove Lisa inherited from her grandmother.)
 Read Lisa’s article called A Shocking Family Secret and 3 Powerful Newspaper Search Tips