Pay It Forward in Genealogy: 4 Ways to Give Back to the Community
During this giving season, why not give back to the community of global genealogy lovers who quietly and continually enrich our family history research? Here are 4 ways to pay it forward in genealogy from the comfort of wherever you are! One gem you may not have heard of: the British Library’s project to index old maps.

4 Ways to Pay it Forward in Genealogy
1. Help with global gravestone research.
 If you’re like me, you’ve probably discovered the final resting places of many an ancestor–perhaps along with important biographical data and even additional relatives–with the help of websites such as BillionGraves and Find A Grave.
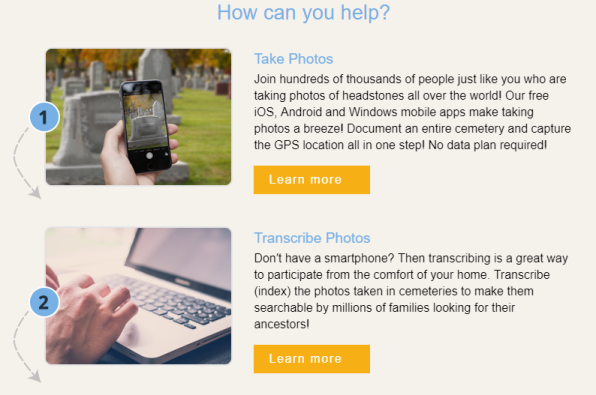
BillionGraves says it’s “the world′s largest resource for searchable GPS cemetery data, and is growing bigger and better every day.” Its volunteers take GPS-tagged pictures of headstones in cemeteries around the world and transcribe them for their free searchable database.
How you can help:
- Image headstones: download the free app to your smartphone from the App Store or Google Play. Take images of headstones in cemeteries you visit, whether it’s your own ancestor’s burial place or a local graveyard.
- Transcribe personal information found on gravestone images. You can transcribe the images you take or you can visit the site and transcribe images that someone else has uploaded. Click here to get started.
- Upload additional source documentation to BillionGraves tombstone images, such as obituaries, cemetery records, and the like. You’ll make these virtual gravestone sites even more genealogically valuable! Click here to learn more.
 Find A Grave has a slightly different model for collecting global gravestone data. Here you can create free memorial pages for ancestors, which “generally include birth, death, and burial information and may include pictures, biographies, family information, and more.” You can also upload your own headstone images and transcribe them (or someone else’s images), and you can even upload a spreadsheet of cemetery burials you may have already transcribed.
Who’s behind Find A Grave? It’s owned by subscription website Ancestry.com, but it’s a separate, free site powered by volunteers: “Thousands of contributors submit new listings, updates, corrections, photographs and virtual flowers every hour. The site simply wouldn’t exist without the million+ contributors.”
Find A Grave has recently updated its site to make it more secure, faster, easier to use, and accessible to new devices and other languages. More than 100 million graves from over half a million cemeteries worldwide are already searchable at the site. To get started, download the Find A Grave app at Google Play or the App Store, or just visit the website.
2. Transcribe old documents and maps.
 Millions–even billions–of digital images of old documents contain genealogical clues, but those names, dates, and places need to be extracted from those image files before they become easily searchable. Transcribing that information is also known in genealogy circles as indexing (or creating indexes). Here are four places to contribute your indexing skills:
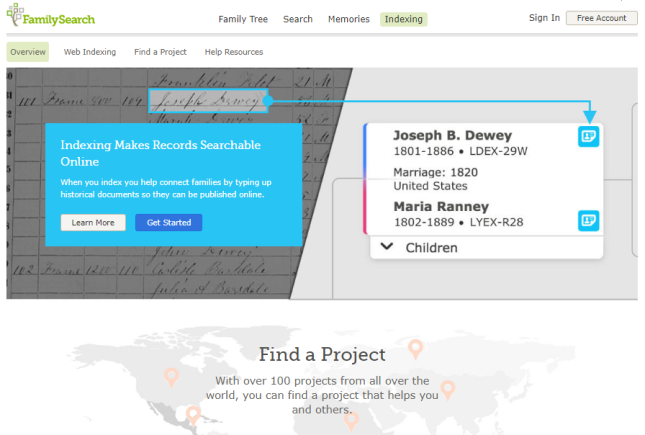
FamilySearch Indexing. Thousands of you have likely participated in this best-known volunteer record transcription project out there. (We blogged about it recently in honor of their worldwide weekend indexing event.) Their indexing platform recently became fully cloud-based, so you can index more easily on your computer or mobile device. Volunteers are especially needed right now who can read Spanish, French, German, Italian, Portuguese, Russian, Japanese, Polish, Swedish, and Dutch.
British Library Georeferencing Project. The British Library is recruiting volunteers to help geo-reference thousands of old maps that are already online. Geo-referencing, or geotagging, means assigning geographic reference points (longitude, latitude) to points on a map image. Doing this with old maps allows them to be linked to their modern-day locations, allowing us to compare the past and present (as Lisa teaches about in her free Google Earth video class). Over 8,000 maps have already been “placed” by participants (and subsequently checked for accuracy and approved by their panel of expert reviewers). The latest phase of the project includes 50,000 maps, mostly 19th-century maps from books published in Europe. The British Library says that “some places have changed significantly or disappeared completely,” increasing both the intriguing challenges for volunteers and the value to those who will benefit from their map sleuthing skills.
Ancestry World Archives Project. “The Ancestry World Archives Project is thousands of volunteers from around the world with a passion for genealogy and a desire to help others discover their roots,” says the project home page. “And all it takes is a computer, some basic software we provide and a little of your time.” Even though Ancestry.com itself is a subscription website, any records indexed through the Ancestry World Archives Project remain free to search on the site.
Here’s a screenshot of their current projects (click on it to visit the site):

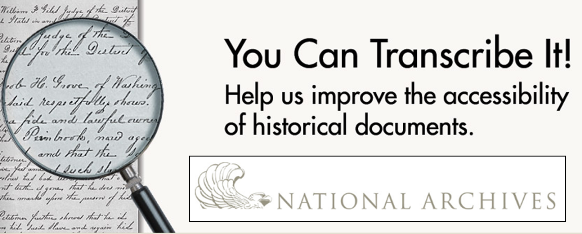 National Archives Citizen Archivist Program. “A Citizen Archivist is a virtual volunteer that helps the U.S. National Archives increase the online access to their historical records,” reports Melissa Barker in a recent blog post. “This is done by crowdsourcing metadata about their records through tagging, transcribing, and adding comments to the U.S. National Archives catalog.” Click here to read the full article and get started.
3. Reunite heirlooms with long-lost relatives.
Probably millions of “lost” family items are out there: in flea markets, second-hand shops, online auction listings, perhaps even your own closets or attics. Genealogy Gems has reported many times in the past about genealogy heroes who claim these “orphaned heirlooms” just long enough to research and contact living relatives who would love to find them.
Whether it’s a family bible, an old marriage certificate in a dusty frame, a fading photo album, or a pile of old letters, each “orphaned heirloom” is unique–and so is the experience of tracking down its family and reuniting them. Here are several stories to inspire your next visit to eBay or a secondhand shop:
- World War II dog tag finally returns to family
- Packet of labeled photos, school records, dance cards and letters home to Mom and Dad returned via Ancestry
- Orphaned WWI medal comes home via Facebook
- Facebook users reunite a bible with its family
4. Solve “unclaimed persons” mysteries.
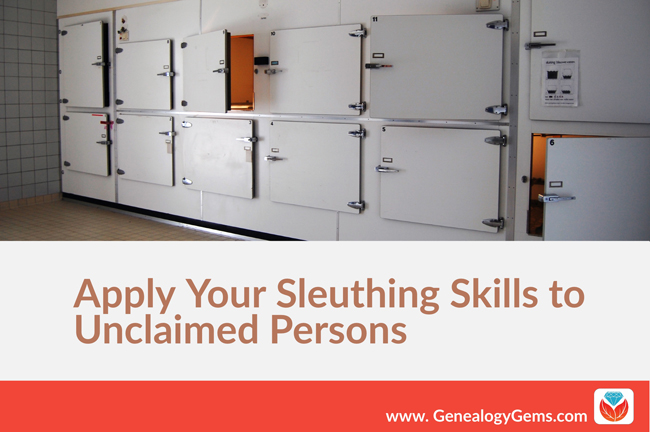 “Many people are aware that it can be a real challenge when a coroner obtains a John or Jane Doe, an unidentified person,” writes Lacey Cooke, Genealogy Gems service manager, who has a forensic anthropology degree. “It presents the difficult task of identifying the person. But few people know that in fact the even bigger problem consuming morgues today is unclaimed persons, rather than unidentified ones: individuals who have passed but with no trace of living relatives to come and claim them.”
Lacey is the one who introduced us to the Unclaimed Persons project earlier this year. With Unclaimed Persons, an online community of volunteer researchers joins forces with medical examiners, forensic investigators, and coroners to help reunite families and bring closure so that the dead can finally be laid to rest. Click here to read more about that effort.
How will you pay it forward in genealogy?
 Click on one of the opportunities above–or tell us about one you’ve tried–to give back to your genealogy community this season. This largely-invisible community is all around us and enriches all our efforts, from late-night research sessions by ourselves (in records indexed by volunteers!) to local societies who host classes that inspire us or who answer our obituary inquiries and Facebook posts about their locales. If you are already one of those volunteers, THANK YOU. You are a gem and we here at Genealogy Gems are grateful for you.
P.S. You can also “pay it forward” by sharing free content like this from our website with your genealogy friends and society members. Why not link to this post on social media or in an email and challenge those you know to do good in the genealogy world?
