by Lisa Cooke | Mar 8, 2023 | 01 What's New, FamilySearch, Website Tutorials
Show Notes: The FamilySearch Wiki is like a free encyclopedia of genealogy! In this FamilySearch Wiki tutorial, discover the wealth of information the Wiki has to offer, and learn the secrets to navigating it with ease. We’ll also cover the number #1 reason people get frustrated when searching the Wiki and how to overcome it.
Watch the Video
RootsTech has set the class video to “private”. You can watch it on their website by going to the video page in their on-demand library. You may need to sign in to your free FamilySearch account in order to watch it.
Enjoy this special free tutorial video which was originally presented at the RootsTech conference. Download the ad-free Show Notes cheat sheet for this video class. (Premium Membership required.)
What is a Wiki?
A wiki is a website that
- Allows collaborative editing platform for users
- doesn’t require HTML editing
- has links to both internal and external resource pages
- The FamilySearch Wiki is a lot like Wikipedia. It’s basically an encyclopedia of information. But the exciting part is that it’s specific to genealogy. This means you don’t usually have to worry about including the word genealogy in your searches.
What Does the FamilySearch Wiki Do?
The FamilySearch Wiki is focused on providing information for genealogy research such as:
- how to find data
- where to find data
- how to analyze and use the data
What are the sources of Wiki content?
- Original material was added from the old Family History Library research outlines.
- User added material in their areas of genealogical expertise. The Wiki is constantly being updated by LDS missionaries and other volunteers as new material is discovered or released.
Don’t worry about Contributor info.
You’re going to see many things about wiki creation and management. Not everything is relevant to you when just wanting to find information. In fact, the majority of the Help section is geared to people creating, editing and maintaining pages. Don’t worry about being a contributor. Enjoy being a user.
2 Ways to Access the FamilySearch Wiki
- Going directly to https://www.familysearch.org/wiki. Although you can sign into your free FamilySearch account on this page (in the upper right corner) it isn’t necessary in order to use it.
- Logging in at the FamilySearch website. In the menu under Search click Research Wiki. By logging in and you’ll have access to additional features like participating in discussions, posting and creating watchlists.
The FamilySearch Wiki focuses on records, not ancestors.
Keep in mind that the purpose of the Wiki is to explain where genealogical materials are located and how to get access to them. The Wiki does not have individual ancestor information. If you want to find records, start by deciding specifically what kind of records you want. Identify when and where the ancestor lived at the time the record was created. Then head to the Wiki to figure out what records are available and where they can be found.
The Wiki links to:
- Materials that available at FamilySearch.org or any other online genealogy website.
- Materials that are not available at FamilySearch.org or any other online genealogy site.
- Materials that were previously unknown or newly made available online.
- Strategies and techniques for finding and researching genealogical records.
Types of Searches
Topic Search: When searching for information on a specific topic such as probate records, type the topic into the Search box. As you type, a list of pages with the topic word or words in the title appears below the Search box. If one of the listed pages is the desired topic, highlight and press enter. If you don’t pick from the drop-down list you will get a results list of every page that includes the topic.
Vital records Search: FamilySearch recommends using the Guided Search for info on vital records.
Location Search in the search box: When only the name of any country, state in the U.S., province in Canada, or county in England is typed in the Search box you will be taken directly to that Wiki page. For example: If Texas is searched the result is the Texas, United States Genealogy page.
Page Title: If you happen to know the exact title of the Wiki article you want, type it in the Search Box.
How to Overcome the #1 Search Problem
Many people will search for something like marriage records, Randolph, County, Indiana, and they will get a list of results. The results don’t look as clear-cut as Google results, and they may not all be on topic. This is where we can get lost. I think probably the number one reason why people give up on the wiki is they get these kinds of search results. They realize, wait a second, this isn’t even Indiana, it’s talking about Kentucky! Why am I getting all these? It can be frustrating.
This happens because we tried to do it ourselves, with our own keywords. Remember, like most search engines, they’ve indexed their content to make it searchable, so that means they’ve already decided how they want to talk about a particular topic. Rather than just addressing marriage record first, the wiki focuses on the location. Where is this marriage record? So, focus first on the place unless you are just looking for general information on a general genealogy topic such as genealogy software.
Pre-filled suggestions will appear as you type because the wiki is going to suggest what it has in the format it has it. Again, you may want to first go to the country, state or county-level page and then look for the record type.
If you’re looking for marriage records but you don’t see them listed it might be that the word marriage isn’t the keyword the wiki uses. Or it might be that the type of record you’re looking for is a state or federal record.
Don’t be discouraged if you don’t see what you want listed in the table of contents. It may just be a keyword issue. Let the work that they’ve already done in organizing their materials guide you. You’ll be more successful and also avoid frustration. The FamilySearch Wiki is just too good of a resource to miss.
The FamilySearch Wiki Search box
You can run three main types of searches:
- Single key words,
- phrases,
- and search strings.
Resource: Wiki Search Help Page
Search Operators
- Quotes: Odd Fellows – 49 results versus “Odd Fellows” – 32 results
- Minus sign
- OR
- Word stemming applies: car will also find cars
- Intitle:Dunkards
- subpageof:”Requests for comment”
- Numrange doesn’t work on the wiki
- Use Google site search to search using Google’s engine and search operators!
Map Search
Generally speaking, the map is the best way to search for records and information that is rooted in a location. Start by clicking the button for the continent, such as North America. From there, select the county from the menu, such as United States, then drill down by state. This will take you to the Wiki entry for that state.
Location-based FamilySearch Wiki Pages
If you’re really new to research in a particular location, start with the guided research link on the location’s wiki page. You may also see links to research strategies, record finder, and record types.
Getting Started section – links to step-by-step research strategies and the most popular records.
The county pages are where the real magic happens because many records such as birth, marriage, death, and court records are typically available at the county level. There you’ll find out how to contact or visit the current county courthouse. Look for Boundary Changes on the page. Use your computer’s Find on Page feature by pressing Control + F (PC) or Command + F (mac) on your keyboard to more quickly find words like Boundary on the page.
Exploring Record Collection Pages
Many record collections have their own page on the Wiki. As you type, these pages will populate in the drop-down list. Example: German Census Records. Take a moment to read through the page and you’ll discover some important information that will save you time and headaches, such as:
- When censuses were taken
- National versus local censuses and their various levels
- Censuses in areas where boundaries have changed over time
- Various types of census forms we may encounter
- The purpose behind the creation of census records in Germany
- The kind of information we can expect to find in the German census
- Other types of records containing similar information
- Resource articles (including a handout from a past RootsTech)
- Wiki articles describing online collections
There are a couple of actions we may want to take before going on to search for records. Here are a few:
Click on the Category to see what else is attached to this category – in this case we see some example images that are helpful in interpreting German census forms.
Click the Cite this page link in the left column if we plan to reference the page elsewhere.
Click Printable Version in the left column if we want a printable or PDF version of the page.
Explore related pages by clicking the What links here link in the column on the left. Notice it also shows if there are any other users watching the page.
Learn more about using Family Search
Videos at Lisa Louise Cooke’s Genealogy Gems YouTube channel:
by Lisa Cooke | Aug 21, 2011 |
You Just Found Your Event Speaker! Your next genealogy event deserves a dynamic, educational and entertaining presenter! A genealogist since childhood, a background in theater, and hundreds of presentations around the world position Lisa as a world-class genealogy...
by Lisa Cooke | Oct 3, 2016 | 01 What's New, Google
You can use Google Slides for genealogy to create one-of-a-kind presentations, a virtual scrapbook, or a virtual library list…and it’s free! Here’s how to take advantage of yet another awesome Google tool.
I was recently asked if there was a software program or app, something free perhaps, to share a slideshow or create a visual presentation. There is! It’s called Google Slides. Here’s how Lisa Louise Cooke, author of The Genealogist’s Google Toolbox, explains it:
Google Slides is an online presentation application, much like Microsoft’s Powerpoint. It’s part of Google’s free office suite of tools. As a genealogist, it provides the opportunity to create and visually share your family history.
It’s a Cloud-based service and that means you can access your presentations wherever you are and on any computing device. You will sign-in to Google Slides with your personal Google account. That means you will be able to keep everything private unless you decide to share it. Although it’s Cloud-based, you can use it offline too. Any new presentations you create or changes you make will be automatically updated when you get back online. You can show your presentation at the next family reunion or genealogy society meeting even if there’s no Internet access.
There’s a lot of potential for using this powerful tool for genealogy!
With that great introduction, I’d like to share a few unique examples of how a genealogist or a genealogy society could use Google Slides.
Google Slides for the Genealogist
Google Slides is an easy way to create a fun slide show of your ancestor photos. This can be shared at family gatherings or reunions right from your laptop. You can also share the presentation with a click-able link.
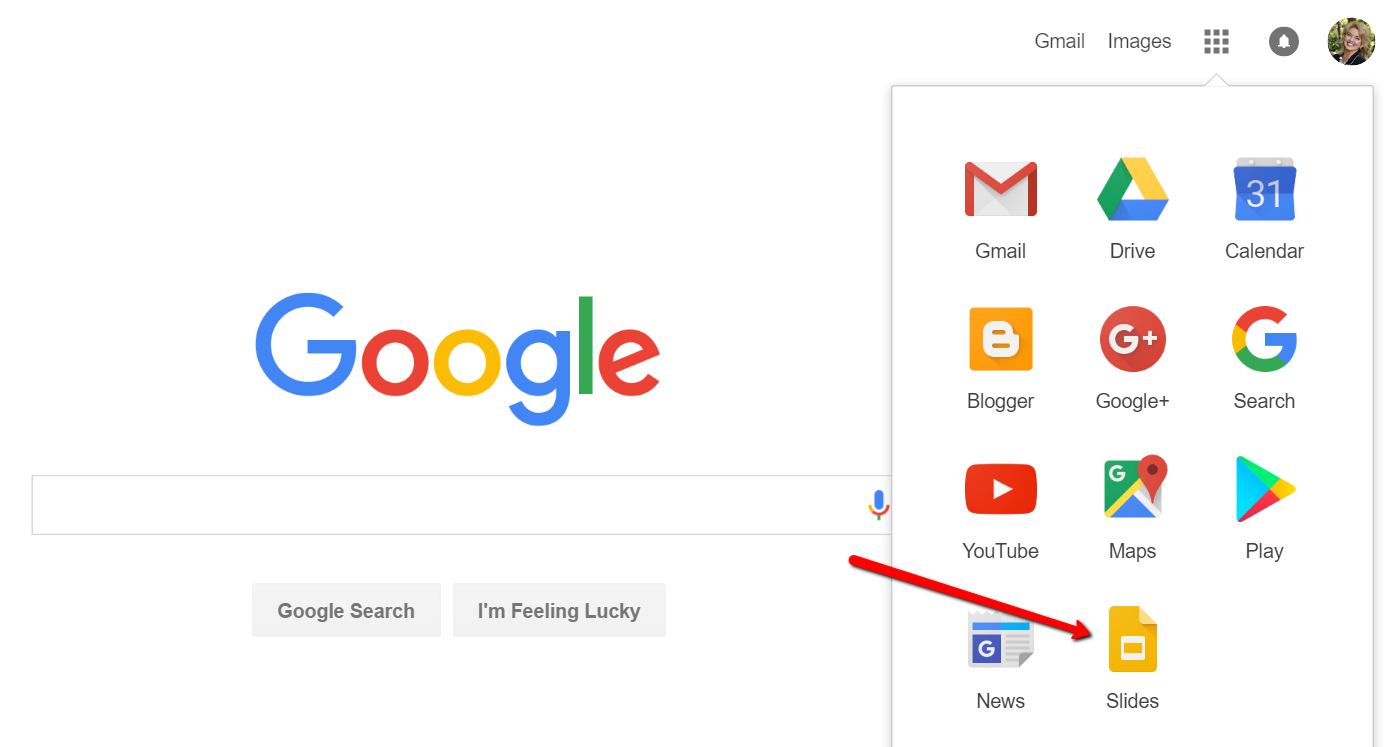
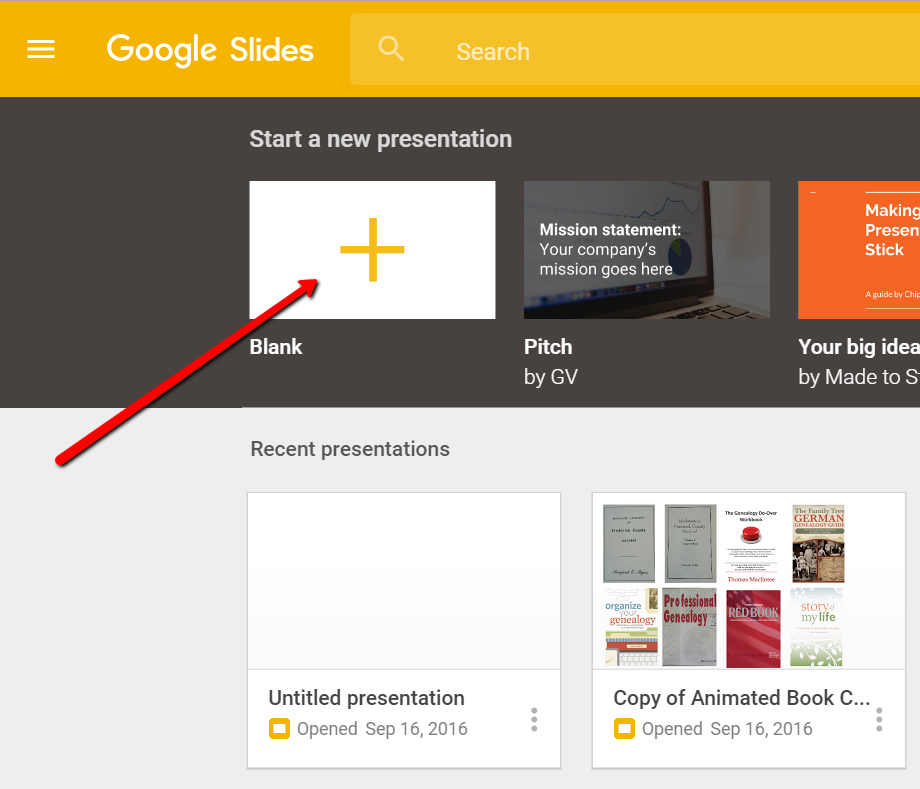
To begin, find Google Slides by going to Google.com and sign-in to your free Google account (or sign up if you don’t have one.) Click on the grid to the left of your sign-in avatar. This will bring down several options. If you don’t see Google Slides as an option, click More at the bottom.
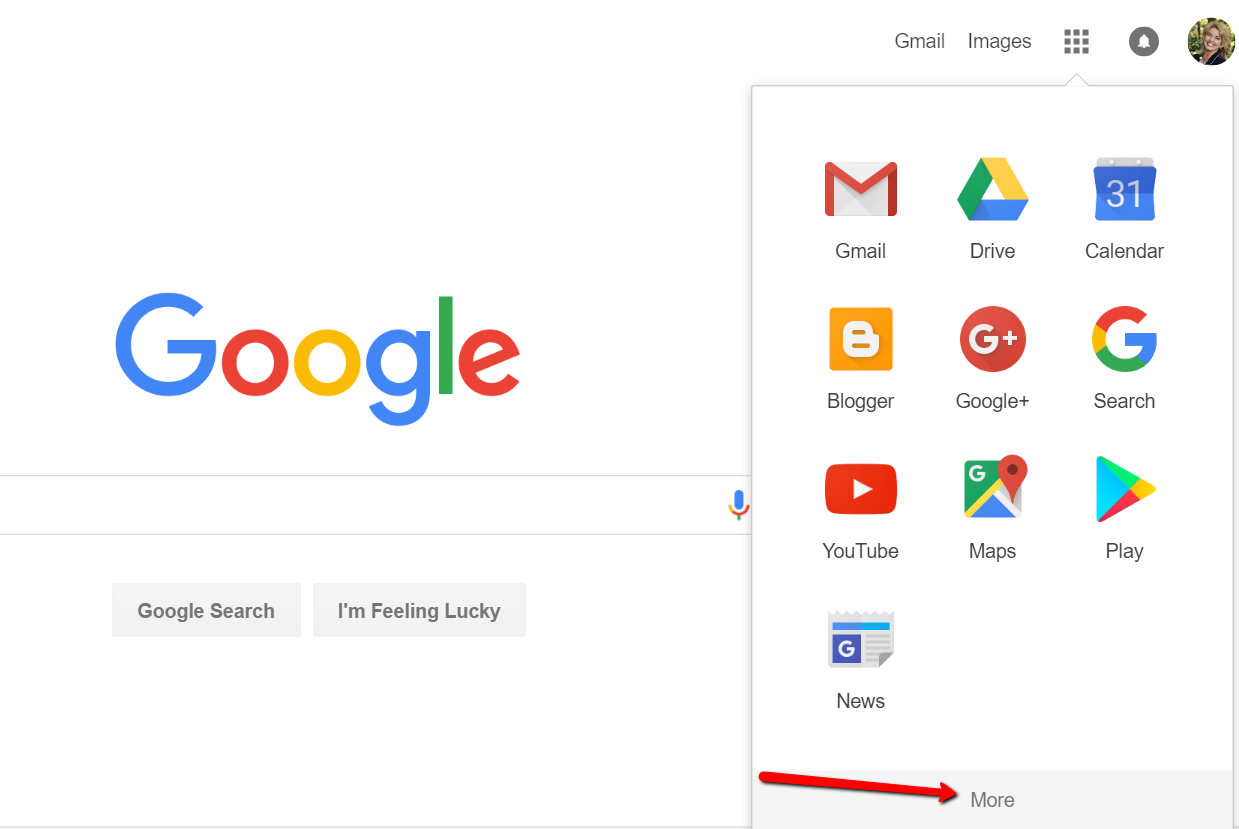
If you still don’t see Google Slides as an option, click on Even More from Google. This will take you to another screen of all sorts of Google goodies! Scroll down until you find Google Slides and click on it.
Once you have opened Google Slides, click the plus sign to begin.
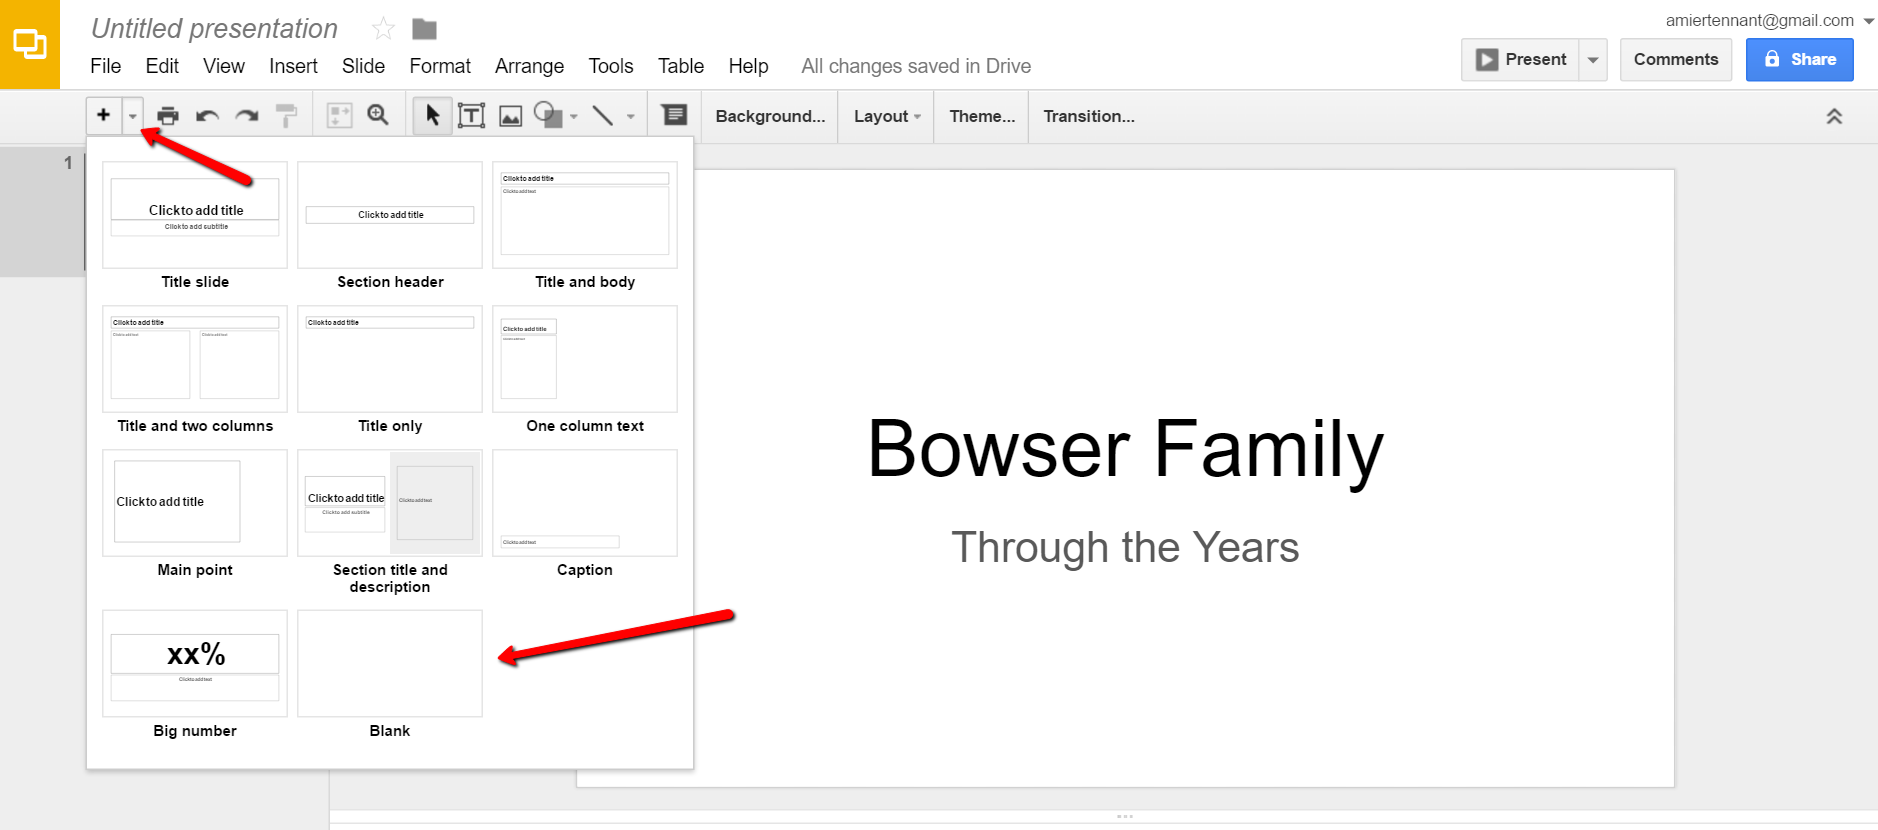
I added a title and then clicked the tiny arrow to the right of the plus sign to add a new blank slide.
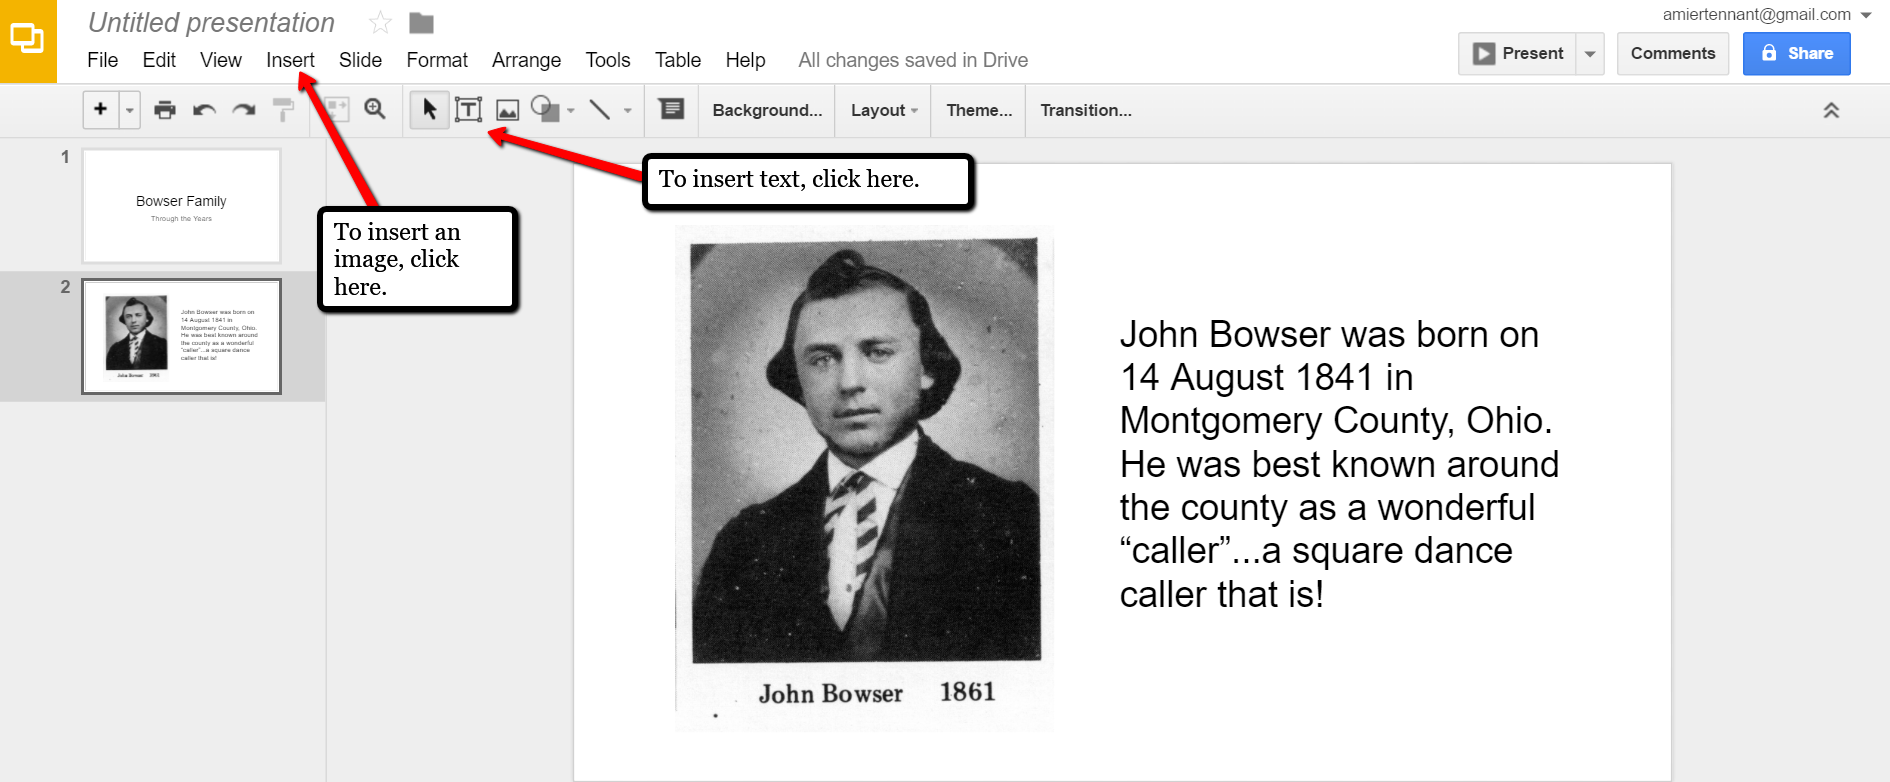
At the new slide and each additional slide, you can add a picture by first clicking Insert from the labels listed across the top, then choose Image. A pop-up window will appear and allow you to Choose an Image to Upload. You will then find the image you have saved on your computer and click Open.
Keep adding your slides until you have all of them created.
Sharing Your Google Slides Presentation
Like many of us, I like to share my ancestor photos with my family and friends. While at a family gathering of a small group, I just set my laptop up on the coffee table and we huddle around. Bring up your Google Slides presentation on your laptop or mobile device and click on Present at the top right of the screen. The computer does the rest and presents a slideshow for your viewers.
You might also wish to share your slides with family and friends far away. You can do this by sharing a link. To create a shareable link, click Share at the top right corner.
A pop-up window will appear. Click the little drop-down menu next to the words “can view.” This option allows you to choose whether you wish people to be able to edit, comment, or view only. I typically choose the “view only” option. Then, a shareable link is created for you. Click Copy link and paste that into an email directly to a family member, to your family history blog, in a Tweet, or in a Facebook post. Wa-la! You have shared your Google Slides presentation.
Create a Virtual Book Cover List with Google Slides
Another stellar way to use Google Slides for genealogy is to create a convenient virtual library list. A recent article found online gave me the idea of creating a library list using images of the covers of books.
For example, if you enjoy attending genealogy conferences and buying books for your society, you may get stuck wondering, “Do we already have that in our collection?” By creating a virtual book cover list, you won’t have to wonder anymore!
You will first need to begin this project by taking a picture of the covers of each of your books and saving the images to your computer or laptop. I took pictures, cropped them, and sharpened them up a bit with my smartphone. Then, I saved them to a file folder on my computer named Book Covers. [Tip: It would be an even better idea to save the Book Covers folder to your Google Drive!]
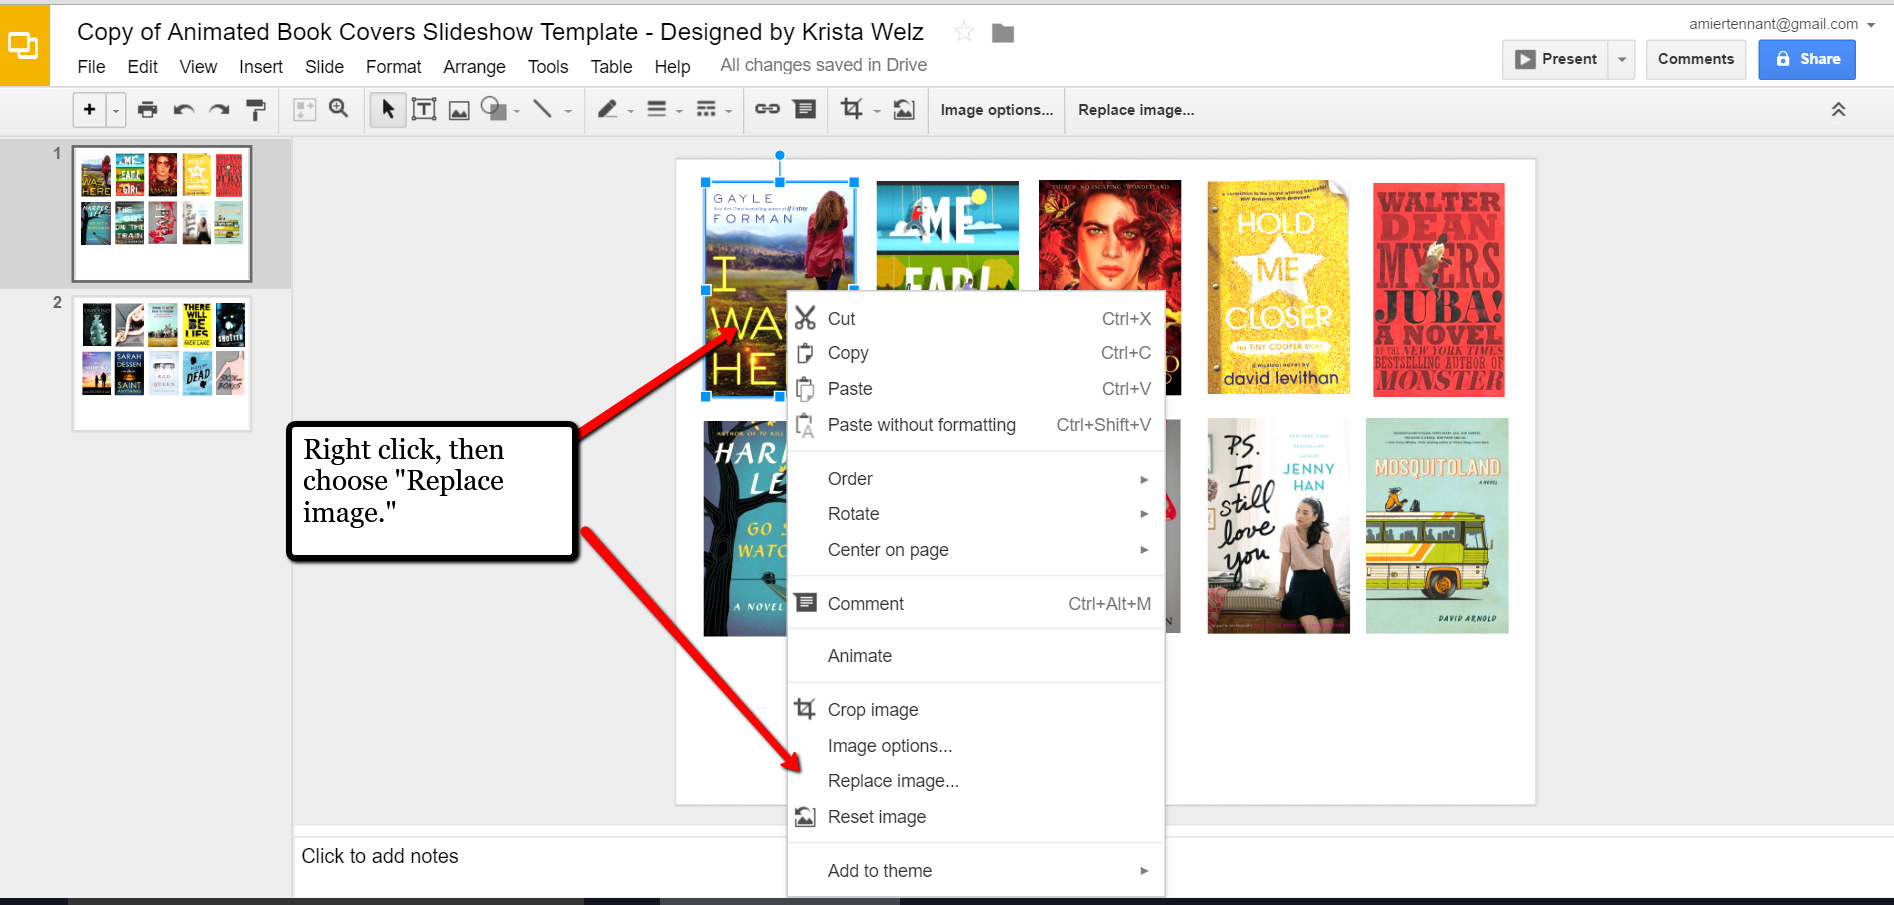
For something quick and easy, use the virtual book cover template here:
Virtual Book Cover List Template. If you choose to use this link, when it opens, click
Make a copy and Google Slides will open. Right click on any of the book cover images you see, a pop-up window appears. Choose
Replace image and then find an image of one of your own book covers.
Once you have replaced each of the book covers with ones of your own, you can rearrange them with the click-and-drag method. You might want to put them in alphabetical order or perhaps categorize them by subject or place.
When you have finished, don’t forget to title it. There is no need to save it because Google Slides automatically saves for you. Google Slides is accessible from any of your devices and can even be viewed on-the-go from your mobile device. You’ll love this feature when you are trying to decide what books to add to your genealogy library.
How Can You Use Google Slides for Genealogy?
We are sure there are dozens of ways to use Google Slides for genealogy. Give Google Slides a try and if you think of another use for this wonderful tool, let us know about it in the comments below! Thanks for reading, friends.
More Gems on Google for Genealogy
by Lisa Cooke | Aug 19, 2015
These Google keyword search tips can help you harness the incredible power of Google to search for your ancestors across trillions of webpages!
Do you use Google for genealogy? This free, powerful web browser will scan over 30 trillion webpages for information we request: our ancestors’ names, messages from those with common ancestors, or pictures and stories relating to our relatives’ lives.
However, it’s all too easy to run a Google search for an ancestor’s name–and then become discouraged when we see a quarter million search results. Especially if the first few results don’t seem relevant at all! We may give up, unaware that the gem we’re after is among our results, but much further down the list.
Certain Google keyword search tips and tricks can help you get exactly the types of search results you’re after. Once you learn Google search strategies for genealogy, you’ll find yourself using the same strategies to find other things online, from recipes to how-tos to old car manuals or anything else you need!
Here’s how to get started
1. Go to the Google home page and enter a few keywords relating to a piece of information you hope to find online. Say, an ancestor’s full name and hometown such as Andrew Larsen Scranton PA. Or a type of record you need and the location (probate records Lackawanna County PA). As you see from these examples, you don’t need commas in between your words or any other punctuation, at least to begin with. After entering a few keywords, hit Enter.
2. Look at your search results. The first few may be sponsored search results, or results that appear on websites that are paying for you to see them first. These results may or may not be what you’re looking for. Scan them, but keep looking!
3. Do you see too many search results? Too few? Not quite on target? Add or subtract keywords as needed, and search again. For example, if your search for probate records Lackawanna County PA just brings up current probate records, add the word genealogy. If Andrew Larsen Scranton PA doesn’t bring up any relevant results, try omitting his first name from the search. Then results for anyone with that surname will come up.
4. Still not quite right? It may be time to start adding little codes to tell Google exactly what you want.
5 Google Search Strategies That Get Better Results
Search operators are symbols and words that instruct Google on what to do with the keywords you provide in your search query. Get ready to talk Google’s language with these 5 strategies:
1. Quotation Marks (“ ”). One of the quickest ways to improve your search results is to use quotation marks. Using quotation marks around a phrase ensures that this exact phrase appears in each and every result. For example: “U.S. Federal Census” returns websites featuring that exact phrase, and no variation. “Jehu Burkhart” returns only webpages that include the exact name Jehu Burkhart somewhere on the page. Keep in mind though that if Jehu’s name appears as Burkhart, Jehu on a web page it will not appear in your results list.
2. OR. Use this to provide for more options in Google search results. For example, we can solve the last name first, first name last problem like this: “Jehu Burkhart” OR “Burkart, Jehu”. Not be sure whether Great Grandmother Smith is buried in Manhattan or Brooklyn? Search for cemeteries in either city: Cemeteries Manhattan OR Brooklyn.
3. Minus Sign (-). Let’s say that you are searching a Harold Carter from Springfield, Ohio and there happens to be a prominent man named Harold Carter from Springfield, Missouri who keeps popping up in your search results. Ask yourself: “what’s unique about this other person that I could eliminate from my Google search?” If the unwanted Mr. Carter was married to Mabel and owned a steel factory, you could try this approach:“Harold Carter” “Springfield” Missouri -Mabel -Steel. By using the minus sign operator you can sweep this Mr. Carter from Missouri out of the way and off your results page.
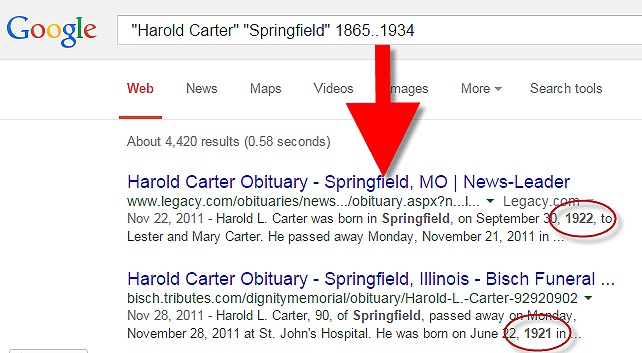
4. Numrange (00..18). The numrange command adds a range of numbers to your search parameters. To enter the command, type the beginning number, then two periods (no spaces), then the ending number. Use this feature to include the timeframe of your ancestor’s life in your online search. “Harold Carter” “Springfield” 1865..1934.
Google Search Example
5. Mix and Match. As you can already see in the above examples, it is perfectly acceptable to mix and match search operators. Here’s a search query that makes use of our first four strategies: “Harold Carter” OR “Carter Harold” “Springfield” Missouri -Mabel -Steel 1865..1934
Resources for Success
Use Google Search Operators to Define Old or Unfamiliar Words
Can Google Help Me Search Digitized Newspaper Pages?
Google for Genealogy: New Search Operators and More (podcast episode, available to Premium members)
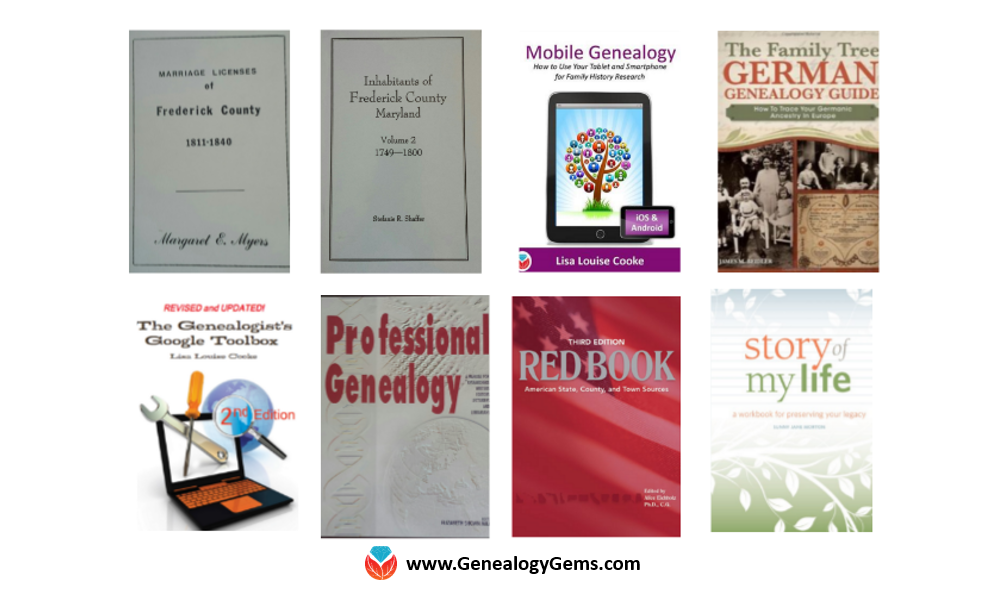
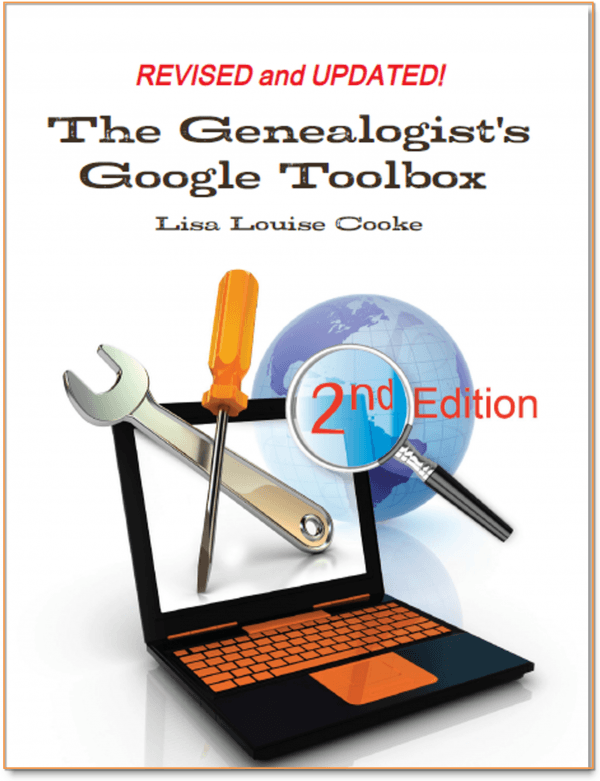
The Genealogist’s Google Toolbox
The Genealogist’s Google Toolbox has become the “Google bible for genealogists.” Now in its second edition, the book was fully revised and updated in 2015. A lot has changed since the first edition was published in 2011, and it’s all documented step-by-step in this new edition.
This brand new edition includes:
- Google Search
- Google Alerts
- Gmail
- Google Books
- Google Translate
- YouTube
- Google Earth
- Brand new chapters on Google Scholar and Google Patents
 It’s Nice to Share. Do you have friends who would benefit from this article on using Google for genealogy and Google keyword search tips. Please share this article with them. You will find handy sharing buttons on this page, or just copy and paste the URL for this article into a Facebook post or email. Thanks!

 The Genealogist’s Google Toolbox