Cold-Calling Your Kin: How to Contact Distant Relatives
Need to contact distant relatives? Got cold feet? Follow these steps and you’ll warm right up–and hopefully, so will those you contact!
Today, online trees, social media, and email make it easier than ever to find relatives you don’t know well (or at all). And there are SO many reasons to contact them: to collaborate on research, swap photos or stories, or even request a DNA sample.
In these cases, you may need to make what salespeople refer to as a “cold call,” or an unexpected contact to someone you don’t know. I’ve done it successfully many times myself, so I can tell you this: it does get easier. Follow these steps to make it a smoother experience.
1. Identify the person you want to call.
Common ways to identify a new relative include:
- Another relative tells you about them
- Family artifact, such as an old greeting card, address book, captioned photograph, letter, etc.
- On a genealogy message board
- In an online family tree (with enough information showing to identify them)
- As the author of a book, article, or blog post with information about your family
2. Locate the person’s phone number, address, and/or email address.
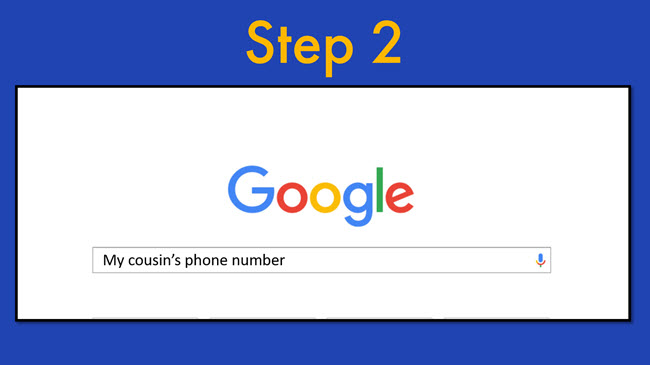 Here are some great websites for locating people you don’t know, or at least learning more about them (as you can on LinkedIn):
TIP: When looking through a geographically-based directory, don’t forget to search the entire metro area, not just one city. Try just searching their first name, particularly if it’s not a really common first name. Try and track down their number through other relatives or researchers.
3. Prepare ahead for making the call.
Every tough job gets just a little easier when you do your homework first!
- Take into account a possible difference in time zones.
- Choose a time when you are not too rushed
- Set yourself up in a quiet place, where there will be minimal background noise or disruptions
- Do a brief review of the family you are researching so it’s fresh in your mind
- Make note of specific questions you would like to ask.
- Have your genealogy software program open or your written notes at your fingertips
4. Adopt a positive mindset.
It’s natural to feel some apprehension when calling someone you don’t know. Before you pick up the phone, give yourself a little pep talk. Remind yourself how valuable this person’s information could be to your research. If he or she is quite elderly, remember that none of us will be around here forever so you need to make the call today! Say to yourself, “I can do this. This is important!” Be positive and remember, all they can do is say, “No thank you.”
5. Introduce yourself.
Give your first and last name and tell them the town and state where you live. Then tell them the family connection that you share. Tell them who referred them to you or how you located them. Cover these basics before launching into why you’re calling or what you want.
6. Overcome reluctant relatives.
Be ready to share what you’ve learned, and to share your own memories of a relative that you have in common. Mention something of particular interest in the family tree that might pique their interest. If they are very hesitant or caught off-guard, offer to mail them information and call back once they’ve had a chance to look at it. That way they can get their bearings, too.
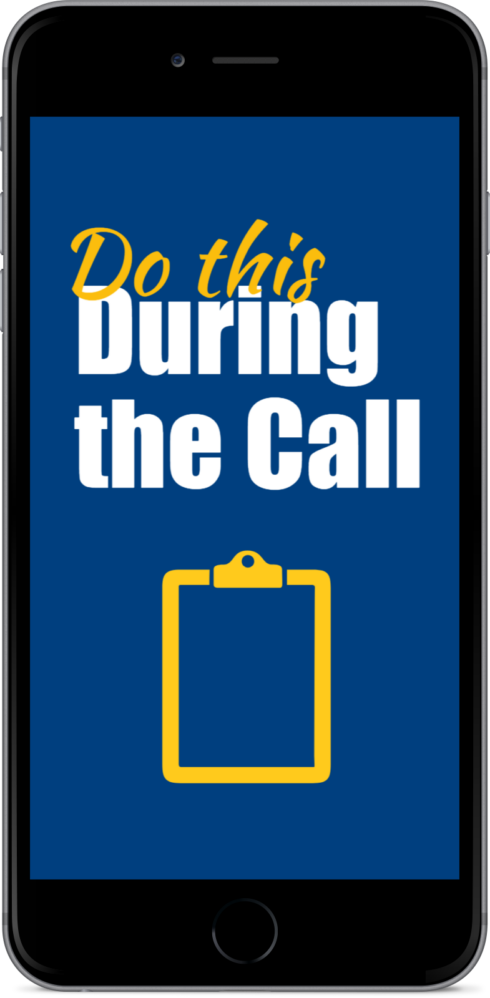 7. Do these things during the call:
- Take notes: try a headset or use speakerphone, which will help to free up your hands for writing.
- Ask for new information and confirm what you already have.
If you have a way to record the call, then you won’t have to take notes and you can focus all your attention on the conversation. You can then transcribe the recording later. However, in some places, it’s illegal to record a conversation without telling them first and/or getting a person’s permission (not to mention discourteous). It can be very off-putting to start the first call by asking if you can record them. So, establish a connection first, make your request to record, and then press the record button.
Read more: How to Record a Conversation on your Smartphone or Skype
8. Leave a detailed voice mail message if there’s no answer.
State your name clearly, and that you would like to talk with them about the family history. Leave your phone number and tell them that you will call them back. Consider leaving your email address and suggesting they email you with a convenient time to call back. These days many people are more comfortable with email for the first contact.
9. Ask questions like these:
- “Do you or anyone else in the family have any old family photographs or a family Bible that I could arrange to get copies of? (Reassure them that you are happy to pay for copies and shipping.)
- “Do you know anyone else in the family who has been doing family research?”
- “May I have your permission to cite you as a source in print in the future?”
- “Is it OK with you if I keep in touch from time to time? What is your preferred method of contact?”
10. Wrap up the call.
Offer to give them your address, phone number, and email address. Ask for their mailing address and email address. Repeat or state your desire to share information you have, and tell them how you’ll send it. Let them know you would be pleased to hear from them if they come across any other information, pictures, etc.
11. Document the call.
Keep track in your genealogy database of each time you call someone and the outcome (“left a message” or summary of conversation). Having a log of calls and voice mail messages you’ve left will help you know when it’s time to follow-up with whom—and who wasn’t so interested in chatting again.
After a conversation, sit down at the computer or your notepad right away and make detailed notes about the phone conversation while it’s fresh in your mind. Include the person’s name, address, phone number, and date of the conversation. Make notes regarding any items you think may be questionable to remind you to go back and do more research on those points. Enter their contact information into your genealogy database as well as your email contact list.
12. Enter new information into your genealogy database.
 This is a must. Do it right away while it’s on your mind. Cite the conversation as the source of the information.
Remember to respect the privacy of those who prefer to remain “off-the-record” by not naming them in sources you post on public online trees.
13. Create an action item list.
Create action items based on what you learned. Ask yourself “What are the logical next steps to take considering what you’ve learned through this interview?” The call is not the end goal. It’s a step in the research process, and it can really help to make this list now, and while it’s fresh in your mind.
Cold Calling:
“The call is not the end goal.”Lisa Louise Cooke
14. Follow up.
Send the person a written thank-you note or email. Remind them of your willingness to share your information, and acknowledge any willingness they expressed to share theirs (restate your willingness to help with copying expenses, postage etc. and consider including a few dollars). You never know: they might catch the genealogy bug and become your new research partner!
Next, put their birthday on your calendar and send them a card on their next birthday. Try this service: Birthday Alarm. If you don’t know their birthday but do have an address or email, send a greeting card for the next major holiday or on your shared ancestor’s anniversary or birth date. It’s another way of keeping the connection alive and expressing that you really do appreciate their help.
Occasionally make a follow-up call. See how they are doing, share any new family items you’ve come across recently, and ask whether they have they heard or found anything else.
 Resource: Genealogy Gems Premium Members can learn strategies for finding living relatives with their exclusive access to my video class, “Unleash your Inner Private Eye to Find Living Relatives.” Class includes:
- a handout summarizing 9 strategies and resources
- a resource guide for online public records (U.S.)
- a downloadable Living Relatives worksheet you can print (or open in Word) that will help you capture and organize what you learn about them
Click here to learn more about Genealogy Gems Premium website membership.