Welcome to this step-by-step series for beginning genealogists—and more experienced ones who want to brush up or learn something new. I first ran this series in 2008. So many people have asked about it, I’m bringing it back in weekly segments.
In this episode, I chatted with Margery Bell, Assistant Director of the Oakland, California Family History Center. Her own family history journey started in her 20s with a visit to a relative’s house. She didn’t even know what to talk about! But it was a start. Years later, she visited the Northern Ireland home of her great-grandmother, and felt like she’d come home. Learn her tips for getting started and two inspiring stories of “genealogy serendipity.”
In the second half of the show, you’ll learn why choosing a database for your family tree is your first essential step. Hear about some of my favorite databases—both free resources and products you can pay for. Don’t spend too much time fussing about software: I’ll tell you why you should just pick something and go with it.
Choosing a Genealogy Database
Whether you want to build an elaborate family tree, or just want to know who your direct ancestors were and some of the stories about them, the place to start is to get yourself a family history database. You don’t have to be highly computer savvy to use one. They are VERY intuitive and user friendly. Basic data entry skills is all you need.
Now I know you’re anxious to get started finding out about the folks who came before you and contributed to putting you on this planet. But this step is key to long term success and enjoyment. I know too many people who have gotten all excited and jumped in, getting all kinds of information about their family, but without a database they very quickly end up with huge stacks of paper and stickie notes. With all this chaos they often end up duplicating efforts they forgot they already did which is a waste of precious time. And worst of all, when someone shows an interest in what they are doing, it’s impossible to coherently pull out the information from the jumbled stacks in order to share it.
Having a family history database will keep all of your findings organized, with proper background information on where you found the data, as well provide a place to pull together photographs, documents and everything else you discover along the way. It’s like painting a piece of furniture. A little prep work goes along way to a really nice finish.
Now there are lots of family history software programs out there, but you only need ONE, and all of them will serve your basic needs. So I’m going to give you my top choices. It’s you’re decision how much you want to spend and how sophisticated you want your database to be.
If FREE is your price range, and you’re looking for a place to stay organized with streamlined screens to work in without a lot of startup time, then Family Tree Legends Online is perfect for you. (Family Tree Legends Online is now Family Tree Builder by MyHeritage.
Don’t let FREE fool you into thinking it won’t do the job. Legends offers lots of family history charts; custom reports; helps you share your data and pictures on a CD or DVD; allows you to back up your files to CD or DVD; and includes genealogy programs for Palm handheld devices and the Pocket PC. I’ve used it and it’s great. You can download the software FREE at the above link.
If you’re a PC user and are willing to spend $30-40 dollars, there are several really good and easy to use options available. You can order the product or purchase a digital download which will save you some money. And frankly, I really don’t think you need to the physical boxed product. All the help you need is online. And all of these products offer a free demo that you can download to try it out before you buy.
The top seller is Family Tree Maker which is from the folks at Ancestry.com which is the largest online records website which we’ll be talking a lot more about in future episodes. Click on its name to learn more about Family Tree Maker. This is probably the most commonly used database out there.
If you’re looking for great printed reports that you can share then RootsMagic is a great choice. It’s available as a digital download from their website at RootsMagic.
Some of the differences you’ll find between these products is the types of reports and charts they produce. So if that’s important to you, you can try the demos and see which you like. But again, I really don’t think you can go wrong with any of these products. They are all well established and fully supported.
And I want to stress, it’s just important that you take the steps and get started. Don’t get bogged down in analyzing software forever. If you really want to change to a different program down the road you can always do that. But the important thing here is that you have a place to put the information that you find and be able to retrieve that information so you can share it with others.
Now if you’re a Mac user I have two solid programs you could use. Again, both of these programs offer free demos if you want to test drive them:
Reunion 9 is fairly pricey at $99.95. If you’re interested in Reunion 9, I highly recommend that you listen to Episode 51of my more advanced Family History show called The Genealogy Gems Podcast. In that episode you can listen to a review of Reunion 9 by my contributing partner Ben Sayer, the MacGenealogist, who’s an expert on everything Mac for family historians. And if you want to compare iFamily against Reunion to see what you’re getting for your money, you can also listen to Ben’s review of iFamily in Genealogy Gems Episode 53.
Now when you fire up your new software database it’s going to ask you to fill in information about yourself, then your parents and so on. In family history we always start with ourselves, and then work our way backward. So enter everything you know. By just enter data on you and your parents, you’ll very quickly get a feel for how the program works. And once you get everything in there that you know, go ahead and try and print out a pedigree chart.
And there’s our first family history term: “pedigree chart.” You’ve probably heard the term used for pure bred dogs, but pedigree just means lineage or ancestral line. It shows your parents, grandparents, great grandparents, etc. No aunts, uncles or siblings. Just the folks you directly descend from.
Another type of chart your database can print is a descendant chart, which shows all the people who descend from one person. So if you had two kids, your descendant chart would show you at the top, and two children directly under you. This comes in real handy when you want to have a reunion of all the descendants of let’s say your great grandpa Marvin. You would go to Marvin’s card in the database, and then print the descendant chart from there. It would then include Marvin, all his kids, his grandkids, his great grandkids and so on. But it wouldn’t show the kids spouses, or Marvin’s parents. It’s just going to tell you who was born directly as a result of Marvin.
So enter what you know, and once you’ve got all that in there, play around with your new database by printing out a pedigree chart and a descendant chart. And next week we’ll start uncovering more clues to your family history.
Here’s a final thought for today: A famous idea taken from one of Shakespeare’s plays is that what is Past is Prologue. It seems to me that a key to moving forward in your life is to look back and see what’s come before. How things were done. What worked, and what didn’t. It can inspire you to continue family traditions or give you the motivation to create something new for the next generation.
If you’ve spent some time researching your family history, your discoveries probably include old documents like census records and death certificates – not exactly exciting stuff to your kids and grandkids. And yet they are the ones you hope to pass your family’s history on to.
The truth is that the non-genealogists in your family aren’t captivated by the same things you may be. But we’re going to change all that with a tech tool that will help you create fabulous captivating videos about your family history. For perhaps the first time, your kids and grandkids will want to watch and share your family history wrapped up in these quick and professional looking videos. (Disclosure: This article does contain affiliate links which means we will receive compensation if you make a purchase, and that helps support the free Genealogy Gems Podcast. Thank you!)
Software:
Folks often ask me about which video editing software I use. My desktop video editing software is Camtasia, which is made by Techsmith (the maker’s of SnagIt.) It’s excellent, does every thing I need, and I’ve been using it for years! Click here to get your own copy.
If you plan on making several videos now and in the future, Camtasia is well worth the investment. It will pay for itself in about two years compared to other subscription based services. It also has an extensive array of features allowing you the greatest creative flexibility.
The Easy Video Tools
If you’re not ready to plunge into a software program, then I recommend creating your family history videos with a web and app based tool. Currently, Smilebox offers a good collection of ready-made slideshow templates that add lot so of design with little effort. You can sign up for a free account here and start making free videos. Subscribing to the Premium plan gives you loads of additional options and tools that will really make your videos shine.
Animoto is fast, offers a free trial, and shockingly easy to use! No special skills required. Animoto is a tool I’ve used for several years. The company has gone through some changes, which includes doing away with many of the slideshow templates I demonstrate in the instructional videos below. However, they have moved to a new offering which is free forever with unlimited downloads and a small watermark. I expect we will see new templates being added. It’s still an excellent and very easy video creation tool! A paid subscription eliminates the water mark and provide a much wider range of tools and HD downloads.
Adobe Spark Video is a free app (with small watermark on the video) and also offers a subscription version. Downloads are sized for online sharing (720px) Watch my step-by-step tutorial on creating videos with Adobe Spark Video in episode 16 of Elevenses with Lisa.
Are you looking for a fun, easy and downright delicious way to share some family history this Christmas? What better way to entice your family to have an interest in the family tree than wrapping that history around a luscious chocolate bar?
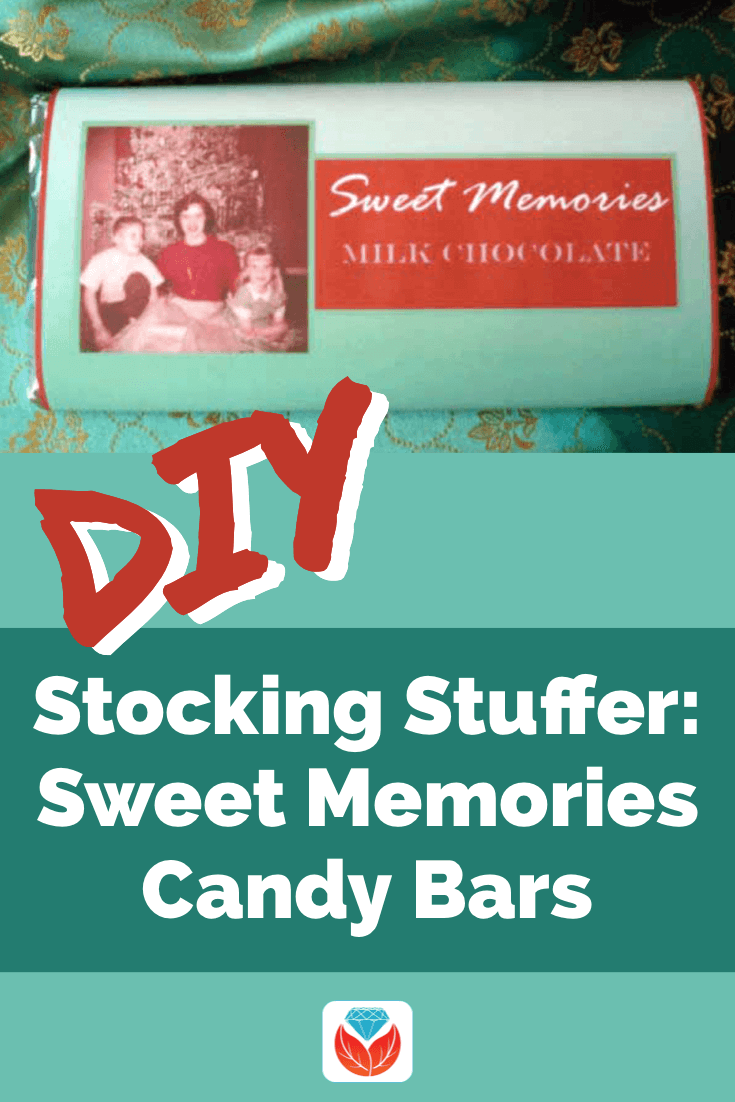
DIY: Stuff Their Heritage in Their Stocking
I firmly believe that family history should not sit on a shelf, but should be seen, touched, felt and even tasted!
Sometimes when a passionate genealogist shares the family history discoveries they have made, their relatives are less than enthusiastic to hear about it. (Sound familiar? I know I’ve experience this phenomenon.) This lack of interest may be more about the delivery of the information rather than the information itself. The trick is to serve up the family tree in an appealing and fun way.
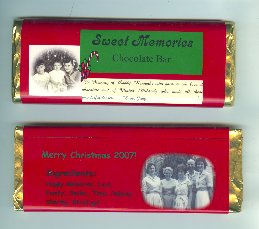
That’s why a few years ago I designed these customized candy bars which I call Sweet Memories. They’re basically your favorite chocolate bar wrapped in a custom label with your own sweet family history memory on it. What could be better than that?!
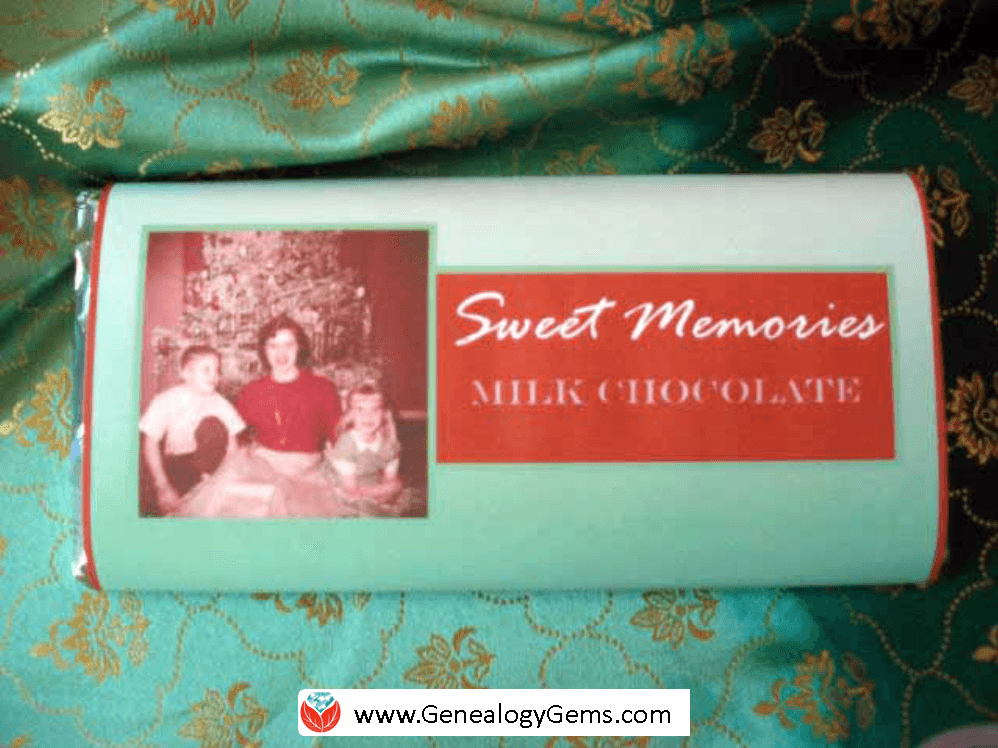
Here’s the first Sweet Memories stocking stuffer candy bar I made for Christmas.
They are really simple to make. The candy bars themselves are store bought. All you need is a computer, printer and some paper and you can whip some up in an hour or so.
What I especially love about these customized delectable delights is the conversation they stimulate. I loved seeing the surprises on the faces of my family, and then the reminiscing that soon followed. They loved seeing the old photos and the clever list of “ingredients” that provided insight into the character of their ancestors.
Don’t feel like you have to do exactly what I did on mine. Instead of a list of ingredients you could include a short funny story, favorite family quotes, or little-known fun facts about the ancestors in the photo. Use your imagination and have fun!
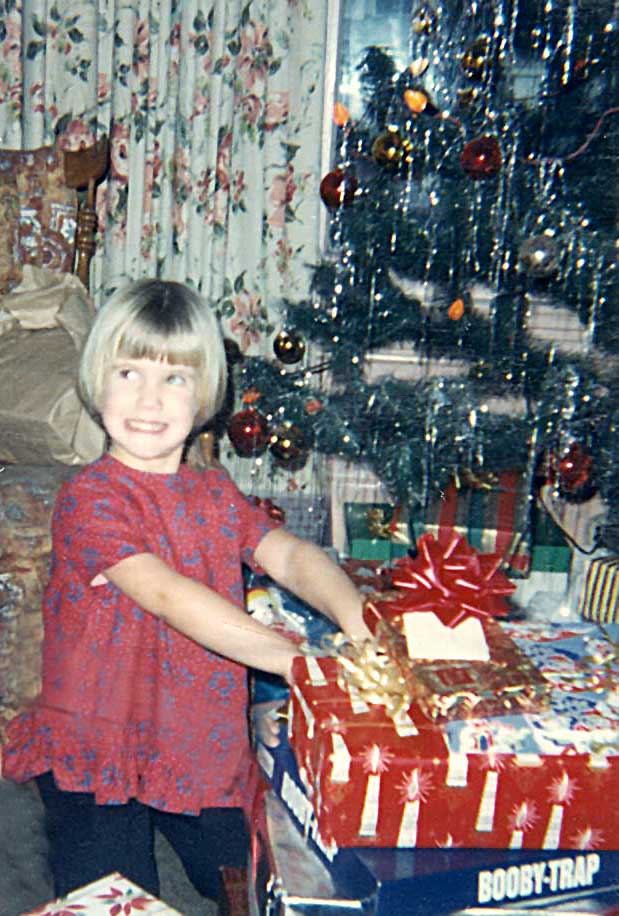
Me having fun at Christmas in 1966. Did you have the Booby-Trap game too? (Leave a comment)
Keep reading because after the step-by-step instructions below, I’ll share some more design ideas.
How to Make “Sweet Memories” DIY Stocking Stuffer Candy Bars
Here’s how to make your own custom labels and turn plain chocolate bars into wonderful holiday gifts for your loved ones.
Start by gathering up the following supplies:
A 3.67 oz approximately sized Chocolate Bar wrapped in foil with a paper wrapper. (Dove and Cadbury are some of my favorites. Hmmmm!)
Bright white printer paper
Computer and printer
A software publishing program that you can create your label in, like Microsoft Publisher. (Or try using a word processing programming using the text box feature.)
Scanned family photos, especially old holiday photos
These instructions are for creating the labels in Microsoft Publisher, but you could also do it in PowerPoint or any other design type software or app.
1. Create a Rectangle
On the blank page, create a 7 ¾” high and 5 ¾” wide rectangle using the Shape tool. This just gives you a nice outline to work in.
2. Add a Background
An easy way to add an interesting background is to scan a piece of scrapbook paper that you like. The scrapbook paper could be textured or have a repeating design. But you could also choose a favorite digital image.
Use the INSERT IMAGE function to get the image onto your page. Next, resize it to fit just over the rectangle that you created.
Another other option for the background is to select the rectangle and use the FORMAT FILL COLOR function to color the box with the color of your choice. I used green and then chose a gradient that went from light to dark for added interest.
3. Add an Old Photo(s)
You can add any digitized photo that you like. Dig through your old family photo albums to find Christmas photos from the past, or simply feature an ancestor or family. You can use the same photo for all your stocking stuffers, or surprise each member of your family with a candy bar featuring a different ancestor.
Use INSERT IMAGE to add your photos and resize them to fit.
For the front side image, I measured down approximately two inches from the top of the label, and that is where the top of the photo was placed. I set it ¼” from the left edge. Both photos are about 2” x 2”.
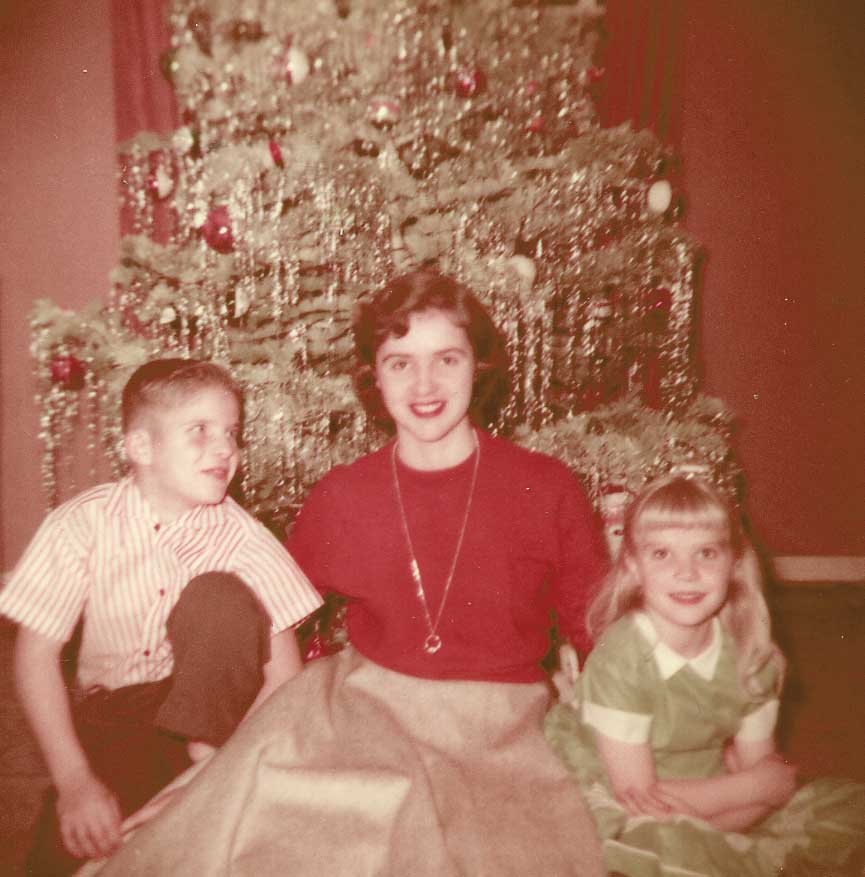
My uncle, mom and aunt in 1956. I used this photo for the front side of my stocking stuffer candy bar label.
4. Adding Photos to the Back of the Label
The backside photo begins 5” from the top of the label and is set ¼” from the left edge.
You may also want to include a small text box that states the date and location of the photos and the names of the people.
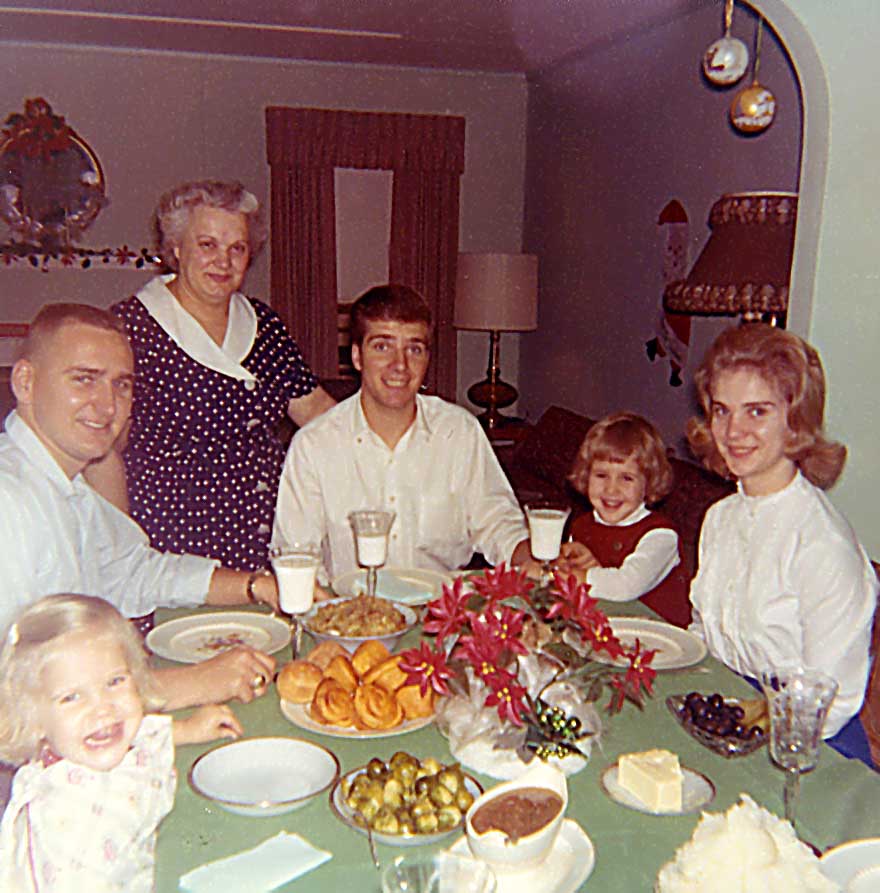
Christmas Dinner at Grandma’s House (I’m in the bottom left corner, mouth wide open as usual.) I featured this photo on the backside of my label.
5. Add Descriptive Text
The last step is to insert the text boxes.
Both the “Sweet Memories” text box and the “Ingredients” text box that I included are about 3” wide and 1 1/4” high. You can format them with the borders and colors that you want.
In my example, you’ll see that I took the color cues from the colors in the photos – the crimson red and soft green. Many apps have a color picker feature that will allow you to get an exact match.
6. Add the Ingredients List
Every food item has an ingredients label on it, and this bar is no exception. I had some fun with the ingredients list and played up the family theme. I thought about my memories of my Grandmother and the values and elements she poured into each holiday. So my ingredients list reads:
Love,
Family,
Attention,
Politeness,
Grandma’s Cooking,
Smiles,
Caring
and Time.
Feel free to reflect your own family values in the list.
7. Print Your Label
Once you’ve got everything laid out on the screen the way you want it, it’s time to print.
From the menu, click FILE then PRINT and then click the PROPERTIES button. From this window be sure to select “high resolution paper” or “high brightness” as the media type, and select HIGH for the print quality to make sure you get the best, most professional looking label.
Print the label, then carefully cut it out.
8. Fold the Label to Fit
Follow the folding guidelines shown above, but keep in mind that your candy bar is going to dictate your actual fold lines.
The first fold line for my standard size Cadbury chocolate bar (which you can buy in bulk here) was 1 ½” from the top of the label and the second fold line is 4 ¼” from the top of the label.
(Disclosure: Genealogy Gems is a participant in the Amazon Services LLC Associates Program, an affiliate advertising program designed to provide a means for sites to earn advertising fees by advertising and linking to Amazon.com. Thank you for supporting articles like these by using our links.)
9. Tape the Label Closed
Remove the original wrapper of the chocolate bar, being sure to keep the foil wrapper in place and undisturbed. Use a small piece of double sided tape to stick the label to itself on the backside snugly.
And there you have it, your own custom family history themed chocolate bar! It’s ready to tuck into a Christmas stocking, use at your next family reunion, or at any other time you want to tickle someone’s sweet tooth and share memories.
More DIY Stocking Stuffer Design ideas
I promised you more examples of these Sweet Memories candy bars. Here are some from my Genealogy Gems Podcast listeners.
I love the vignette styling Judy gave her family history photos.
Genealogy Gems Podcast listener Judy shared her version of the Sweet Memories stocking stuffer candy bar.
And this listener took this DIY idea and used it to create candy bar treats for her family reunion. What makes these SO unique is that she used a family heirloom crocheted blanket for her background image. (How clever is that?!) She spread the blanket over the bed of a scanner to make a digital image of that she could use on the label.
Get more DIY project here at Genealogy Gems. You’ll also find great heritage crafting ideas–including photo displays and heritage quilts–on my Pinterest boards. If you enjoyed this idea I’ll hope you’ll share via Pinterest or Facebook. Did you like this idea and do you have other suggestions for a new spin on it or a favorite DIY family history project? I’d love to hear it so please leave a comment below.
MyHeritage has signed on to sponsor The Genealogy Gems Podcast! Their support helps us to continue to bring you free multimedia content to inspire and inform your genealogy journey.
Our editorial team has spent several months getting to know MyHeritage.com. We think you’ll love their…
International membership. MyHeritage serves over 70 million members worldwide in 40 languages. Did your English-speaking ancestors originate in the British Isles? Are you discovering Sephardic roots in Spain? MyHeritage members may be your cousins—or know something about them. Check out their world membership map here.
24/7 record searching technology. MyHeritage uses a unique and powerful search system called Record Matches to constantly cull 5 billion historical records for your family. It’s the only family history interface out there using semantic analysis to search newspaper articles, books, and other free-text documents. It is also the first to translate names between languages. I personally like that matches from MyHeritage’s historical newspaper collections show up toward the top. It’s a great way to find obituaries!
Millions of trees. MyHeritage can search over 1.5 billion records in their own 27 million trees and recently-acquired Geni.com’s unified tree. From a single screen, members can search all those trees plus WikiTree and other trees. But you don’t even have to search. MyHeritage’s unique Smart Matching technology intelligently matches each family tree to hundreds of millions of profiles in other family trees. Members are alerted when new matches appear on the site.
Offline software companion. Family Tree Builder 7.0 is free software that allows you to keep a master copy of your family tree offline. Read my blog post on that topic here.
Great app. The MyHeritage app for iPhone, iPad and Android 2.2 helps you research, record and share your family history on the go. You can browse records, photo-share, and show off your tree in its beautiful display.
Genealogy Gems will continue to bring you news and gems on a wide range of genealogy topics and companies, not just MyHeritage. But we do encourage you to get to know MyHeritage.com. We choose our advertisers carefully and are very proud to partner with them!