by Lisa Cooke | Oct 29, 2015
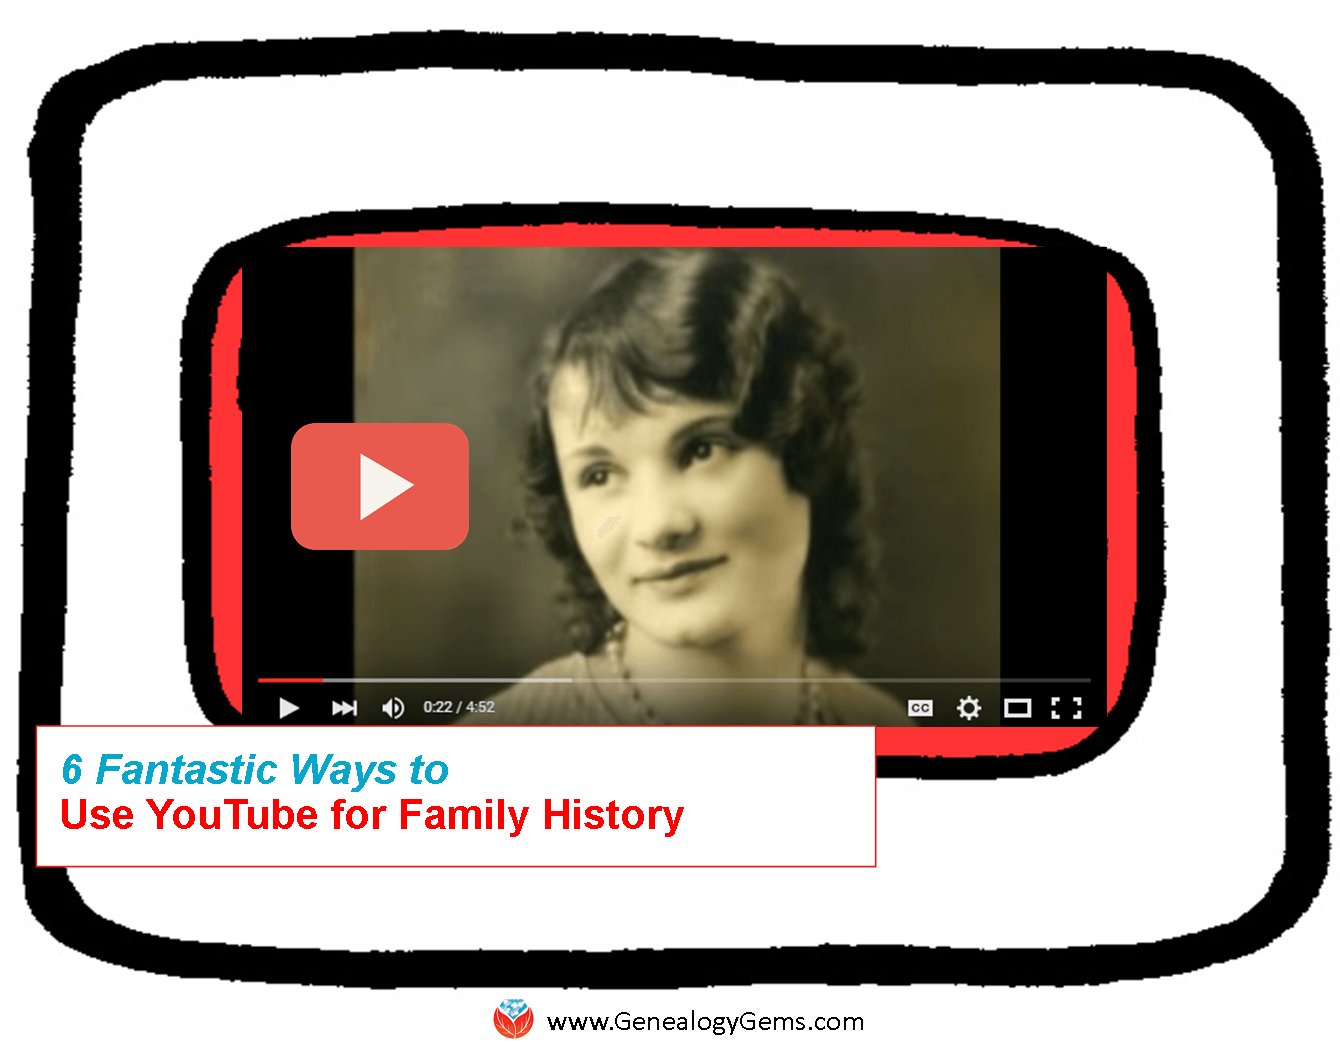 Are you using YouTube to help research and share your family history? You should be! Here are 6 practical ways and several online resources to help you do that.
YouTube is the world’s most popular online video channel and the second-largest search engine in the world. It’s now owned by Google. That means you can harness the power and flexibility of Google searching to find exactly what you’re looking for on YouTube.
Can you use YouTube for family history? Yes, in so many ways! A recent YouTube search for “genealogy” brought up 124,000 results, and “family history” brought up just slightly less. The ways you’ll use YouTube for family history are a little different than the ways you might use other search engine and “big data” genealogy websites, since every result you’re looking for is a video. But because video is such a powerful tool, when you do find something you need, it can often become one of your most valuable finds on that topic.
6 Ways to Use YouTube for Family History
Think about how to apply your own family history research to each of these ways to use YouTube for family history. Check out the many linked examples we’ve shared elsewhere on our site for more tips and inspiration:
#1 Learn more about your ancestor’s world.
Search for major historical events, images of an old ancestral town, and information about clubs, businesses, and other topics that impacted your ancestors’ lives. Was there a disaster? Find footage, like from the 1906 San Francisco earthquake (that’s my own YouTube playlist because it has relevance to my ancestors), the Johnstown, PA flood of 1889 (which Contributing Editor Sunny Morton’s ancestors survived), or a disaster like this ship overturning. Click here to read a blog post by a Genealogy Gems podcast listener who hit pay dirt with historical footage on her ancestor’s town.
#2 Find your ancestors in action.
Ever since the Internet came on the scene, genealogists have been searching online for photos (or for the distant cousins possessing photos) of their family. Apply this strategy to YouTube and video. You might find them on-the-job, out-and-about in the community, or the subject of a historical news reel. Click here to read about the stunning footage Contributing Editor Sunny Morton found on her husband’s great-grandfather.
#3 Get quick answers to specific genealogy research questions.
Got a pressing question on how to fix your Ancestry tree, or how to create crafty family history gifts? Videos on YouTube not only supply answers, but show you how. For example:
#4 Participate in online genealogy conferences from the comfort of home.
Not everyone has the time or money to attend a genealogy conference. Conference organizers understand this and are harnessing the power of online video to bring key content to users where they are.
To get started, check out the videos that feature popular conference speakers and the conference experience from channels like SCGS (Jamboree) by searching SCGS genealogy and NGS by searching NGS Genealogy in the YouTube search box or app.
#5 Make and share your own family history videos right on YouTube.
Click here to read some free tips on how to make a totally shareable video. Click here to learn more about a podcast episode and video that offer more in-depth instructions on creating a great family history video. Here are some examples of family history videos I’ve created and posted on YouTube:
#6 Learn new craft techniques and display ideas for sharing your family history.
Get crafty and creative with project ideas found on YouTube! Search for keywords such as photos, shadow boxes, quilting, scrapbooking, etc. I’ve set up a special playlist on the Genealogy Gems Channel called Family History Craft and Display Projects that is chock full of videos to get you started. Search “GenealogyGems” in the YouTube app or click here to go directly to the playlist. Recently I posted a new YouTube video that captures some highlights of projects I’ve created. You can also read Genealogy Gems blog posts that recommend YouTube videos for specific craft ideas like making a photo quilt or a message in a bottle.
Here’s a tip: When you find a YouTube channel you like, click the Subscribe button. This will set you up to be notified of new videos from that channel as soon as they are published. (Sign in to YouTube with your free Google account).

How to Get the Most Out of YouTube for Family History
 Learn how to get the most out of YouTube for family history in my book The Genealogist’s Google Toolbox. There’s an entire chapter on YouTube! You’ll learn how to navigate your way through YouTube; conduct the best searches for videos; how to create a custom YouTube channel, playlists and home page; how to like and share videos; how to upload your own videos and more.
by Lisa Cooke | Apr 2, 2015 | 01 What's New, RootsMagic, Trees
Recently I heard from my friends at RootsMagic about a new version of their excellent family history software, as well as tips for getting help using it. I’m a  huge fan of RootsMagic software-–click here to read my RootsMagic review. I’m also huge fan of keeping your master tree on your own software rather than just in an online tree (click here to read why). From the RootsMagic press release:
“We have released a new update for RootsMagic 7 users, version 7.0.5.0. This update includes the option to automatch with FamilySearch when doing WebHints, as well as a number of small bug fixes.” Click here to see a list of what is new and fixed. “If you haven’t already downloaded the update, look for the “Update Available” indicator in the lower right corner of your RootsMagic 7 program screen, and click on it.”
A Note About RootsMagic Help
“While we try our hardest to make our software as easy to use as possible, we also realize that a program with as many features as RootsMagic can sometimes seem intimidating. That’s why we try so hard to provide as many ways to get help as we can.
On the other hand, we are a small company (yes, we try to look big) and can often get buried with the amount of support calls and emails we receive. But the one thing we don’t have a shortage of is great customers who are willing to help each other.
Way over half the support requests we receive are answering “how-to” and “can the program do this” kinds of questions. Did you know that we have message boards, mailing lists, and other ways to talk to other RootsMagic users to get answers to a lot of these questions? We also have online classes (webinars) and tutorial videos (RootsMagic TV) to help you learn how to use the features of your software. We have an entire knowledge-base of answers to frequently asked questions.” To see all the different ways you can get help with RootMagic software, click here.
We are proud to have RootsMagic as a sponsor of the free Genealogy Gems Podcast.
by Lisa Cooke | Mar 5, 2015 | 01 What's New, images, RootsMagic, Trees
Recently Gretchen wrote in with this question about RootsMagic family history software:
“I’m a huge fan of Genealogy Gems!! I LOVE to listen to the podcasts (I’m a fairly new member) and have all of your books!! I need help in the area of choosing a family tree: Do you prefer Legacy Family Tree or Roots Magic (which you promote on your podcasts) and why?!? I would so appreciate some advice! I love your tips!! I look forward to hearing from you and would greatly appreciate the advice!! Thank you!!!”
Here’s my answer: I use RootsMagic for my genealogy database. I’ve known the owner of RootsMagic for eight years, and am impressed at the company’s continued development of the program and their dedication to provide ongoing free training for their users through their website. They offer free webinars to all their users, including short training videos on specific RootsMagic features.
- Full-length videos include such topics as:
- Getting Started, Publishing a Family History with RootsMagic
- Using FamilySearch with RootsMagic (they have an award-winning interface)
- Creating and Printing Wallcharts with RootsMagic.
New PDF indexes to their webinars make it easier to find the topics you’re looking for.
In short, every indication to me is that is an excellent long term solution that allows me to retain control of all my data. And that’s why we selected them as a sponsor of The Genealogy Gems Podcast.
I hope this brief RootsMagic review helps you!
Click here to learn more about your options for family history software, and why I still recommend desktop software when you can build your family tree entirely online.
by Lisa Cooke | Mar 25, 2014 | 01 What's New, Beginner, Evernote, Organization, Research Skills
Recently I heard from Jane, a Genealogy Gems Premium subscriber in Canada, who needs a genealogy research plan! She’s researched on Ancestry.ca, 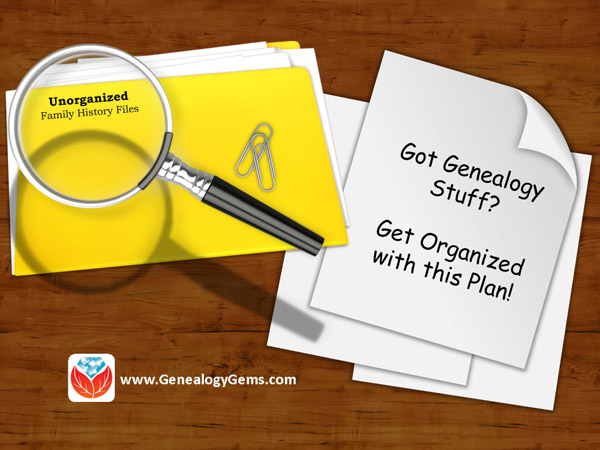 Scotland’s People, the Free English BMD Index, FamilySearch and joined her local society. But she’s not sure where to go next with her research–there just are SO many options! If this sounds familiar, check out her question and the advice I gave her:
“I often end up wandering around in circles and mazes as one thing leads to another, and another, and … I am sure you know what I am talking about. I seem to be jumping back and forth between my Dad’s family, my Mom’s family, their families, etc. until there are times that I find myself at a certain point, only to wonder ‘Where was I going with this?’ I’m now wondering if I would be best to take it one person at a time – to find out as much as I can about that person in that point of time, before going on to another. I have started trying to make notes…but find that I end up hopelessly out of order and lost. Any advice would be appreciated! Help!!!”
My Answer: A Genealogy Research Plan to Deal with the Chaos
“You are not along in this genealogical dilemma! It’s easy to let the records start to take over and lead you around. Set a goal or a genealogy research plan – define what it is you want to know. It might be something very specific about a particular ancestor, or it might just be to fill in the blanks on one particular family. Early in my research I focused on one grandparent, and working backwards, I would strive to fill in all the blanks on that person, then their parents, then their siblings. I wouldn’t “leave” that family until I felt that I had filled in as much of the family group sheet as possible. (We have sort of lost track of the “family group sheet“ in this technological age. But it is an excellent tool for keeping you on track and focused on the blanks that need to be filled.)
An additional strategy is to have a process for dealing with information that is a bit off your current track. Often we feel like we have to pursue it or we’ll lose it. I like to use Evernote (free at Evernote.com) to capture data that I’m not ready to deal with right now, but definitely want to pursue later. I create an Evernote “notebook” for that family surname, and a note book called “future research.” Drag and drop “Future Research” onto the family surname notebook which will create a “stack.” Now you can create notes and drop them into the “Future Research” notebook which is inside the applicable family. Add tags to your note like “newspaper,” “death record,” etc. and some good searchable keywords so that the note will be easy to find when you need it. Now you can capture the item, file it away, and stay focused on the task at hand. Whenever you’re ready to ask a new question, open that Future Research notebook. Use what’s there to inspire the next phase of your genealogy research plan.”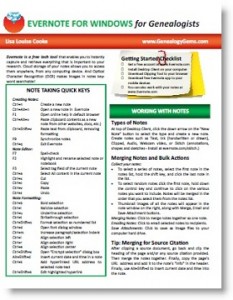
More Resources
How to Get Started in Evernote, and the Ultimate Evernote Education
Should Evernote be my Digital Archive?
If you would like to learn more about using Evernote for genealogy, I have a quick reference guide in my store that will work wonders in keeping you organized. It’s available for both Windows and Mac, and in both PDF and laminated print format.
 Your questions are always welcome! Contact me by email, or leave a voice mail at (925) 272-4021 and you may just hear yourself on the show.
 Evernote for genealogy YouTube series: a free online series I’ve created to help you use Evernote for genealogy;