Do you use Evernote for Genealogy? Genealogists everywhere are singing its praises and it’s a regular feature here on Genealogy Gems. Well, Evernote just got a little better today.
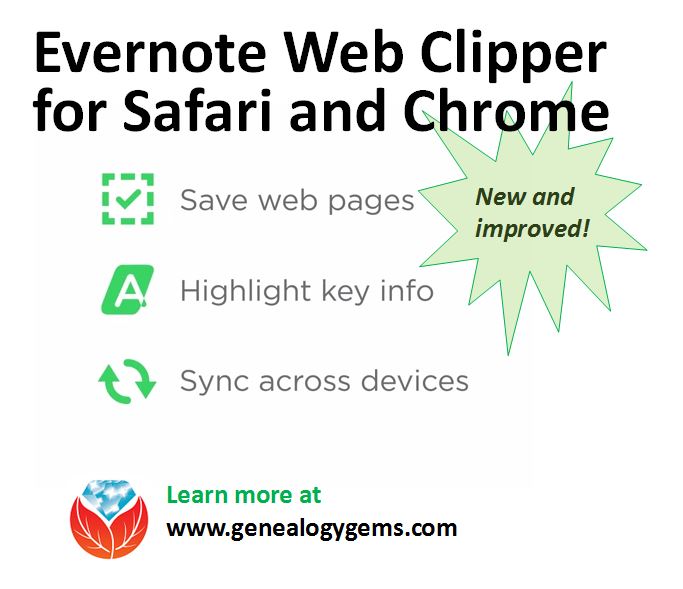
Evernote has just released a new web clipper and it oozes with awesomeness. It works with Safari, and may be the catalyst for reluctant Windows users to finally say goodbye to Internet Explorer and make the commitment to Google’s Chrome web browser.
My favorite feature (so far) of Evernote’s new web clipper is easy to spot. The Screenshot clipper that was once only available using the desktop app is now built right into the browser web clipper. You gotta love it!
But it doesn’t stop there. Once you have clipped the desired web content, there are a load of new annotations you can add to highlight what’s important to you.
Watch the video to see it in action:
Here are some key features:
The Evernote Web Clipper has been updated on Chrome, Opera, and Safari. You’ll need to restart your browser once it’s updated.
Clipping from Gmail, LinkedIn, YouTube and Amazon has been customized to allow you to clip only the parts of the page you want. It saves as a clean and clutter-free note. With Gmail, Web Clipper includes any email attachments.
You can share clips right from the new Web Clipper. You can even embellish clips with text and visual callouts.
You can assign clips to notebooks and tags right from the clip screen. The more clips you save, the better Evernote gets at predicting where you want it saved.
Who do YOU know who wants to learn more about using Evernote for genealogy? Please share this post with them by email or through your favorite social media channels.
Have you ever clicked the Send button on an email message only to seconds later have a wave of regret fall over you? At a moment like that it would be very helpful to know how to unsend Gmail email messages. At one time or another we have all left out vital information, or sometimes worse, said too much. Now you can change your mind and undo what you did!
On June 22, 2015 Google announced the Undo Send feature for Gmail on the Web. By default the Undo Send feature is turned off (that is unless you are already using the Labs version.) To flip the switch and start undoing your sends, simply:
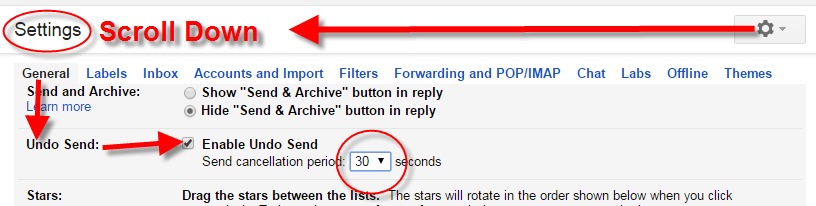
1) Click the Settings gear in Gmail
2) Under the General tab, scroll down until you see Undo Send
3) Click to check the Enable Undo Send box
4) From the drop down menu select how much time you will have to decide to unsend an email message
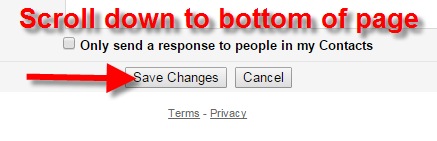
5) Scroll down the General Settings page and be sure to click the Save Changes button at the bottom of the screen to activate your unsend Gmail email selection.
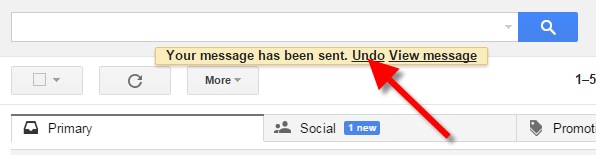
Now if you want to unsend Gmail email messages you will be able to do so for the short amount of time you specified (in my example I selected 30 seconds)
Unsend Gmail email and get it right – the second time!
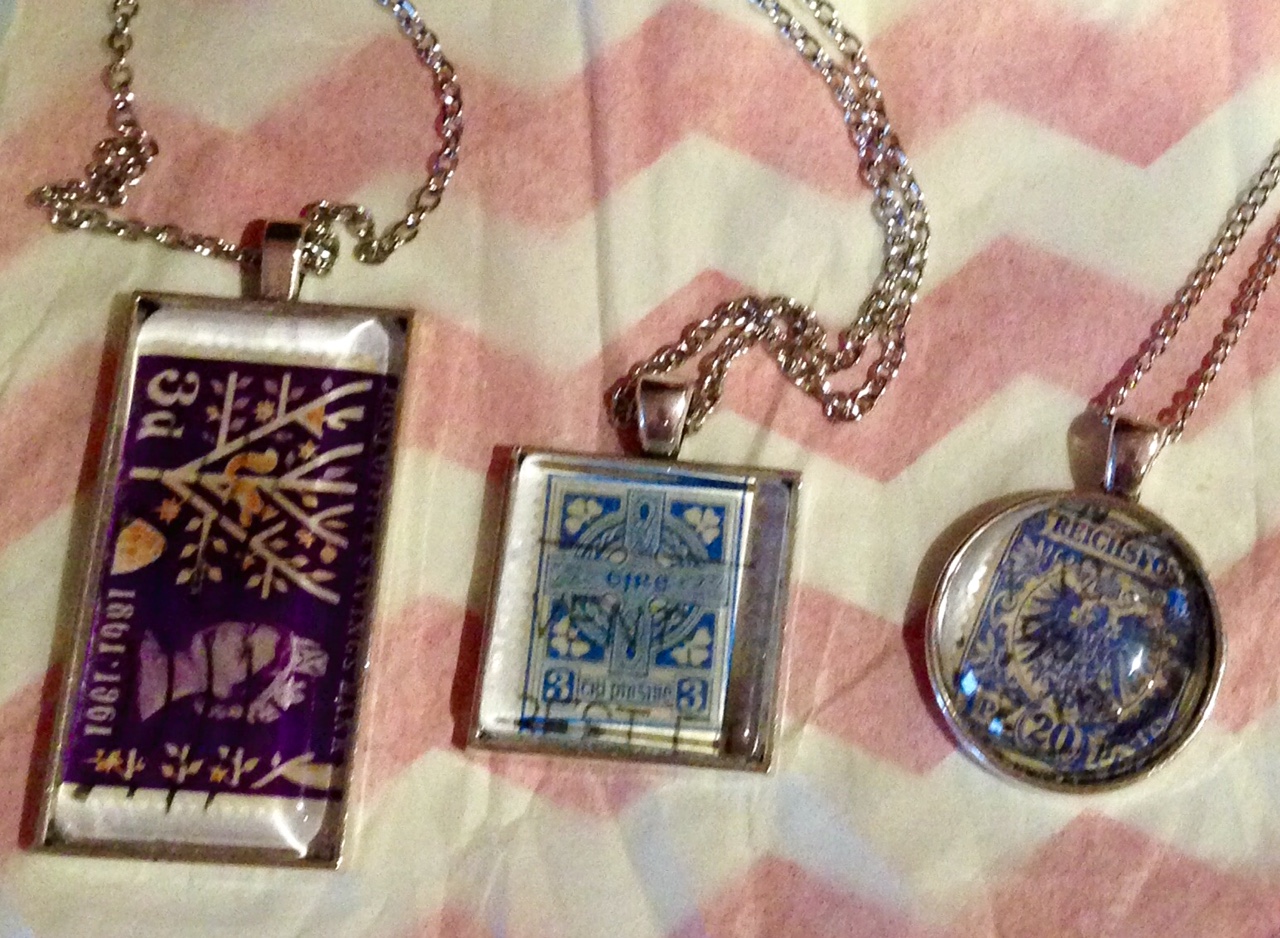
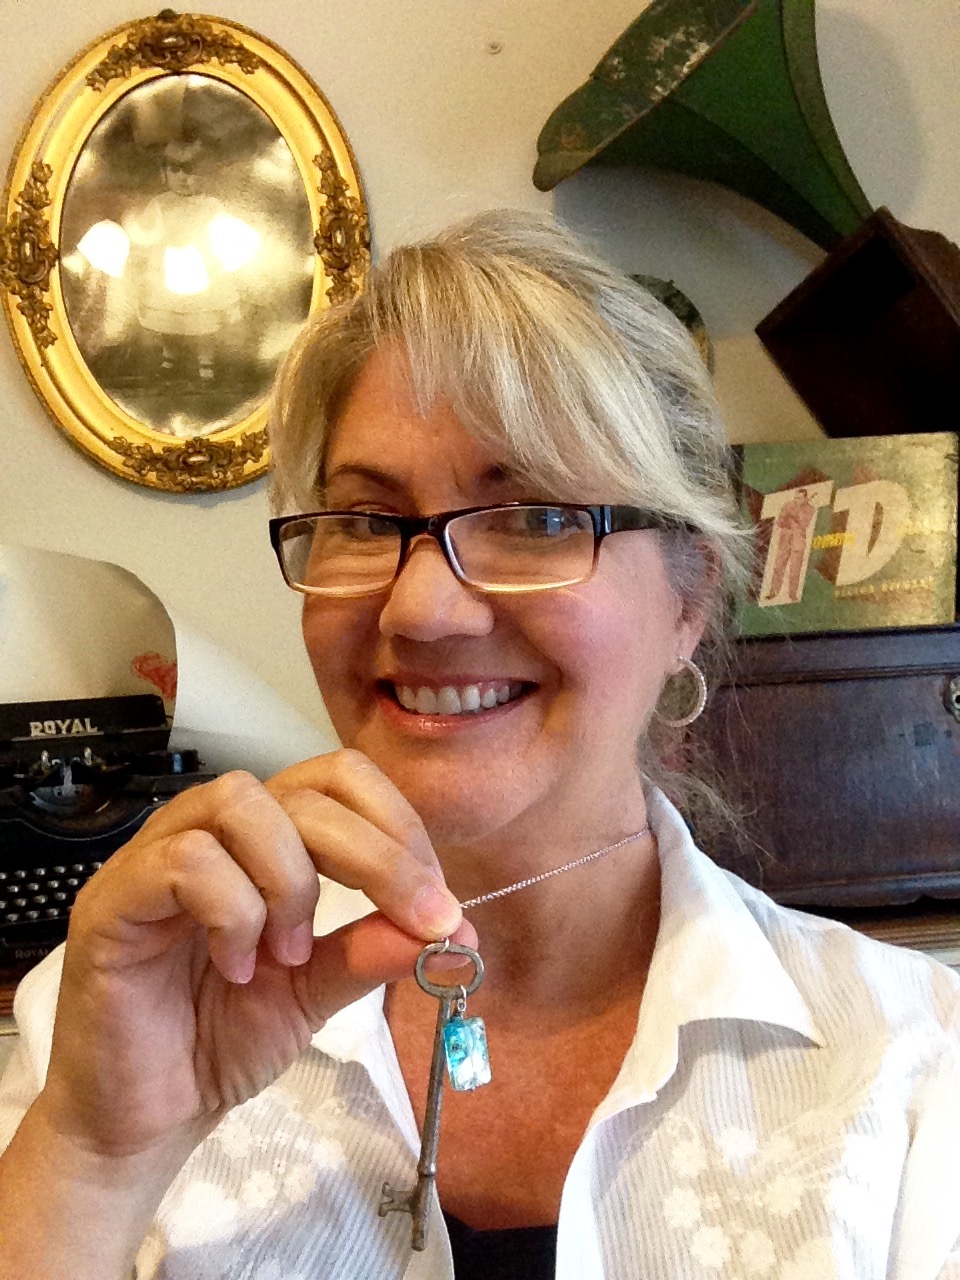
What old family artifacts do you have that would make a great piece of jewelry?
Recently I heard again from Gems follower Jen McGraw, whose question inspired a recent blog post on researching in state capitals. “I make necklaces with vintage postage stamps (from the 1890s thru 1970s) or vintage skeleton keys,” she told me. “I would love to make one for you and give it to you as a gift of thanks for your info and help.” She asked what countries I’m interested in (she has stamps from just about everywhere) and what color metals I wear, then custom-created this gift for me. (She does this for others, too: here’s her Facebook page.)
A public thanks to Jen–I love this new necklace! What fun to see how she has incorporated these old stamps and keys into new jewelry. Jewelry with found objects is unique and trendy, but I love it because it can be a real conversation-starter. The colorful designs on stamps and their history can say something about the wearer’s family history. To me, old keys symbolize unlocking the fascinating mysteries of the past.
I have blogged before about incorporating family history into jewelry, like this post about turning a piece of found jewelry (a single earring) into a unique hair accessory. I love hearing about YOUR creative displays and jewelry, too: feel free to send your pictures and stories! Click here to read our blog posts about crafts and displays, or follow my Pinterest board on Family History Craft Projects.
Here’s a simple solution for making additions to an existing web clipping in Evernote.
Photo: [Public domain], via Wikimedia Commons
Have you ever clipped something with Evernote and realized after the fact that you would like to copy and paste additional information (such as a genealogical source citation) to the clipping?
Carolyn wrote me recently when she ran into this problem of how to add text to a web clipping in Evernote: “I clipped a wedding document from FamilySearch to Evernote Notebook [and] added URL to dropdown menu. But where can I add the citation that is given on FS document page?
I tried copy/paste but…back at Evernote, nowhere to paste citation. I like to document everything I use in my family records, so this is important to me…I enjoy using Evernote and following your tutorials that came with my (Genealogy Gems Premium website) membership. I have been using Evernote for just two weeks.”
Carolyn, I’m thrilled to hear that source citation is important to you, because it is the backbone of solid genealogical research! Here’s a simple solution.
How to Add Text to a Web Clipping in Evernote:
1. In Evernote, click once on the web clipping in the existing note
2. Press the right arrow key on your keyboard (you will see that now there is a big flashing cursor to the right of the clipped image)
3. Press the Enter key on your keyboard (just like a Return on a typewriter, your cursor has now moved one line below your clipping.)
4. Type or paste copied source citation as desired.
5. Use the formatting options at the top of the note to change the font size, type, and color, etc.
6. Click the INFO icon to see and add more data as desired (such as the original URL of the webpage where you clipped the item.)
Click here to learn more about using Evernote for genealogy.
Did you find How to Add Text to a Web Clipping in Evernote helpful? It’s easy to share it by clicking any of the social media icons at on this post. And we feel all happy inside here at Genealogy Gems when you do – thanks for being a Gem!
More and more people are blogging about their family history. Here’s why!
When it comes right down to it, many of us want to write up our family stories, but we don’t really want to write or publish a 300-page book. Blogging your family history in short snippets is a perfect alternative! Why?
1. Its shorter, flexible format is much less intimidating for many people. You don’t have to lay out a book or fill hundreds of pages. You can write a little bit at a time, as your time and mood permit.
2. A blog is like your own family history message board. Every word you write is searchable by Google–which means others researching the same family lines can find and connect with you.
3. A family history blog can help bust your toughest brick wall. I’ve heard and shared countless stories here at Genealogy Gems from readers and listeners of how just “putting it out there” on a blog led to someone contacting them with a treasure trove of new information about their family tree.
4. Writing a narrative about your research will help you identify gaps in your research. Sometimes errors or bad assumptions you made will jump out at you.
5. Your kids and grandkids are (or will be) online. They will more likely want to read quick and easy stories on the go on their smart phones and tablets. Putting your research out there on a blog provides them with an easy way to digest the family heritage and subscribe to it, since blogs can be delivered to their email inbox or to a blog reader.
6. Because there are no excuses. You can start a blog for free. There are no rules, so you can decide how often and how much you write at once.
7. If you leave the blog online, it will still be there even when you’re not actively blogging. You will continue to share–and you may continue to attract relatives to it.
Resource:
Start a family history blog with this free series from our Family History Made Easy podcast (an online radio show)
Part 1: What to Consider when Starting a Genealogy Blog. The “Footnote Maven,”author of two popular blogs, talks about the process of starting a genealogy blog. She gives great tips for thinking up your own approach, finding a unique niche, commenting on other people’s blogs and more.
Part 3: Step by Step on Blogger.com. How to create your own free family history blog on Blogger.com. Learn tricks for designing a simple, useful blog and how NOT to overdo it!
Final tips:Wrap-up and inspiration. In this concluding episode, learn how to add a few more gadgets and details to your blog; pre-plan your blog posts, publish your first article, and how to help your readers subscribe. You’ll also get great tips on how to create genealogy content that others looking for the same ancestors can find easily online.
SHARE! Invite someone you know to start a family history blog by sending them this post. They’ll thank you for it later!
 Do you use Evernote for Genealogy? Genealogists everywhere are singing its praises and it’s a regular feature here on Genealogy Gems. Well, Evernote just got a little better today.
 Who do YOU know who wants to learn more about using Evernote for genealogy? Please share this post with them by email or through your favorite social media channels.
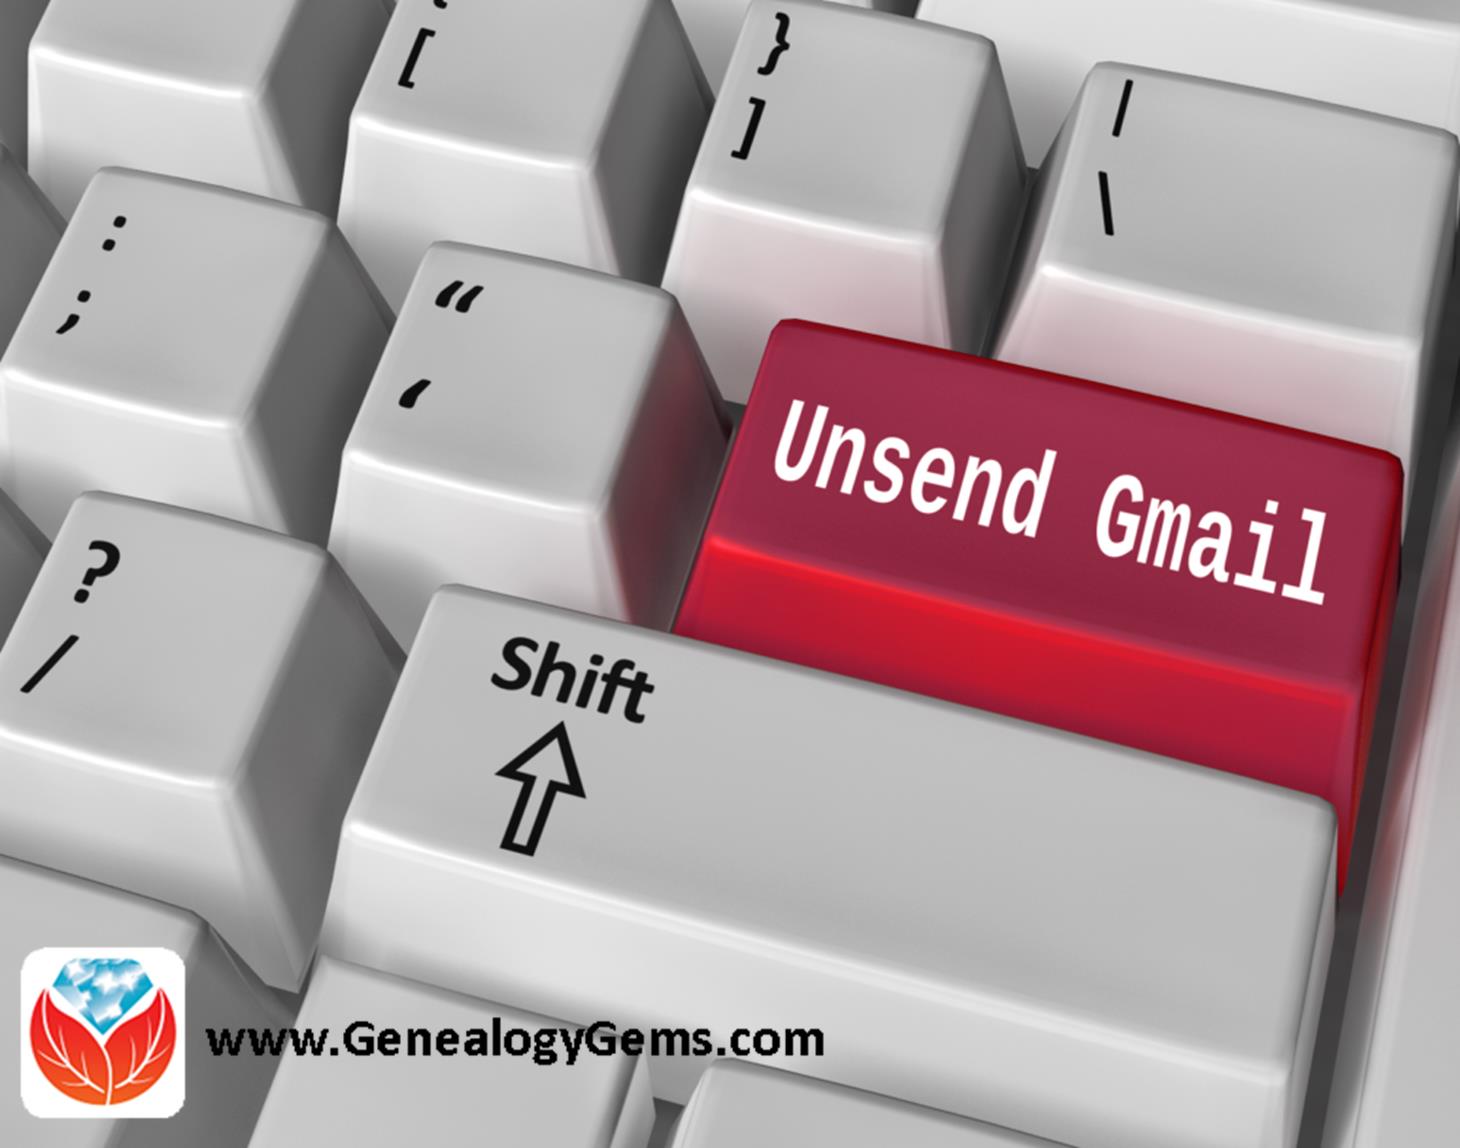
![By CBS Television (eBay item photo front press release) [Public domain], via Wikimedia Commons](https://lisalouisecooke.com/wp-content/uploads/2015/08/evernote-source-citation.jpg)


 - Ethel_Merman_NYWTS.jpg. Licensed under Public Domain via Wikimedia Commons - https://commons.wikimedia.org/wiki/File:Ethel_Merman_NYWTS-restored.jpg#/media/File:Ethel_Merman_NYWTS-restored.jpg)
