100 Years Ago Today in Newspapers
Spring is in the air, as it was 100 years ago today. On May 14, 1913 the Omaha Daily Bee, the front page sported a comic depicting the eternal struggle of suburban life – fighting weeds in an effort to achieve the perfect lawn.
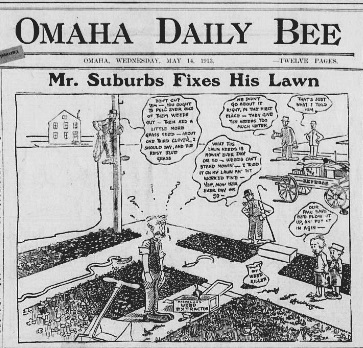
(Omaha daily bee., May 14, 1913, Weekly Market Review Edition, Image 1 Omaha daily bee. (Omaha [Neb.]) 187?-1922)
You can view the digitized paper featuring “Mr. Suburbs” at the Chronicling America website, along with digitized papers ranging from 1836 – 1922.
To learn more about using newspapers to climb your family tree grab a copy of my book How to Find Your Family History in Newspapers.
