by Lisa Cooke | Jan 6, 2014 | 01 What's New, Military, Oral History, Photographs
If your family has a history of military service, you want to better understand the experience of war, or you want to help preserve someone’s memories

American soliders in the Korean War. Fighting with the 2nd Inf. Div. north of the Chongchon River, Sfc. Major Cleveland, weapons squad leader, points out Communist-led North Korean position to his machine gun crew. November 20,1950. Pfc. James Cox. Wikimedia Commons Image.
of combat, you should check out Witness to War.
Witness to War aims to capture “the ‘foxhole view of combat as seen by the soldiers who experienced it.” They do oral history interviews with combat veterans, then preserve and share them through their website. They have already posted a lot of video interviews that are searchable by subject or name.
Their collection of photos, mostly snapshots taken by soldiers, is sobering and powerful. There are a lot of battlefield and other very stark images.
Do you know anyone whose memories should be included in this site? They are currently interviewing soldiers in the Atlanta and Washington, D.C. areas. All content they collect will be donated to the (US) Library of Congress Veterans History Project.
by Lisa Cooke | Nov 12, 2015 | 01 What's New, Records & databases, Research Skills, YouTube
Get inspired in Genealogy Gems Premium Podcast episode 129! You’ll hear about church records and YouTube for genealogy, locating hard-to-find records and–even  better–locating ancestors’ parents.
How many ways can you think of to find family history? Lisa Louise Cooke can think of a lot–and she packs as many of them as possible into the newly-published Genealogy Gems Premium Podcast episode #129.
In this members-only podcast, Lisa starts off with a rundown of some great new genealogy records online. I particularly enjoyed the back story she shares on the 1939 Register recently released by Findmypast for England and Wales.
Then Lisa tackles a tough two-part question that a listener sent in. We follow along with this listener’s progress in trying to track down an elusive record type. Spoiler alert: it doesn’t pan out. (Sound familiar?) So then it’s back to the drawing board with some follow-up Genealogy Gems advice and great feedback from yet another listener! I love how this show segment shows the inside process of multi-step research problems.
 A segment on YouTube for family history follows. Lisa is so great at figuring out how to use everyday buy adhd medication online technologies and online resources for family history, and YouTube is no exception. I admit I was a bit skeptical the first time I read about searching YouTube for ancestors in Lisa’s book, The Genealogist’s Google Toolbox, but I have since found some amazing things on YouTube. Don’t miss these tips!
Two guests join the show today. First is an exclusive Gems interview 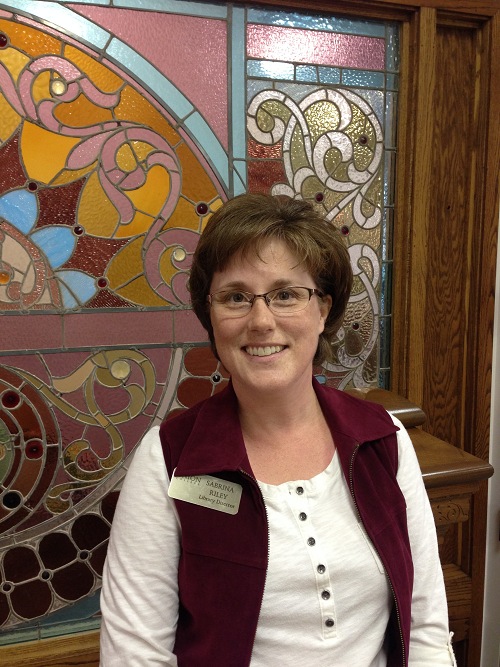 with Sabrina Riley, a Library Director at Union College. Sabrina oversees an archive of Seventh-Day Adventist church records and gives us great tips on using these (and other denominational records) for genealogy.
Then Diahan Southard chimes in with an insightful DNA commentary on when our DNA circles don’t necessarily result in family connections.
 What a great lineup! If you’re a Genealogy Gems Premium website member, sign in and then click here and start listening. If you’re not, click here to learn more about the benefits of Genealogy Gems Premium membership. Listening to this exclusive podcast episode is just ONE of MANY benefits you’ll receive for an entire year!
by Lisa Cooke | Sep 19, 2015 | 01 What's New, Apps, Genealogy TV, Google, images, Smartphones, Technology, YouTube
 Here at Genealogy Gems we love using Google for genealogy. Today we have another exciting Google resource that can transform how you share your genealogy with your family – because ultimately, genealogy is all about sharing your family’s story!
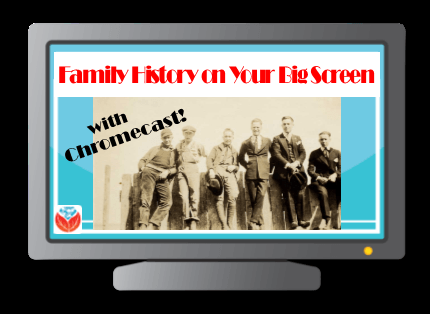
While the mobile device era has made communication and sharing easy and instant, sometimes it’s hard to really see the ‘big picture’ on our tiny screens. And crowding around the computer monitor isn’t much better. Chromecast by Google is a tool that allows you to stream content from your mobile devices and computers directly onto your TV!

 You can share slideshows, photos, videos, and more while everyone is seated comfortably in the living room. If you are looking for an easy and inviting way for your family to enjoy all the hard work you put into constructing the family tree, Chromecast is for you. The Google Chromecast HDMI Streaming Media Player currently sells for $35 and takes a mere 5 to 10 minutes to set up.
Even though I’m Lisa’s daughter, I am not a techie person at all, so if I can do it in just a few minutes without help, you can too!
How to Use Chromecast
After you’ve completed the initial set up, simply open the app you want to stream (YouTube, for example) and tap the Chromecast icon. Streaming is now enabled. (Chromecast primarily works over wifi, but Google recently announced that Ethernet cables are now available as an alternative.)
While streaming, you control the app functions on your mobile device or computer. For example, if you’re streaming a movie from the Netflix app on your iPad, you would play, pause, and make your selections directly on your iPad. If you want to switch back to viewing on your mobile device (or simply stop streaming), tap the Chromecast icon again.
Dozens of photo and video apps are compatible with Chromecast and all are listed on their website. Here are a few that I think genealogists will really enjoy, and they’re all available on both The App Store and Google Play:
 Photo Cast for Chromecast
Free
Premium Upgrades – $2.99 and up
 When you open the app, you can view all the photos and videos (including TV shows or movies you may have purchased) on your device. You can also create slideshows by picking individual photos or entire albums and adding songs from your music library. Then tap the Chromecast icon to instantly stream to your TV. It has four viewing modes available. Photo streaming has very little lag, but video streaming could take a little longer to load, depending on your wifi speeds. Multiple devices can stream to the same TV, and slideshows can continue to play on the TV while you use your mobile device for other tasks.
 Google Slides
Free
Google Slides is an ideal tool for Chromecast because it is linked directly to your Google account. I recommend using Google Slides from your laptop or desktop because you can pull pictures from your hard drive (or anywhere – you’re not limited only to the pictures on your mobile device). And personally I find I can work much more efficiently with a full mouse and keyboard for this kind of project. You can create a wonderfully detailed and multi-media slide show or presentation. Then, download the app to your mobile device and your presentations will be accessible there as well. I find streaming from your tablet works a little better than streaming from your computer, but you can still stream from a computer as long as it’s connected to wifi and is close enough to the TV to detect Chromecast.
 YouTube
Free
 Chromecast offers you an easy and convenient way to watch videos from our Genealogy Gems YouTube channel and other favorites on your TV! Open the YouTube app and tap the Chromecast icon. Browse videos as usual. When you select one to watch, it will stream to your TV with no loss of video or audio quality. You can also create a TV queue, specifically for videos you want to watch on the big screen. Tap on a video and a pop-up will ask to either play it or add it to your TV queue. The best part? YouTube will continue to play your video on your TV even if you minimize the app on your device to do other tasks. Before you finish your viewing session, be sure to tap the Subscribe button at the Genealogy Gems YouTube channel so you’ll have easy access to all current and new videos.
Desktop Streaming
Streaming from your desktop browser is another great feature. Anything you are viewing on your browser (videos, audio, website content, etc.) can be projected to your TV. You will need the current version of the Chrome web browser, as well as the Chromecast extension installed. In my personal experience I found streaming video from my browser to be a bit slow and choppy, but results may vary based on browser settings and wifi speeds. It’s worth a try, and I wouldn’t be surprised if this technology continues to evolve and improve.
TIP: How to Update Chrome
Normally, Chrome updates automatically in the background when you open and close your browser. But here’s how to check if you have the most current version of Chrome:
- Open Google Chrome.
- In the top right, click the Chrome menu
- Click About Google Chrome.
- The current version number is the series of numbers beneath the “Google Chrome” heading. Chrome will check for updates when you’re on this page.
- Click Relaunch to apply any available update.
Another cool thing about Chromecast:
Once you have Chromecast set up, your devices will detect any Chromecast that is nearby, whether it’s yours or someone else’s. So if you’re at a family member’s home and they have Chromecast, you can stream from your device to their TV as well! Can you say “time to share the latest version of the family tree?”
Again, as a non-techie I found Chromecast to be very user-friendly, and a huge value for the price. There are loads of fun apps to explore (music, podcasts, interactive games, and even a karaoke app!). Happy streaming!
 P.S. If you decide to purchase Chromecast, will you please use this link? Purchasing through our site supports the free Genealogy Gems podcast and all the free content on our website.
by Lisa Cooke | Dec 18, 2015 | 01 What's New, Records & databases
Here’s our weekly roundup of new genealogy records online that caught our eye. This week there are a lot of US records: Alabama Episcopal church registers, Connecticut sourt records, Kansas probate records and New York Evening Post death notices. Immigration records for Brazil and Italian civil registrations are also on the list!
ALABAMA CHURCH. The Birmingham Public Library’s index to Alabama Episcopal Church registers (1832-1972) is now also searchable on Ancestry as a Web Index (click here to learn about Ancestry Web Indexes). The index includes “confirmations, baptisms, marriages and burials for more than 14,000 people in sixteen Alabama parishes for the period of the 1830s to the 1970s.”
BRAZIL IMMIGRATION. Over 2.2 million indexed records have been added to a free FamilySearch collection of Brazil Rio de Janeiro Immigration Cards (1900-1965). These records, in Portuguese, “contains immigration cards issued by Brazilian buy tapeworm medication dogs consulates around the world. These cards were then presented at the port of entry by foreigners visiting or immigrating to Brazil through the port of Rio de Janeiro from 1900-1965.”
CONNECTICUT COURT. Over a quarter million indexed records have been added to FamilySearch’s free index to Connecticut District Court naturalizations (1851-1992)
ITALY CIVIL REGISTRATION. Nearly a quarter million indexed records have been added to FamilySearch’s free collection of Italian civil registrations for Taranto, 1809-1926.
KANSAS PROBATE. Ancestry’s collection of Kansas wills and probate records has been freshly updated. Kansas wills and probate records The current database covers nearly two centuries (1803-1987) and covers at least some time periods in nearly half of Kansas’ 105 counties.
NEW YORK DEATHS. An index to over 100,000 death notices from the New York Evening Post (1801-1890) is now available to subscribers at AmericanAncestors.org. “Page images and an index searchable by first and last name, location, and year are included.”
 Merry Christmas and Happy New Year!
Disclosure: This article contains affiliate links and Genealogy Gems will be compensated if you make a purchase after clicking on these links (at no additional cost to you). Thank you for supporting Genealogy Gems!