Episode 194 Free Podcast Episode
The Genealogy Gems Podcast
with Lisa Louise Cooke
This blast from the past episode comes from the digitally remastered Genealogy Gems Podcast episodes 11 and 12 (originally recorded in 2007). They are now interwoven with fresh narration and updated show notes. Topics include: Google Images; Top 10 Tips for finding Graduation Gems in your family history; Display your family history with an easy to create Decoupage plate.

Did you know you can use Google to help identify images, to find more images like them online, and even to track down images that have been moved to a different place online? Find these great Google tech tips in this episode, along with 10 tech-savvy tricks for finding an ancestor’s school records. You will also hear how to create a family history photo decoupage plate: a perfect craft to give as a gift or create with children.
This “blast from the past” episode comes from the digitally remastered Genealogy Gems Podcast episodes 11 and 12 (originally recorded in 2007). They are now interwoven with fresh narration; below you’ll find all-new show notes.
Google Image searches: Updated tips
Click here to watch a short new tutorial video on using Google Images to find images for your genealogy research.
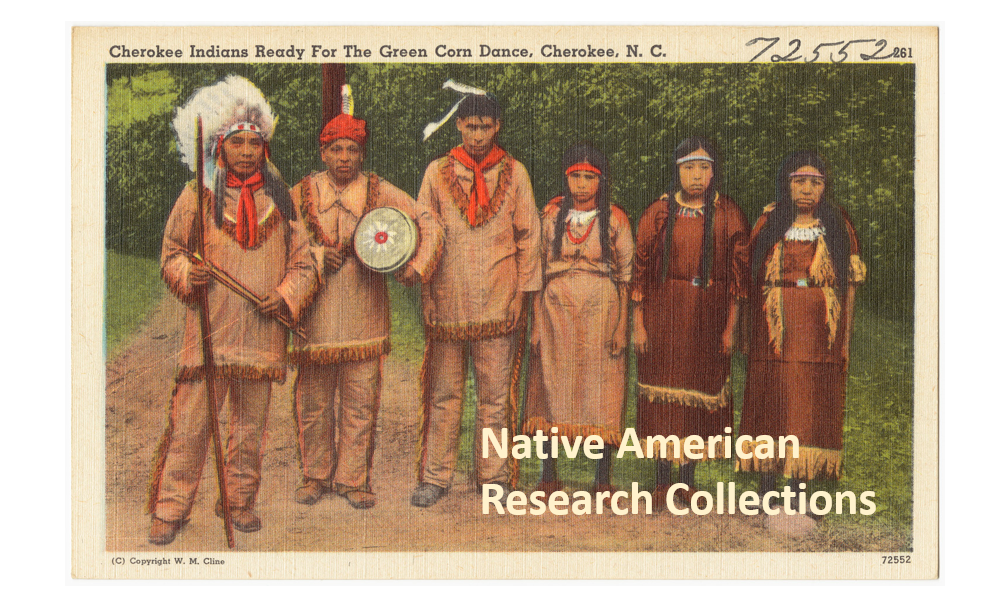
Conduct an initial search using the search terms you want. The Image category (along with other categories) will appear on the screen along with your search results. For images of people: enter name as search term in quotes: “Mark Twain.” If you have an unusual name or if you have extra time to scroll through results, enter the name without quotation marks. Other search terms to try: ancestral place names, tombstone, name of a building (school, church, etc.), the make and model of Grandpa’s car, etc.
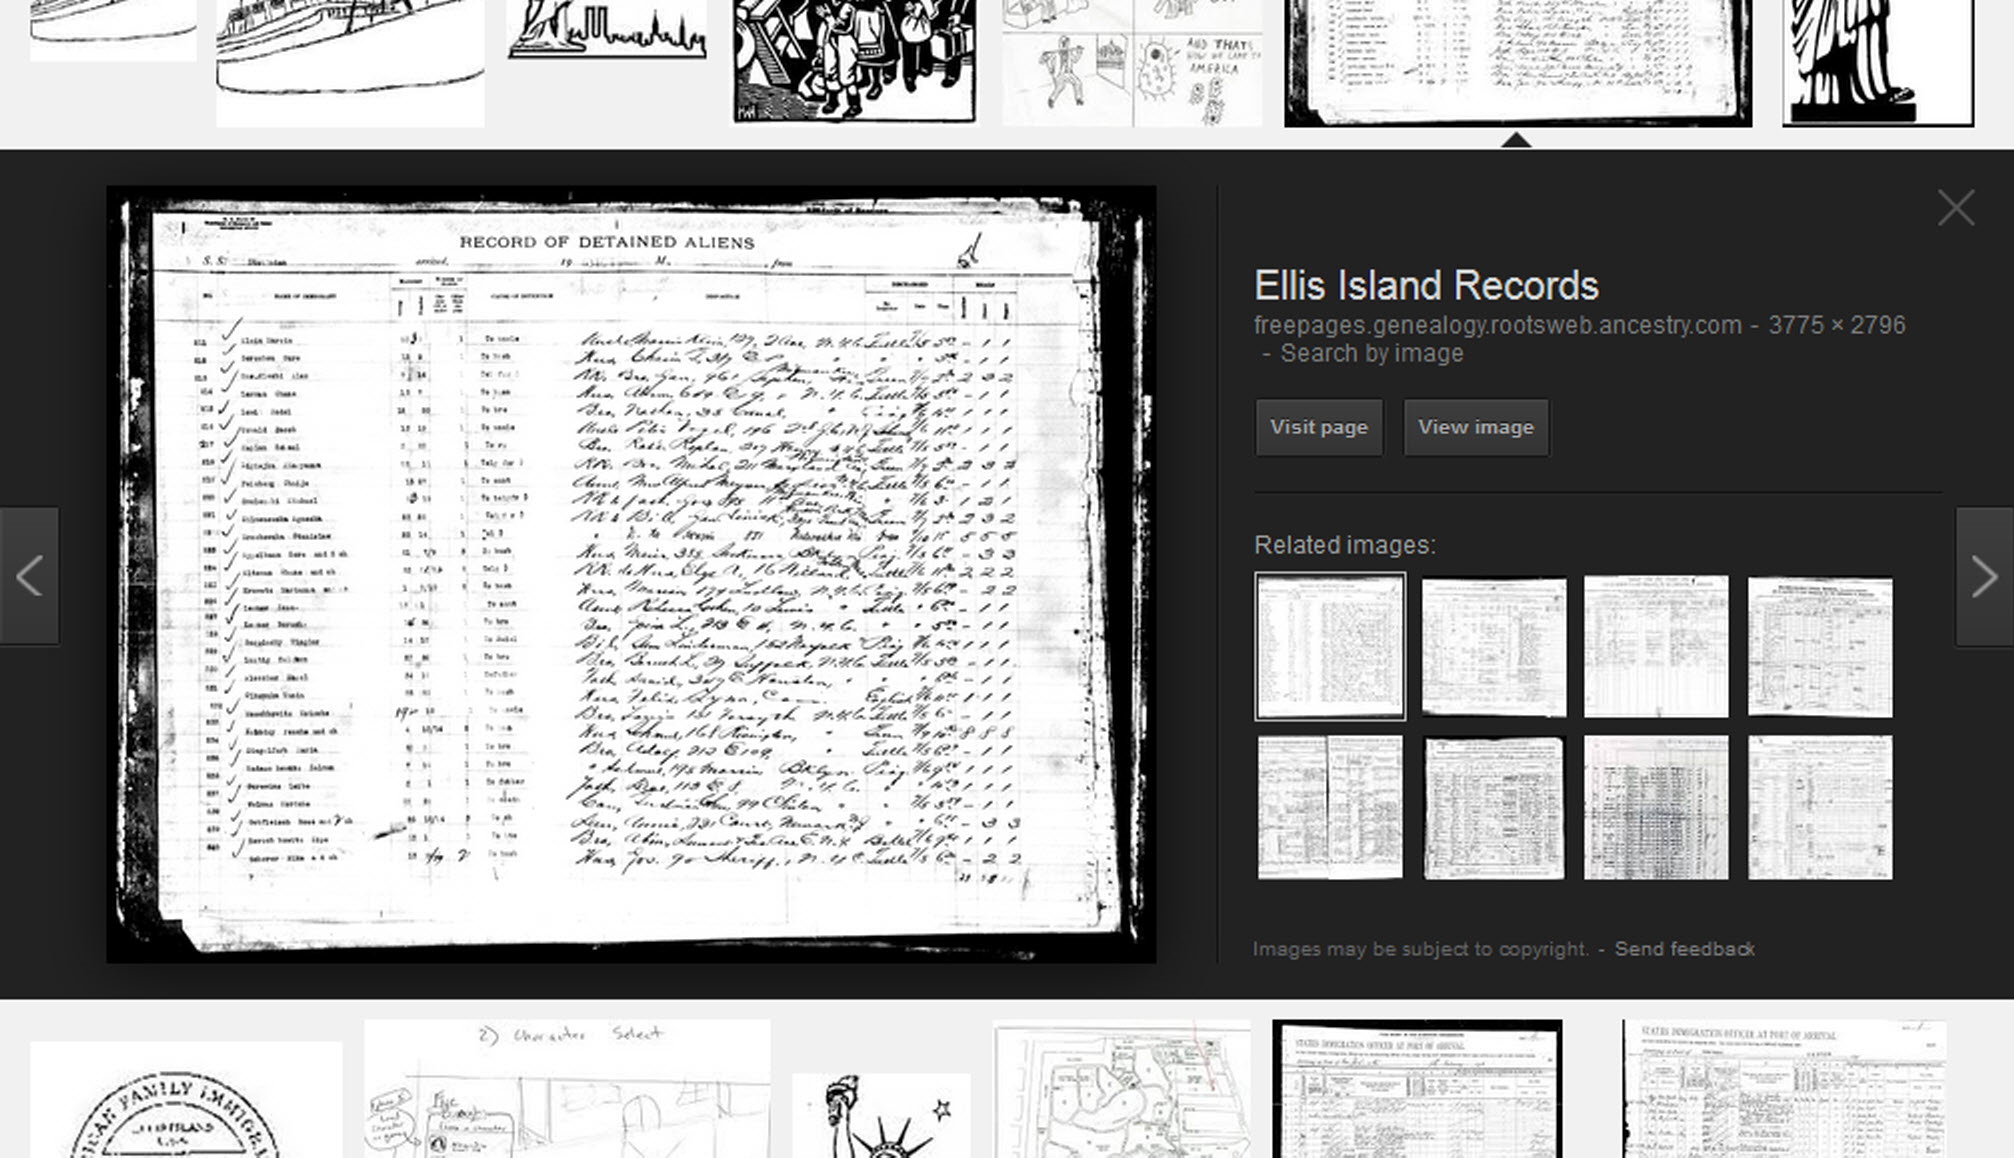
Click on one of the image thumbnails to get to a highlight page (shown here) where you can visit the full webpage or view the image. If you click View images, you’ll get the web address.
To retrieve images that no longer appear at the expected URL: Click on View image to get the image URL. Copy the image’s URL (Ctrl+C in Windows) and paste it (Ctrl+V) into your web browser to go to that image’s page. When you click through, you’re back in Web view. The first few search results should be from the website with the image you want. Click on a link that says “cache.” A cached version is an older version of the website (hopefully a version dated before the image was moved or removed). Browse that version of the site to find the image.
NEW Tip: Use Google Chrome to identify an image and find additional images showing the same subject, such as a place, person or subject.
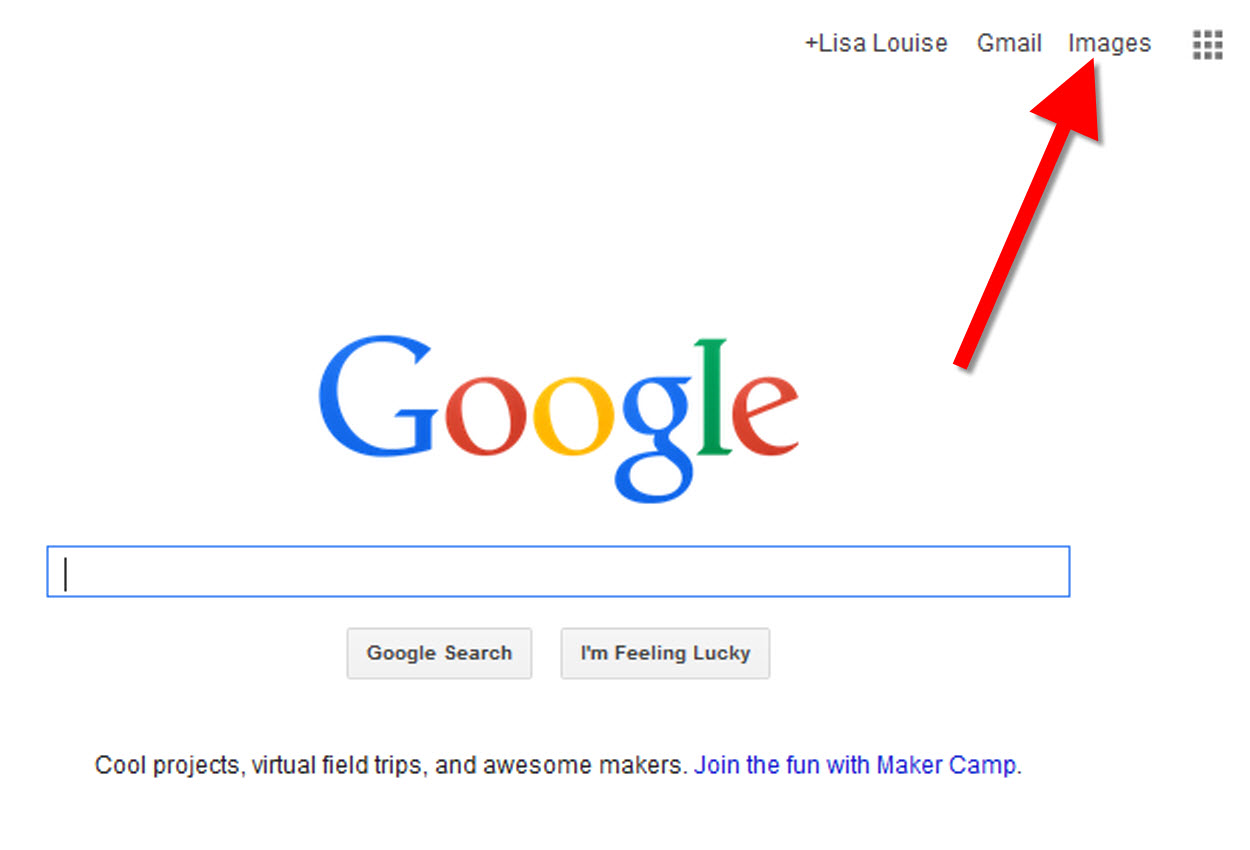
From the Google home page, click Images.
In the Google search box, you’ll see a little camera icon. Click on it.
If you have an image from a website, insert the URL for that image. If you have an image on your computer, click Upload an image. Choose the file you want.
Google will identify the image as best it can, whether a location, person, or object, and it will show you image search results that seem comparable.
Click here to watch a free video tutorial on this topic.
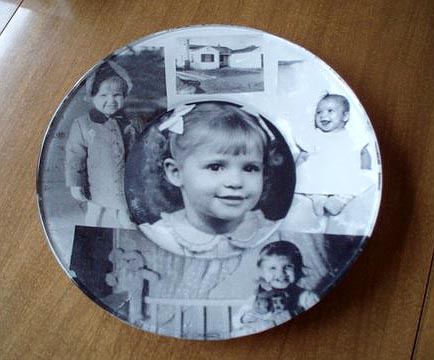
GEM: Decoupage a Family Photo Plate
Supply List:
- Clear glass plate with a smooth finish (available at
kitchen outlet and craft stores) - Sponge craft brush
- Decoupage glue
- Fine paper-cutting scissors (Cuticle scissors work well)
- Small bottle of acrylic craft paint in a color you would like for the back
- A flat paintbrush
- Painter’s tape
- Brush-on clear acrylic varnish for a glossy finish on the back of the plate
- A selection of photos (including other images that complement the photos)
Assembling your plate:
- Lay out your design to fit the plate
- Add words if desired. You can draw directly on the copy or print it out and cut it to fit.
- Put an even coat of glue on the front of each photo. Don’t worry about brush strokes, but be careful not to go over it too many times which could cause the ink to run.
- Apply the photos to the back of the plate, working in reverse order (the first images placed on the plate will be in the foreground of the design). Glue the edges firmly. Turn the plate over to check the placement of images. Smooth using craft brush.
- Brush glue over the back of each photo.
- Turn the plate around so you can see the image from the front and work out the air bubbles.
- Continue to place the images until the entire plate is covered. Let it dry 24 hours.
- Use painters’ tape to tape off the edges before you apply the acrylic paint to the back of the plate. Paint the back and let dry. Apply a second coat. Let dry.
- Apply an acrylic varnish for a glossy finish on the back. Let dry.
![]()
Lisa Louise Cooke uses and recommends RootsMagic family history software. From within RootsMagic, you can search historical records on FamilySearch.org, Findmypast.com and MyHeritage.com. And it is in the works for RootsMagic to be fully integrated with Ancestry.com, too: you’ll be able to sync your RootsMagic trees with your Ancestry.com trees and search records on the site.
![]()
Keep your family history research, photos, tree software files, videos and all other computer files safely backed up with Backblaze.com/Lisa, the official cloud-based computer backup system for Lisa Louise Cooke’s Genealogy Gems.
GENEALOGY GEMS BOOK CLUB

Our current book is Everyone Brave is Forgiven by Chris Cleave. Follow the story of Mary North, a wealthy young Londoner who signs up for the war effort when the Great War reaches England. Originally assigned as a schoolteacher, she turns to other tasks after her students evacuate to the countryside, but not before beginning a relationship that leads to a love triangle and long-distance war-time romance. As her love interest dodges air raids on Malta, she dodges danger in London driving ambulances during air raids in the Blitz.
This story is intense, eye-opening and full of insights into the human experience of living and loving in a war zone and afterward. Everyone Brave is Forgiven is inspired by love letters exchanged between the author’s grandparents during World War II.
Video: Chris Cleave on the U.S troops coming to Europe in World War II
Click here for more Genealogy Gems Book Club titles
GEM: Top 10 Tips for finding Graduation Gems in your family history
- Establish a timeline. Check your genealogy database to figure out when your ancestor would have attended high school or college.
- Consult family papers and books. Go through old family papers & books looking for senior calling cards, high school autograph books, journals and diaries, senior portraits, fraternity or sorority memorabilia and yearbooks.
- Search newspapers. Look for school announcements, honor rolls, sports coverage, end-of-year activities and related articles. Updated tips and online resources:
Ancestry.com has moved the bulk of its historical newspaper collection to its sister subscription website, Newpapers.com.
Search your browser for the public library website in the town where your ancestor attended school. Check the online card catalogue, look for a local history or genealogy webpage, or contact them to see what newspapers they have, and whether any can be loaned (on microfilm) through interlibrary loan.
Search the Library of Congress’ newspaper website, Chronicling America, for digitized newspaper content relating your ancestor’s school years. Also, search its U.S. Newspaper Directory since 1690 for the names and library holdings of local newspapers.
FamilySearch.org online catalog
Contact local historical and genealogical societies for newspaper holdings.
- Consult the websites of U.S. state archives and libraries: click here to find a directory of state libraries
- State historical and genealogical societies. In addition to newspapers, state historical and genealogical societies might have old yearbooks or school photograph collections. For example, the Ohio Genealogical Society library has a large (and growing) collection of Ohio school yearbooks. Local historical and genealogical societies may also have school memorabilia collections.
- RootsWeb, now at http://www.rootsweb.ancestry.com. Check the message board for the county and state you’re looking for. Post a message asking if anyone has access to yearbooks or other school info.
TIP: Use Google site search operator to find mentions of yearbooks on the county page you’re looking at. Add site: to the front of the Rootsweb page for the locale, then the word yearbook after it. For example:
- Search for online yearbooks at websites such as:
- Old-Yearbooks.com
- Classmates.com
- Ancestry.com now has a large yearbook collection
Yearbookgenealogy.com and the National Yearbook Project, mentioned in the show, no longer exist as such
- US GenWeb at www.usgenweb.org. Search on the county website where the school was located. Is there anyone willing to do a lookup? Is there a place to post which yearbooks you’re looking for?
- Call the school, if it’s still open. If they don’t have old yearbooks, they may be able to put you in touch with a local librarian or historian who does.
TIP: Go to www.whowhere.com and type the school name in “Business Name.” Call around 4:00 pm local time, when the kids are gone but the school office is still open.
- ebay: Do a search on the school or town you’re looking for to see if anyone out there is selling a yearbook that you need. Also search for old photographs or postcards of the school. Here’s my extra trick: From the results page, check the box to include completed listings and email potential sellers to inquire about the books you are looking for.
TIP: Don’t be afraid to ask ? ebay sellers want to sell! And if all else fails, set up an ebay Favorite Search to keep a look out for you. Go to and check out Episode #3 for instructions on how to do this.
MyHeritage.com is the place to make connections with relatives overseas, particularly with those who may still live in your ancestral homeland. Click here to see what MyHeritage can do for you: it’s free to get started.
FREE NEWSLETTER:
Subscribe to the Genealogy Gems newsletter to receive a free weekly e-mail newsletter, with tips, inspiration and money-saving deals.

Disclosure: This article contains affiliate links and Genealogy Gems will be compensated if you make a purchase after clicking on these links (at no additional cost to you). Thank you for supporting Genealogy Gems!