by Lisa Cooke | Sep 9, 2015 | 01 What's New, images, Mobile
 The Genealogy Gems website is now mobile-friendly. Your go-to family history resource just got a whole lot easier to read on-the-go!
Here at Genealogy Gems we are working hard every day to create a compelling resource for genealogy inspiration, tips, tech tools and news you can use RIGHT NOW. That’s why we are pleased as punch to let you know that our new mobile-friendly site design makes it easier to soak up all the ideas on our pages regardless of the size of your device’s screen.
Here are some of our website highlights that are especially mobile-friendly:
- The free Genealogy Gems podcast (with over 1.75 million downloads) has been entertaining and educating family history lovers around the world for almost 10 years. Back in the “old” days (circa 2007) the only way to get your hands on a podcast (recorded “radio” show) was to download iTunes, subscribe to the podcast, and listen through your computer speakers. If you were lucky enough to have an iPod you could plug it in and figure out how to transfer the audio files so you could listen untethered from your computer. Today, smartphones make it oh-so-easy to take us with you when commuting, exercising, gardening and more. You can subscribe to the free show through the Podcasts app (iOS) or better yet download the Genealogy Gems app (in the iTunes Store and for Android) and you’ll also get access to great bonus content.
- Our daily blog keeps readers up to date on new genealogy record collections, industry news, the genetic genealogy industry and technology tools. We boost your research skills, take you to must-see news articles and more. Mobile readers can get their daily dose of genealogy gems from our website or by following our Facebook page (See us First on Facebook to stay current on our posts). Our convenient category search (you’ll find it in the upper left corner of our home page) makes it easy to target posts on your favorite topics.
- The free Family History Made Easy podcast teaches listeners step-by-step, episode by episode, how to start their genealogy research off right–and keep it going. Refresh your skills with the entire series or catch individual episodes for a targeted brush-up.
- Premium Members-Only videos and podcast. Genealogy Gems Premium members can access over 2 dozen instructional videos on Lisa’s most popular topics (the same standing-room-only content Lisa delivers at top conferences). The premium podcast delivers more of Lisa’s signature brand of warm conversation, expert interviews, how-tos and more. Click here to learn more about Premium membership and take the best of Lisa Louise Cooke along wherever you go.
 Resources
Mobile-Friendly Search Results Come to Google
Compare Look-Alikes in Your Family with this Web App
Ancestry App for Apple Watch
by Lisa Cooke | Dec 6, 2015 | 01 What's New, Craft & Displays, Holidays, Memory Lane
Are you looking for a fun, easy and downright delicious way to share some family history this Christmas? What better way to entice your family to have an interest in the family tree than wrapping that history around a luscious chocolate bar?
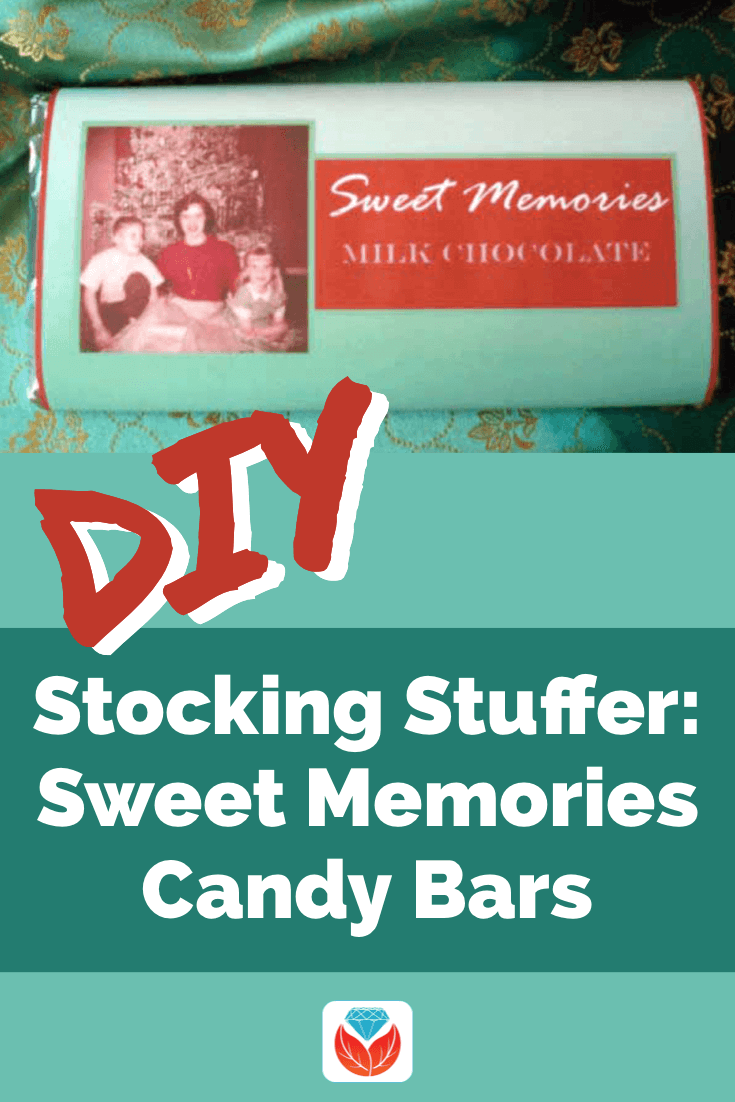
DIY: Stuff Their Heritage in Their Stocking
I firmly believe that family history should not sit on a shelf, but should be seen, touched, felt and even tasted!
Sometimes when a passionate genealogist shares the family history discoveries they have made, their relatives are less than enthusiastic to hear about it. (Sound familiar? I know I’ve experience this phenomenon.) This lack of interest may be more about the delivery of the information rather than the information itself. The trick is to serve up the family tree in an appealing and fun way.
That’s why a few years ago I designed these customized candy bars which I call Sweet Memories. They’re basically your favorite chocolate bar wrapped in a custom label with your own sweet family history memory on it. What could be better than that?!
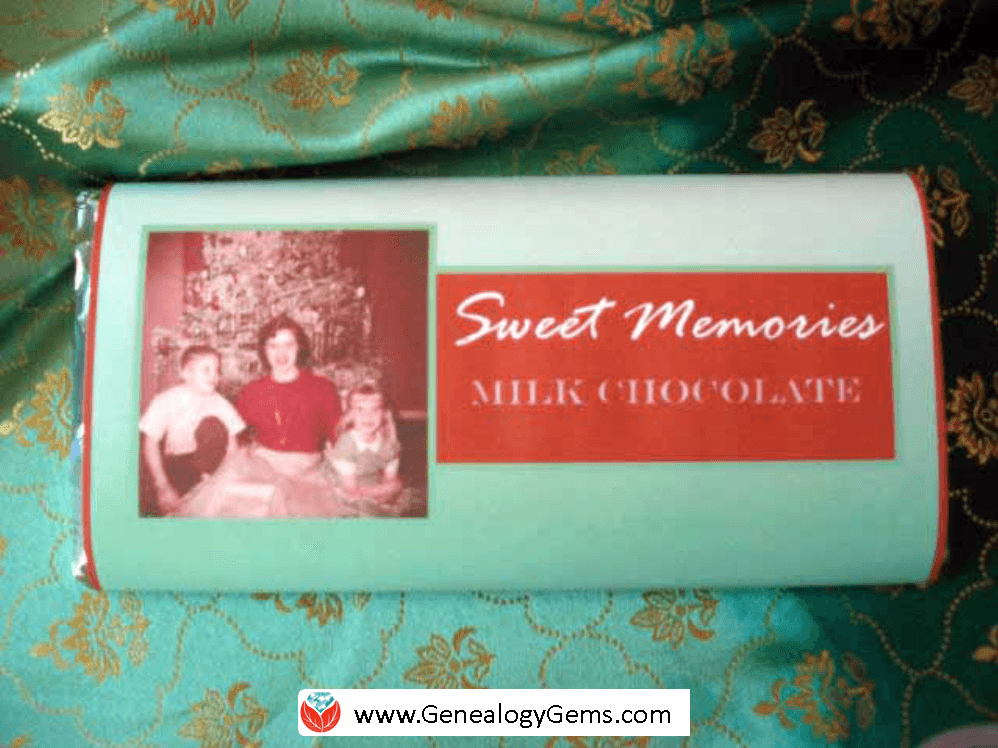
Here’s the first Sweet Memories stocking stuffer candy bar I made for Christmas.
They are really simple to make. The candy bars themselves are store bought. All you need is a computer, printer and some paper and you can whip some up in an hour or so.
What I especially love about these customized delectable delights is the conversation they stimulate. I loved seeing the surprises on the faces of my family, and then the reminiscing that soon followed. They loved seeing the old photos and the clever list of “ingredients” that provided insight into the character of their ancestors.
Don’t feel like you have to do exactly what I did on mine. Instead of a list of ingredients you could include a short funny story, favorite family quotes, or little-known fun facts about the ancestors in the photo. Use your imagination and have fun!
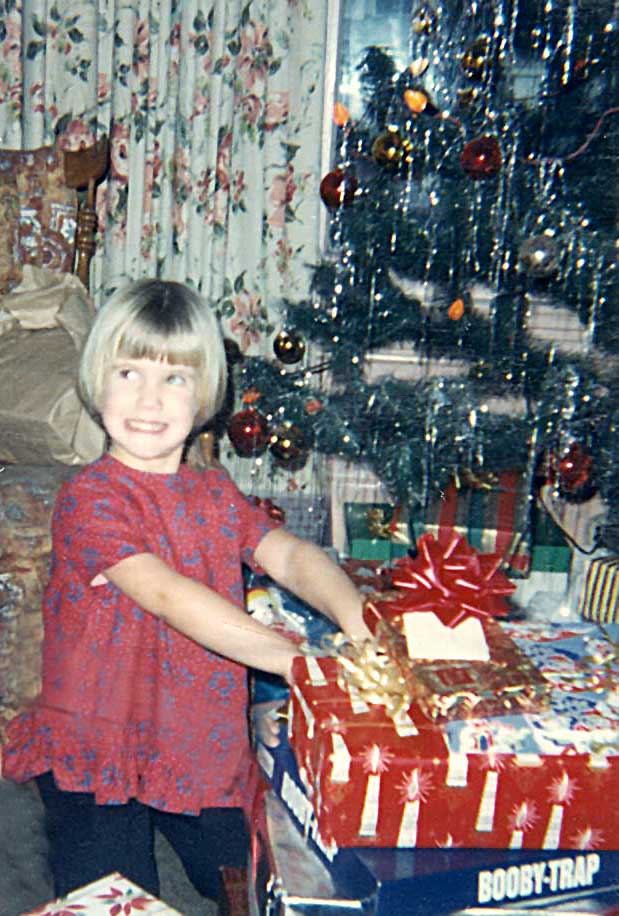
Me having fun at Christmas in 1966. Did you have the Booby-Trap game too? (Leave a comment)
Keep reading because after the step-by-step instructions below, I’ll share some more design ideas.
How to Make “Sweet Memories” DIY Stocking Stuffer Candy Bars
Here’s how to make your own custom labels and turn plain chocolate bars into wonderful holiday gifts for your loved ones.
Start by gathering up the following supplies:
- A 3.67 oz approximately sized Chocolate Bar wrapped in foil with a paper wrapper. (Dove and Cadbury are some of my favorites. Hmmmm!)
- Bright white printer paper
- Computer and printer
- A software publishing program that you can create your label in, like Microsoft Publisher. (Or try using a word processing programming using the text box feature.)
- Double sided tape (I use Scotch Brand Double Sided Photo Safe tape available here.)
- Scissors
- Scanned family photos, especially old holiday photos
These instructions are for creating the labels in Microsoft Publisher, but you could also do it in PowerPoint or any other design type software or app.
1. Create a Rectangle
On the blank page, create a 7 ¾” high and 5 ¾” wide rectangle using the Shape tool. This just gives you a nice outline to work in.
2. Add a Background
An easy way to add an interesting background is to scan a piece of scrapbook paper that you like. The scrapbook paper could be textured or have a repeating design. But you could also choose a favorite digital image.
Use the INSERT IMAGE function to get the image onto your page. Next, resize it to fit just over the rectangle that you created.
Another other option for the background is to select the rectangle and use the FORMAT FILL COLOR function to color the box with the color of your choice. I used green and then chose a gradient that went from light to dark for added interest.
3. Add an Old Photo(s)
You can add any digitized photo that you like. Dig through your old family photo albums to find Christmas photos from the past, or simply feature an ancestor or family. You can use the same photo for all your stocking stuffers, or surprise each member of your family with a candy bar featuring a different ancestor.
Use INSERT IMAGE to add your photos and resize them to fit.
For the front side image, I measured down approximately two inches from the top of the label, and that is where the top of the photo was placed. I set it ¼” from the left edge. Both photos are about 2” x 2”.
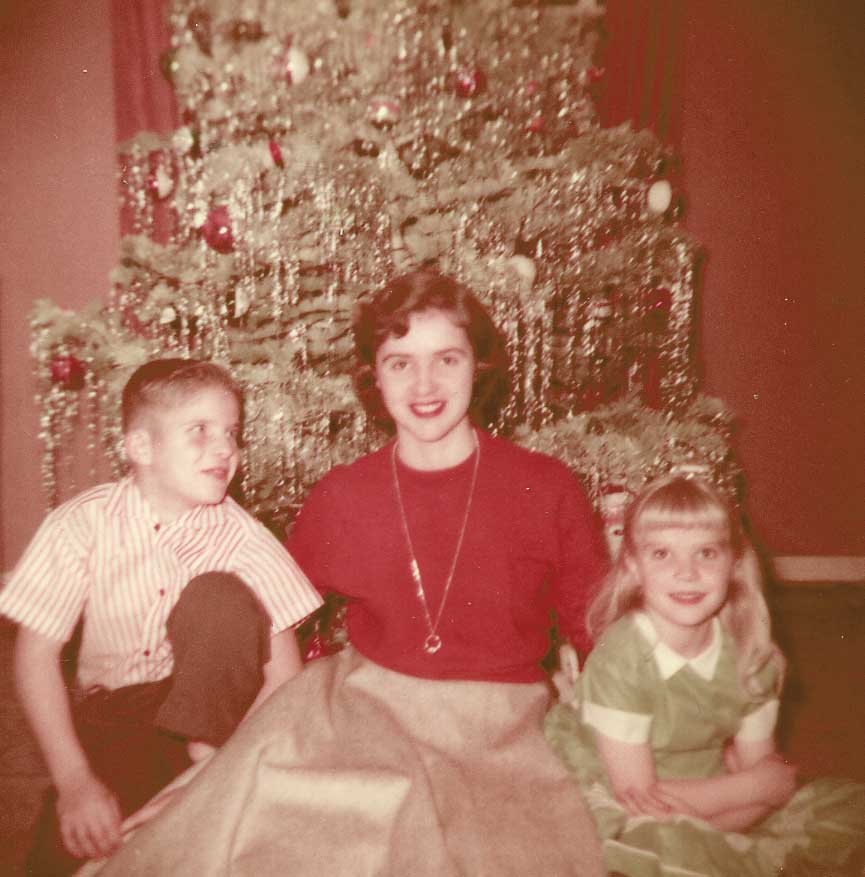
My uncle, mom and aunt in 1956. I used this photo for the front side of my stocking stuffer candy bar label.
4. Adding Photos to the Back of the Label
The backside photo begins 5” from the top of the label and is set ¼” from the left edge.
You may also want to include a small text box that states the date and location of the photos and the names of the people.
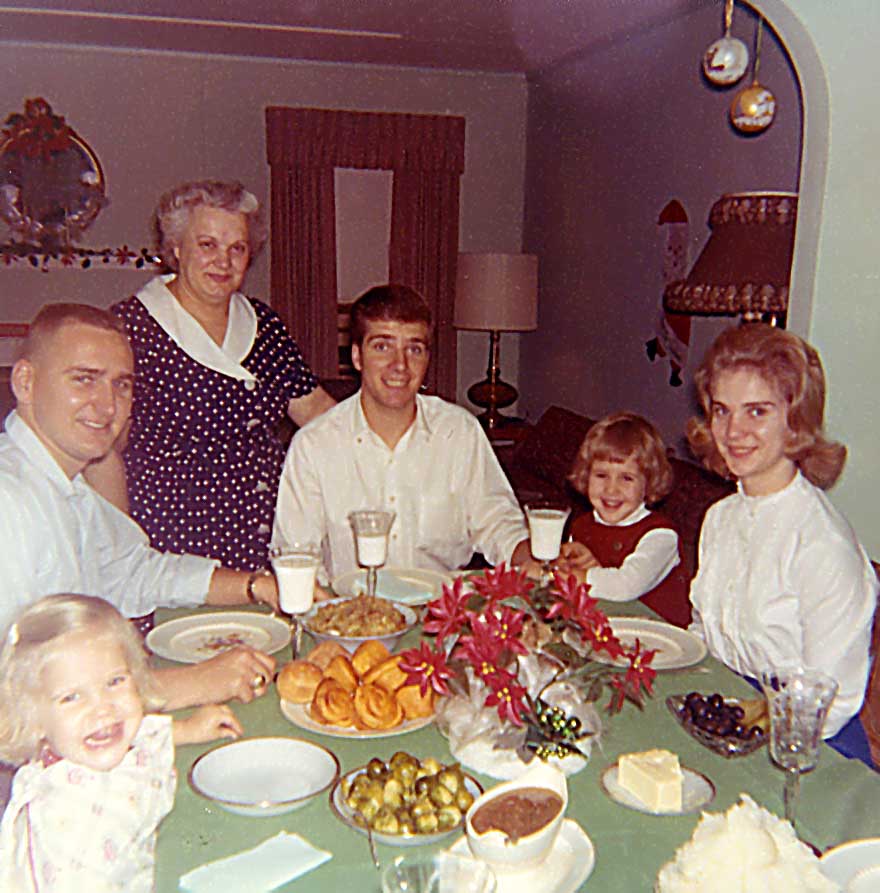
Christmas Dinner at Grandma’s House (I’m in the bottom left corner, mouth wide open as usual.) I featured this photo on the backside of my label.
5. Add Descriptive Text
The last step is to insert the text boxes.
Both the “Sweet Memories” text box and the “Ingredients” text box that I included are about 3” wide and 1 1/4” high. You can format them with the borders and colors that you want.
In my example, you’ll see that I took the color cues from the colors in the photos – the crimson red and soft green. Many apps have a color picker feature that will allow you to get an exact match.
 6. Add the Ingredients List
Every food item has an ingredients label on it, and this bar is no exception. I had some fun with the ingredients list and played up the family theme. I thought about my memories of my Grandmother and the values and elements she poured into each holiday. So my ingredients list reads:
- Love,
- Family,
- Attention,
- Politeness,
- Grandma’s Cooking,
- Smiles,
- Caring
- and Time.
Feel free to reflect your own family values in the list.
7. Print Your Label
Once you’ve got everything laid out on the screen the way you want it, it’s time to print.
From the menu, click FILE then PRINT and then click the PROPERTIES button. From this window be sure to select “high resolution paper” or “high brightness” as the media type, and select HIGH for the print quality to make sure you get the best, most professional looking label.
Print the label, then carefully cut it out.
8. Fold the Label to Fit
Follow the folding guidelines shown above, but keep in mind that your candy bar is going to dictate your actual fold lines.
The first fold line for my standard size Cadbury chocolate bar (which you can buy in bulk here) was 1 ½” from the top of the label and the second fold line is 4 ¼” from the top of the label.
(Disclosure: Genealogy Gems is a participant in the Amazon Services LLC Associates Program, an affiliate advertising program designed to provide a means for sites to earn advertising fees by advertising and linking to Amazon.com. Thank you for supporting articles like these by using our links.)
9. Tape the Label Closed
Remove the original wrapper of the chocolate bar, being sure to keep the foil wrapper in place and undisturbed. Use a small piece of double sided tape to stick the label to itself on the backside snugly.
And there you have it, your own custom family history themed chocolate bar! It’s ready to tuck into a Christmas stocking, use at your next family reunion, or at any other time you want to tickle someone’s sweet tooth and share memories.
More DIY Stocking Stuffer Design ideas
I promised you more examples of these Sweet Memories candy bars. Here are some from my Genealogy Gems Podcast listeners.
I love the vignette styling Judy gave her family history photos.
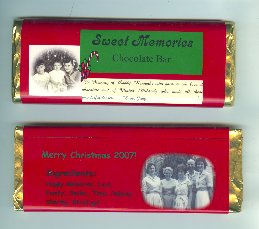
Genealogy Gems Podcast listener Judy shared her version of the Sweet Memories stocking stuffer candy bar.
And this listener took this DIY idea and used it to create candy bar treats for her family reunion. What makes these SO unique is that she used a family heirloom crocheted blanket for her background image. (How clever is that?!) She spread the blanket over the bed of a scanner to make a digital image of that she could use on the label.
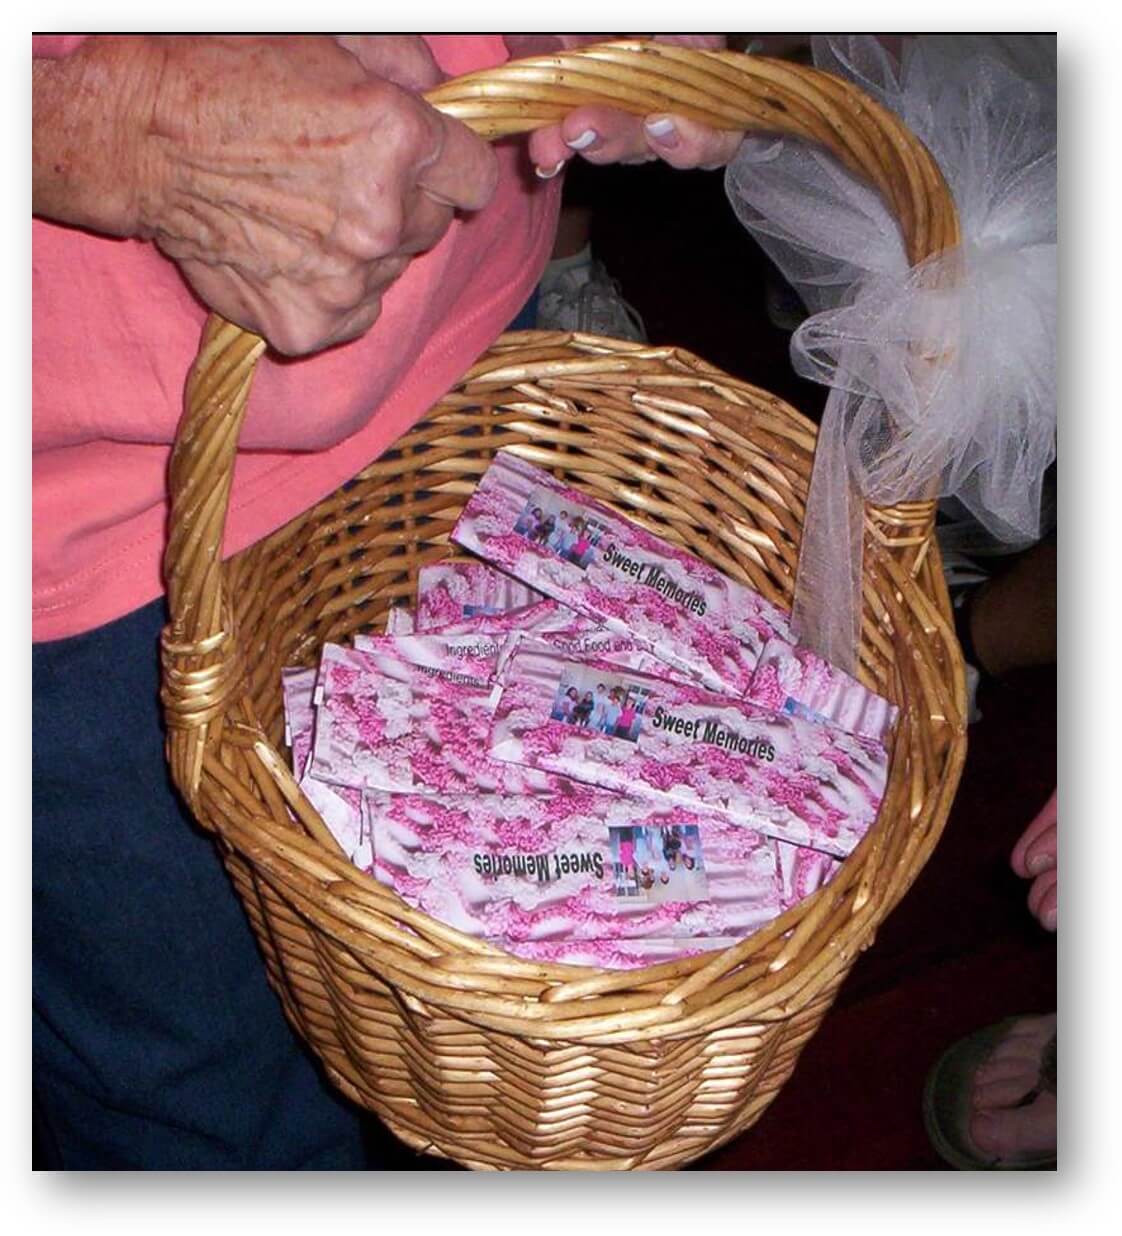
Click here for more family reunion ideas.
Get more DIY project here at Genealogy Gems. You’ll also find great heritage crafting ideas–including photo displays and heritage quilts–on my Pinterest boards. If you enjoyed this idea I’ll hope you’ll share via Pinterest or Facebook. Did you like this idea and do you have other suggestions for a new spin on it or a favorite DIY family history project? I’d love to hear it so please leave a comment below.
by Lisa Cooke | Nov 29, 2013 | 01 What's New, Newspaper
Recently I did a webinar for Legacy Family Tree called “Get the Scoop on Your Ancestors with Newspapers.” Soon after, I heard from a happy student 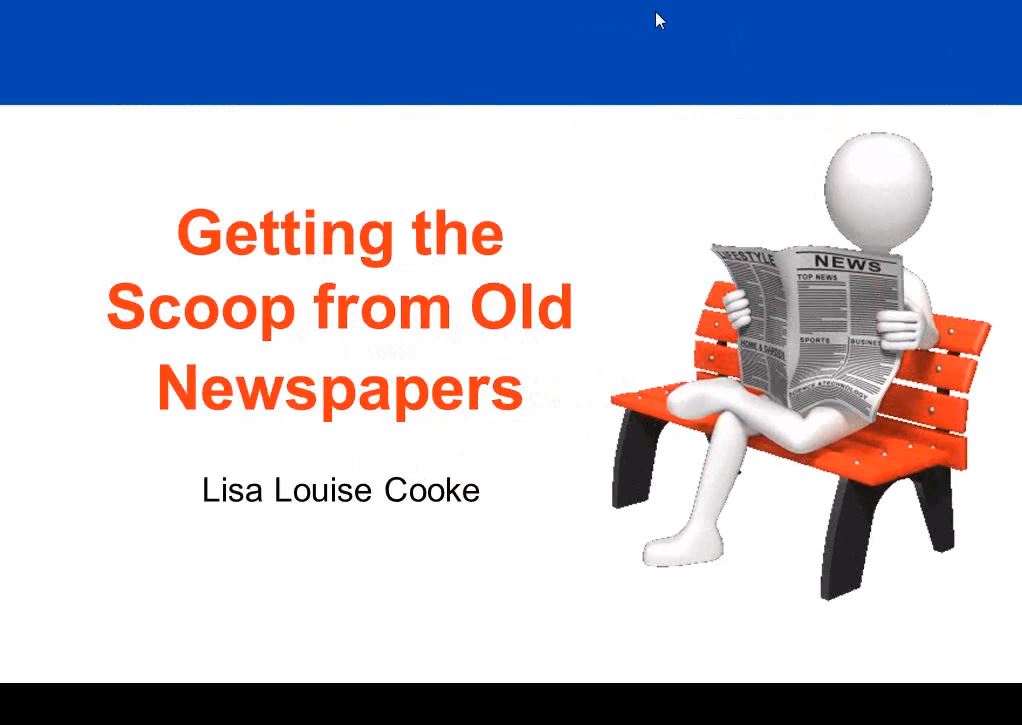 named Christina.
“I just had to let you know how grateful I am to you,” she writes. “I finally had a chance to utilize the information you shared and wanted to check out the websites you talked about. I started with the Stanford Data Visualization and the very first newspaper I opened online had one of my ancestors on the front page. WOW! When I went into my Legacy program I discovered that I already had that information, but now I also had a verification.”
She goes on to say she started reading through more newspaper issues, which were so interesting she kept getting distracted. She found another ancestor mentioned in a political newspaper and guesses she’s just discovered his political affiliation.
Then she tells me about a longtime family mystery she decided to try to solve in newspapers. “My cousin’s daughter contacted me about a year ago for information about a child that died in the same time period that the local court records were lost in a fire. I didn’t think we would ever get the information. But I thought I would use the date that we had and start with any paper I could get online, starting the day after. I wasn’t sure it would hit papers that soon in that time period, but I had to start somewhere. Lo and behold, her death notice was on page 4 of the first paper I opened!”
“I realize I am very lucky to have found so much right away and it won’t happe

Available at http://genealogygems.com
n every time, but I am encouraged that your training was so helpful that I am going to break through a lot of walls. Again, Thank you so much for sharing your knowledge.”
I’ve heard countless stories like these from so many people who have discovered their family histories in newspapers. A video version of my newspaper class is available as part of Genealogy Gems Premium Membership, along with over a dozen other instructional videos, and over 100 exclusive podcast episodes. Starting today 11/29/13 through Monday 12/2/13 when you purchase a 1 year membership you will get an exclusive free ebook. Click here for all the details.
You can also get my complete newspaper research method in my book: How to Find Your Family History in Newspapers, available in print and as an e-book. And also starting today 11/29/13 through Monday 12/2/13 you can get it as part of a special book bundle or ebook bundle at a 40% savings.
 The Genealogy Gems website is now mobile-friendly. Your go-to family history resource just got a whole lot easier to read on-the-go!


 named Christina.