You can use Google Slides for genealogy to create one-of-a-kind presentations, a virtual scrapbook, or a virtual library list…and it’s free! Here’s how to take advantage of yet another awesome Google tool.
I was recently asked if there was a software program or app, something free perhaps, to share a slideshow or create a visual presentation. There is! It’s called Google Slides. Here’s how Lisa Louise Cooke, author of The Genealogist’s Google Toolbox, explains it:
Google Slides is an online presentation application, much like Microsoft’s Powerpoint. It’s part of Google’s free office suite of tools. As a genealogist, it provides the opportunity to create and visually share your family history.
It’s a Cloud-based service and that means you can access your presentations wherever you are and on any computing device. You will sign-in to Google Slides with your personal Google account. That means you will be able to keep everything private unless you decide to share it. Although it’s Cloud-based, you can use it offline too. Any new presentations you create or changes you make will be automatically updated when you get back online. You can show your presentation at the next family reunion or genealogy society meeting even if there’s no Internet access.
There’s a lot of potential for using this powerful tool for genealogy!
With that great introduction, I’d like to share a few unique examples of how a genealogist or a genealogy society could use Google Slides.
Google Slides for the Genealogist
Google Slides is an easy way to create a fun slide show of your ancestor photos. This can be shared at family gatherings or reunions right from your laptop. You can also share the presentation with a click-able link.
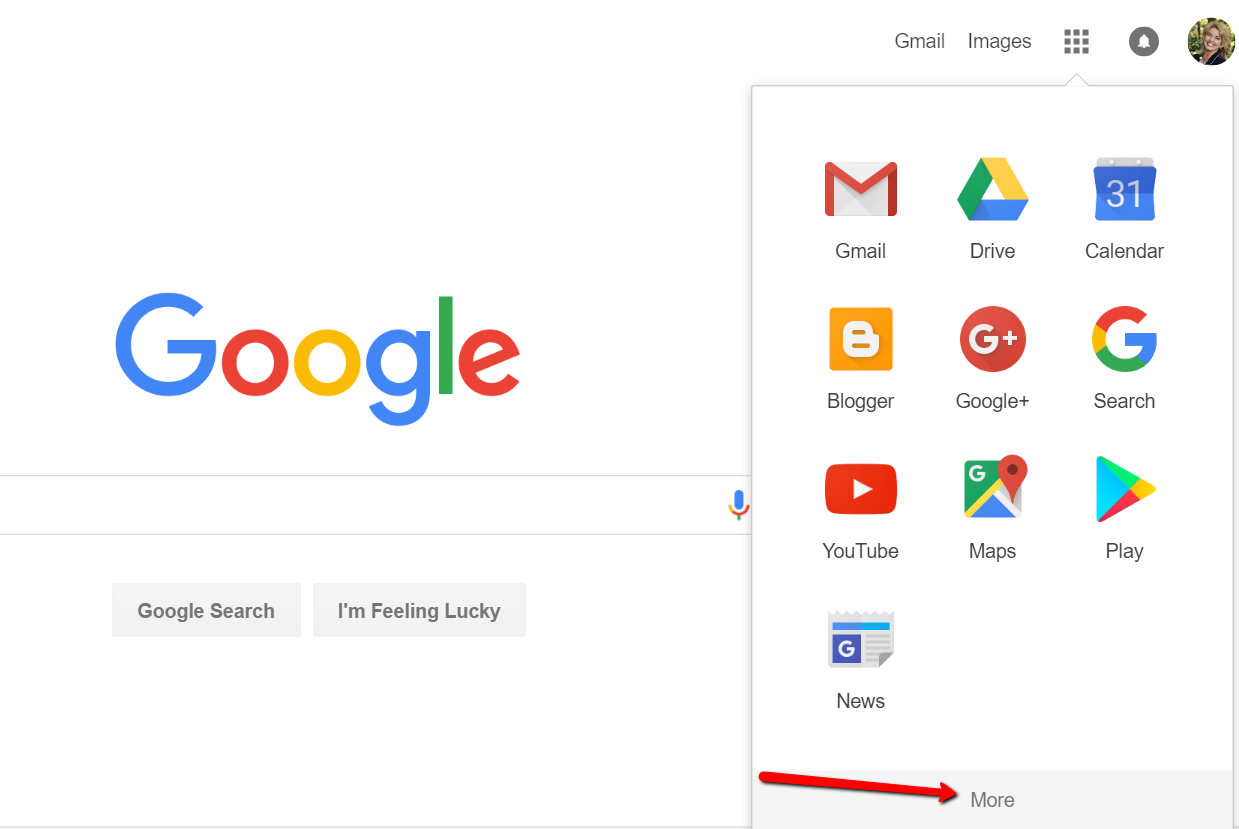
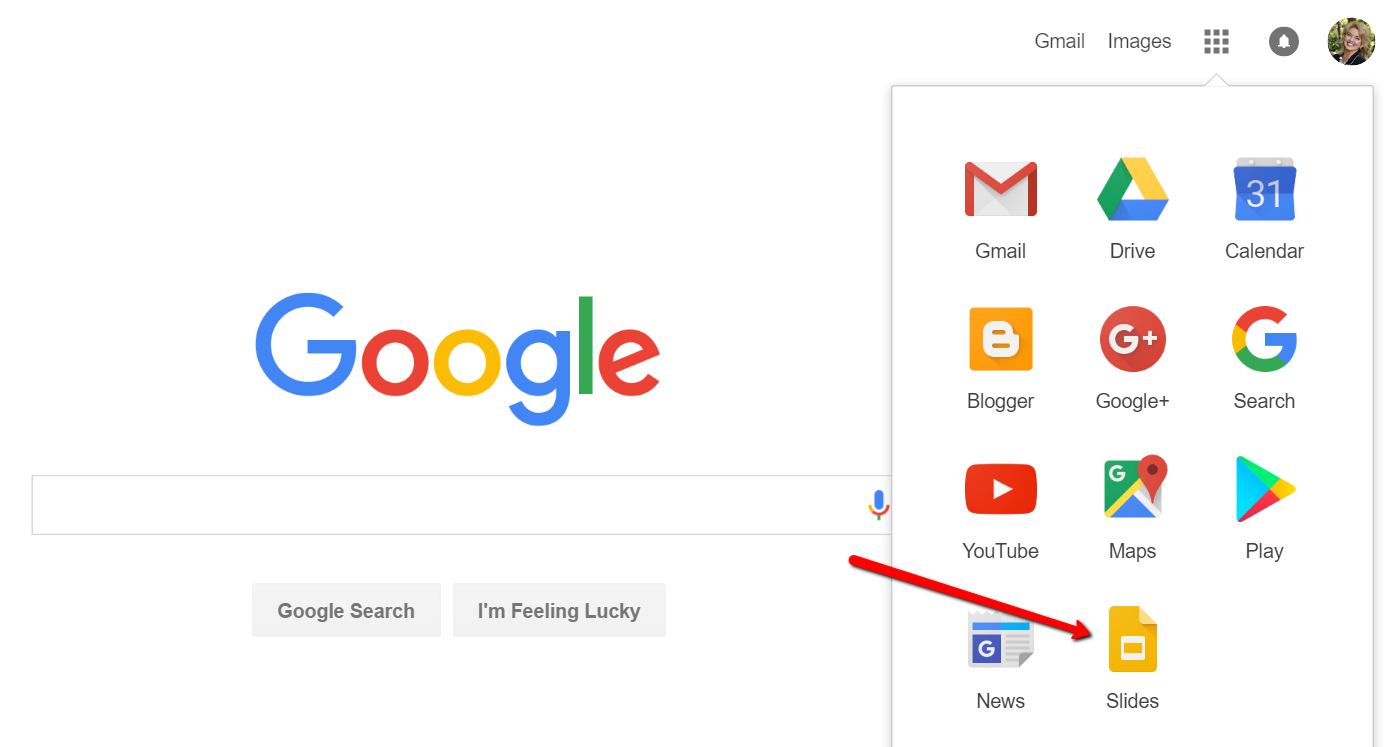
To begin, find Google Slides by going to Google.com and sign-in to your free Google account (or sign up if you don’t have one.) Click on the grid to the left of your sign-in avatar. This will bring down several options. If you don’t see Google Slides as an option, click More at the bottom.
If you still don’t see Google Slides as an option, click on Even More from Google. This will take you to another screen of all sorts of Google goodies! Scroll down until you find Google Slides and click on it.
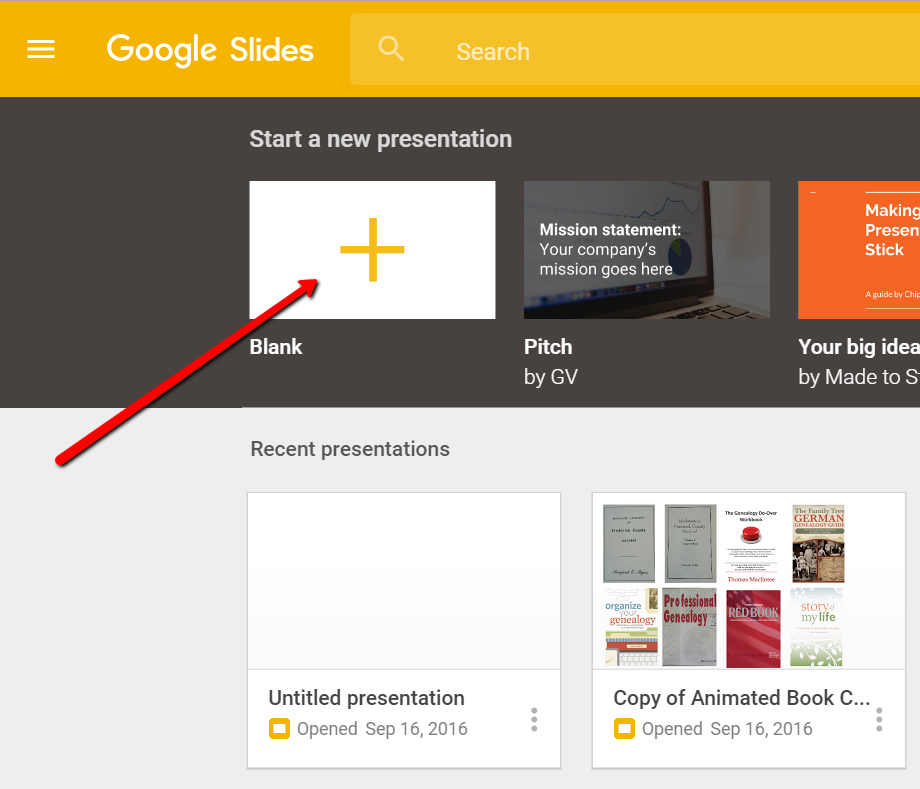
Once you have opened Google Slides, click the plus sign to begin.
I added a title and then clicked the tiny arrow to the right of the plus sign to add a new blank slide.
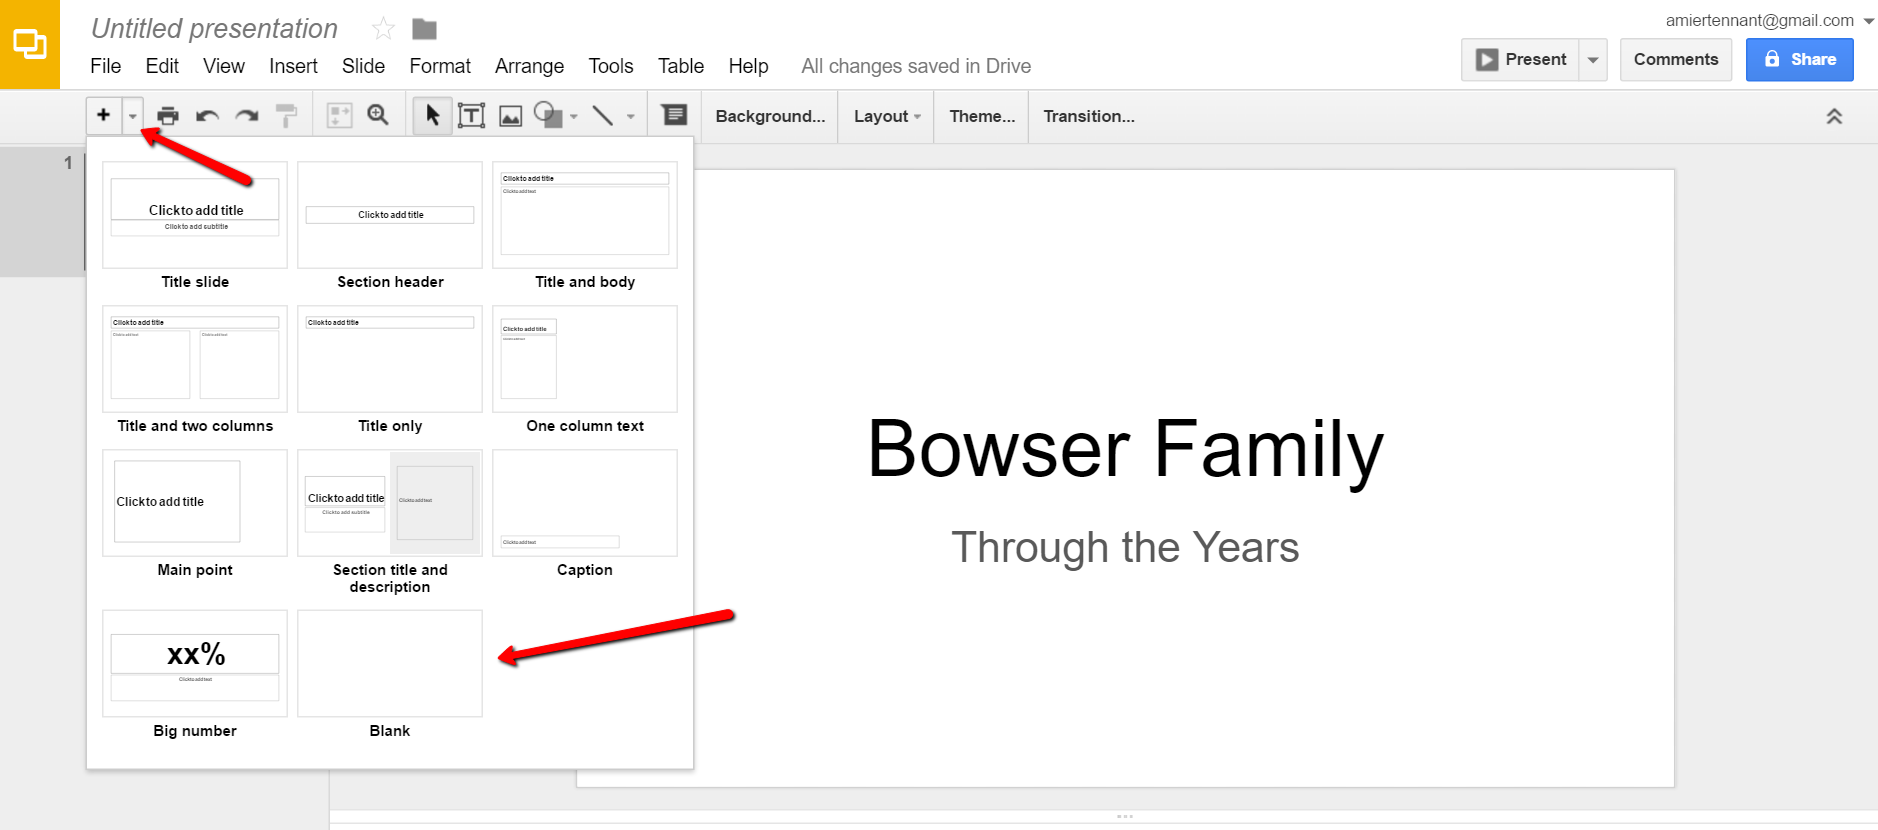
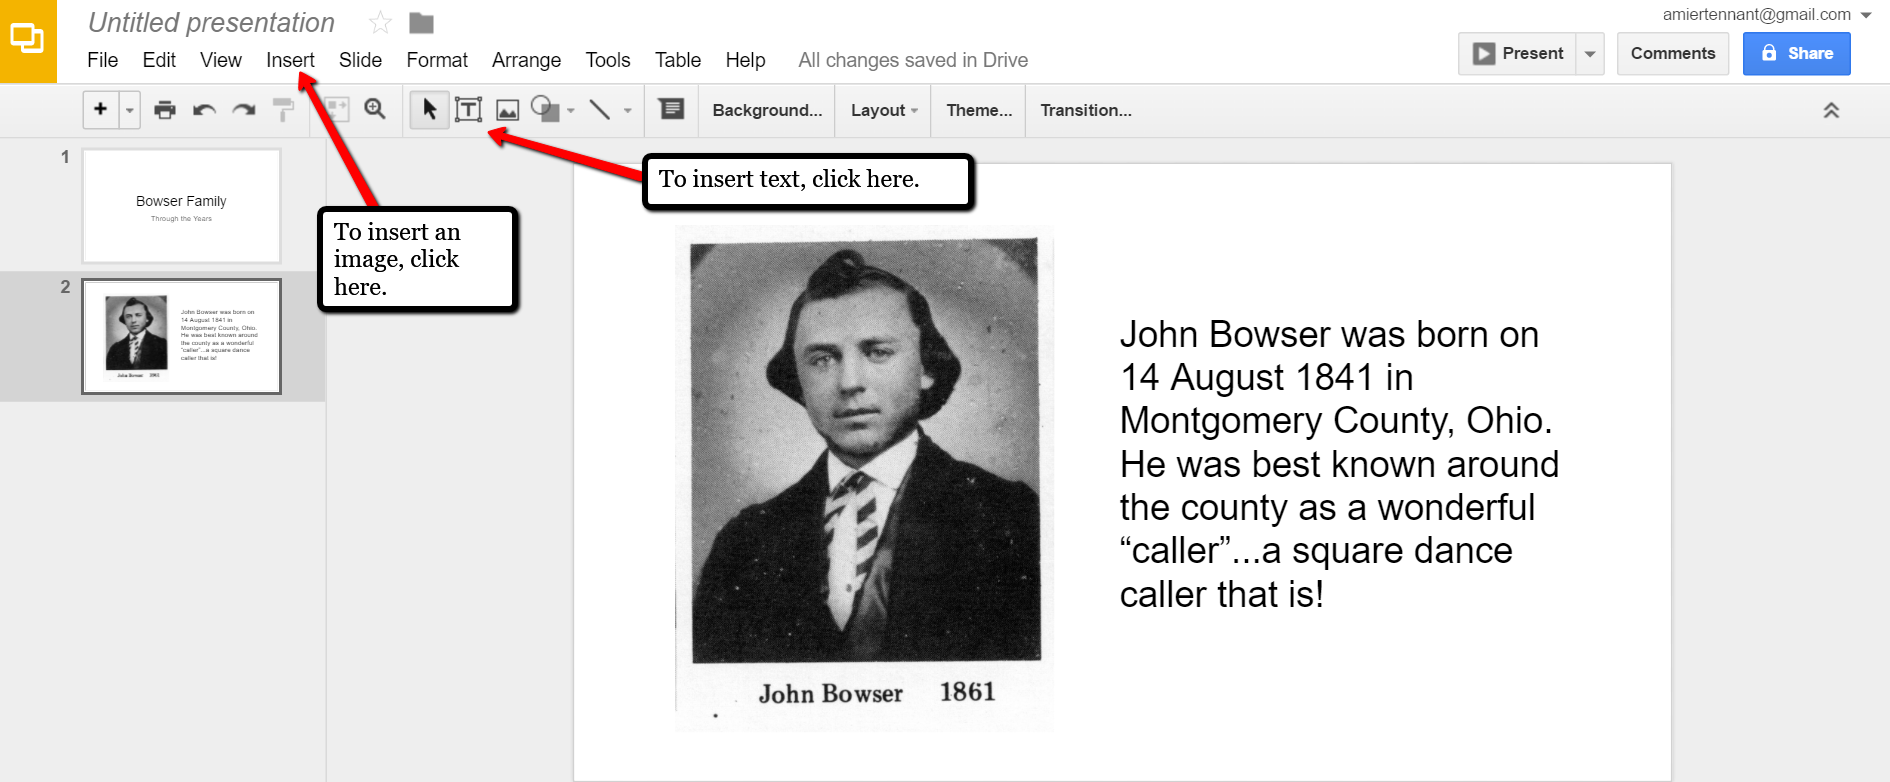
At the new slide and each additional slide, you can add a picture by first clicking Insert from the labels listed across the top, then choose Image. A pop-up window will appear and allow you to Choose an Image to Upload. You will then find the image you have saved on your computer and click Open.
Keep adding your slides until you have all of them created.
Sharing Your Google Slides Presentation
Like many of us, I like to share my ancestor photos with my family and friends. While at a family gathering of a small group, I just set my laptop up on the coffee table and we huddle around. Bring up your Google Slides presentation on your laptop or mobile device and click on Present at the top right of the screen. The computer does the rest and presents a slideshow for your viewers.
You might also wish to share your slides with family and friends far away. You can do this by sharing a link. To create a shareable link, click Share at the top right corner.
A pop-up window will appear. Click the little drop-down menu next to the words “can view.” This option allows you to choose whether you wish people to be able to edit, comment, or view only. I typically choose the “view only” option. Then, a shareable link is created for you. Click Copy link and paste that into an email directly to a family member, to your family history blog, in a Tweet, or in a Facebook post. Wa-la! You have shared your Google Slides presentation.
Create a Virtual Book Cover List with Google Slides
Another stellar way to use Google Slides for genealogy is to create a convenient virtual library list. A recent article found online gave me the idea of creating a library list using images of the covers of books.
For example, if you enjoy attending genealogy conferences and buying books for your society, you may get stuck wondering, “Do we already have that in our collection?” By creating a virtual book cover list, you won’t have to wonder anymore!
You will first need to begin this project by taking a picture of the covers of each of your books and saving the images to your computer or laptop. I took pictures, cropped them, and sharpened them up a bit with my smartphone. Then, I saved them to a file folder on my computer named Book Covers. [Tip:It would be an even better idea to save the Book Covers folder to your Google Drive!]
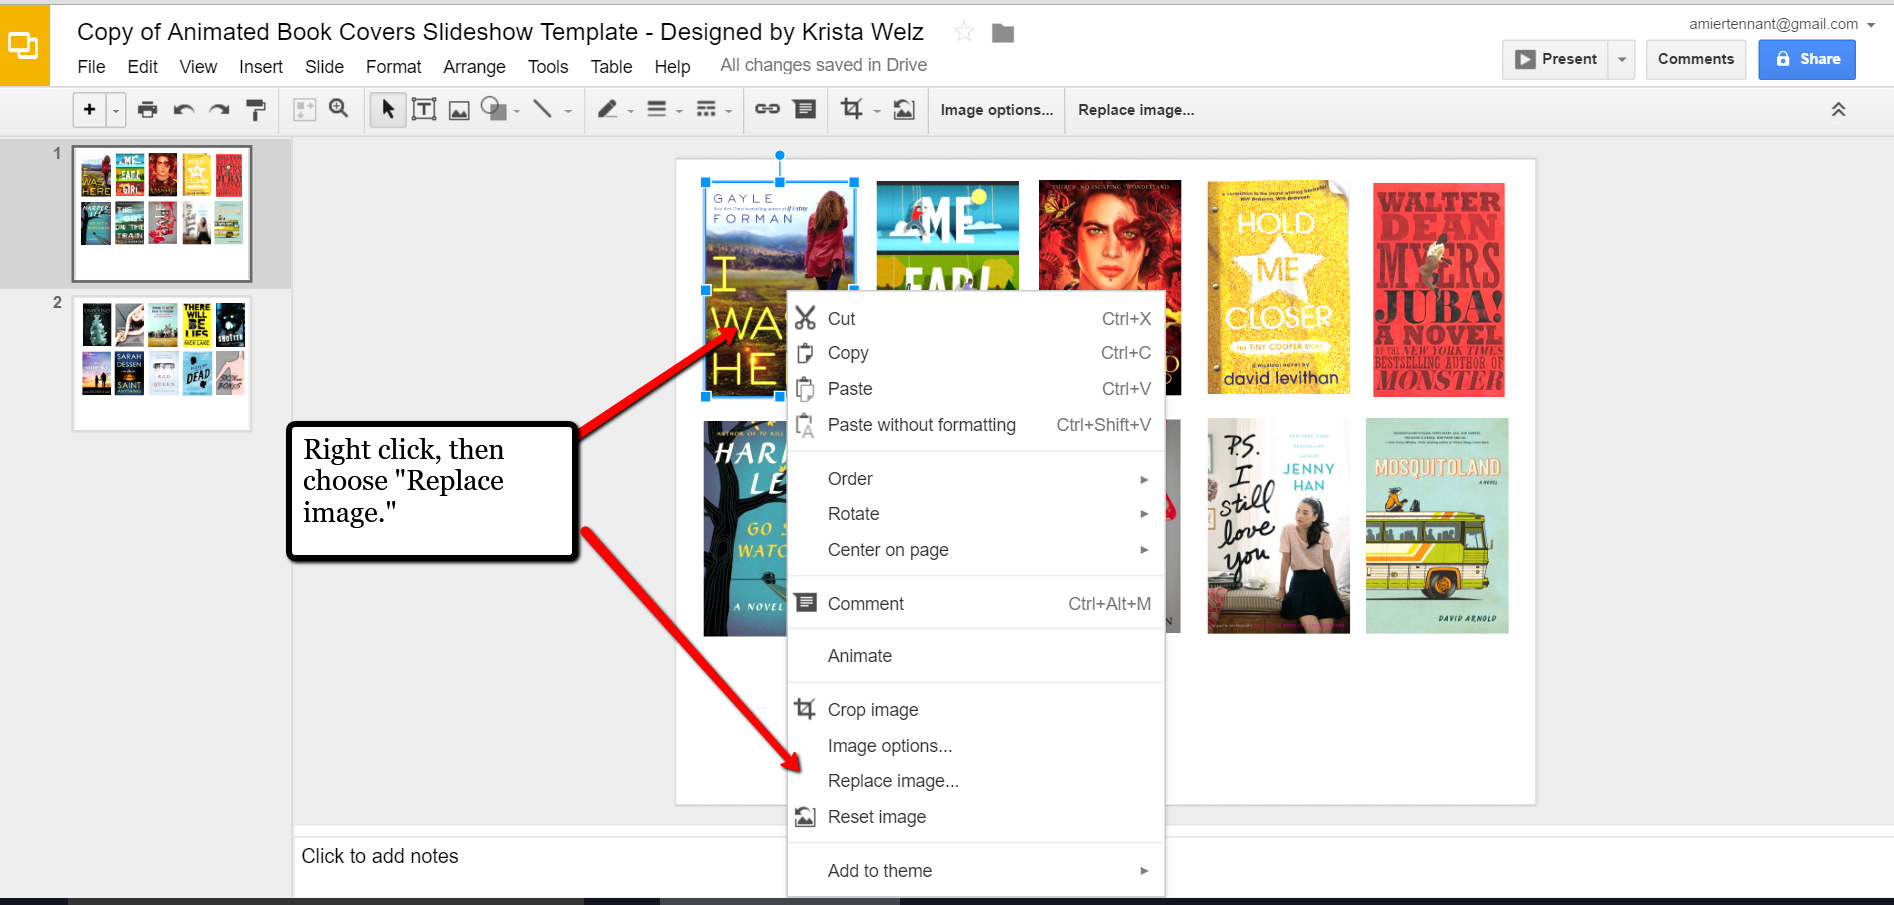
For something quick and easy, use the virtual book cover template here: Virtual Book Cover List Template. If you choose to use this link, when it opens, click Make a copy and Google Slides will open. Right click on any of the book cover images you see, a pop-up window appears. Choose Replace image and then find an image of one of your own book covers.
Once you have replaced each of the book covers with ones of your own, you can rearrange them with the click-and-drag method. You might want to put them in alphabetical order or perhaps categorize them by subject or place.
When you have finished, don’t forget to title it. There is no need to save it because Google Slides automatically saves for you. Google Slides is accessible from any of your devices and can even be viewed on-the-go from your mobile device. You’ll love this feature when you are trying to decide what books to add to your genealogy library.
How Can You Use Google Slides for Genealogy?
We are sure there are dozens of ways to use Google Slides for genealogy. Give Google Slides a try and if you think of another use for this wonderful tool, let us know about it in the comments below! Thanks for reading, friends.
In this episode I’ve got another blast from the past for you. We have reached deep into the podcast archive and retrieved episodes 5 and 6.
In Episode 5 we touch on using the video website YouTube for genealogy, and then I walk you through how to Bring Sites Back From the Deadwith Google. Then we wrap things up with a cool little way to Spice Up Your Genealogy Database.
In episode 6 I have a gem for you called Cast a Shadow on Your Ancestors, and we cover the free genealogy website US GenWeb
Episode: # 05 Original Publish Date: March 25, 2007
MAILBOX
Email this week from Mike O’Laughlin of the Irish Roots Cafe: “Congratulations on your podcast! I am sure it will help many folks out there. I was glad to see the fine Irish families of Scully and Lynch on your latest show notes!”
GEM: You Tube Follow Up Note: The Genealogy Tech Podcast is no longer published or available.
YouTube in the news – the concern was raised by Viacom this month about YouTube benefiting from their programming without compensating them, which could mean copyright infringement. While the course of YouTube could change depending on the outcome of this suit, the attraction for family historians remains strong because of the nature of the content.
Software mentioned:
Pinnacle. Final Cut for MAC. Limits with Movie Maker
I posted 2 videos – A Nurse In Training Part 1 & 2
When you get a “File Not Found” error when clicking on a link, it doesn’t mean the information is always gone forever. You may be able to find it in the Cache version.
Google takes a snapshot of each page it examines and caches (stores) that version as a back-up. It’s what Google uses to judge if a page is a good match for your query. In the case of a website that no longer exists, the cache copy us a snapshot of the website when it was still active hidden away or cached.
Practically every search result includes a Cached link. Clicking on that link takes you to the Google cached version of that web page, instead of the current version of the page. This is useful if the original page is unavailable because of:
1.Internet congestion
2.A down, overloaded, or just slow website – Since Google’s servers are typically faster than many web servers, you can often access a page’s cached version faster than the page itself.
3.The owner’s recently removing the page from the Web
Sometimes you can even access the cached version from a site that otherwise require registration or a subscription.
If Google returns a link to a page that appears to have little to do with your query, or if you can’t find the information you’re seeking on the current version of the page, take a look at the cached version.
Hit the Back button and look for a link to a “cached” copy at the end of the URL at the end of the search result. Clicking on the “cached” link should bring up a copy of the page as it appeared at the time that Google indexed that page, with your search terms highlighted in yellow.
If you don’t see a cached link, it may have been omitted because the owners of the site have requested that Google remove the cached version or not cache their content. Also, any sites Google hasn’t indexed won’t have a cache version.
Limit: If the original page contains more than 101 kilobytes of text, the cached version of the page will consist of the first 101 Kbytes (120 Kbytes for pdf files).
Really looking for an oldie but a goody? Try the Wayback Machine
It allows you to browse through 85 billion web pages archived from 1996 to a few months ago.
To start surfing the Wayback, type in the web address of a site or page where you would like to start, and press enter. Then select from the archived dates available. The resulting pages point to other archived pages at as close a date as possible. Keyword searching is not currently supported.
GEM: Spice up your database
Search Google Images, then Right click and save to your hard drive.
Use Silhouettes
Find something that represents what you do know about that person. It really does help you see them more as a person and less as an entry in your database – their occupation, a reader, a sport, etc.
Episode: # 06 Original Publish Date: April 1, 2007
You can learn more about Jewish roots at the 350 Years of American Jewish History website JewishGen, The Home of Jewish Genealogy
GEM: Cast a Shadow on Your Ancestors
In the episode #5 I shared a little gem that would spice up your genealogical database – adding silhouettes and artistic images to the file of an ancestor when you don’t have a photograph.
Probably the most famous silhouette these days are the silhouettes used by Apple for advertising the iPod digital music and audio player. It may surprise your teenager or grandchild to learn that the first silhouettes were done hundreds of years ago.
Back then silhouettes (or shades as they were called), they paintings or drawings of a person’s shadow. They were popular amongst English royalty and the art form quickly spread to Europe. A silhouette can also be cut from black paper, and was a simple alternative for people who could not afford other forms of portraiture, which, in the eighteenth century, was still an expensive proposition.
The word took its name from Étienne de Silhouette, but it’s uncertain as to whether his name was attributed because he enjoyed this art form, or as the story goes because the victims of his taxes complained that they were reduced to mere shadows.
Either way, the popularity of Silhouettes hit new heights in the United States where they were seen in magazines, brochures and other printed material. But they faded from popularity as Photographs took over in the 1900s.
As a follow up, I want to share with you a simple technique for creating your own silhouettes. You can use ordinary snapshots to create a visual family record.
Take a photo of a person in profile against a neutral background.
Blanket the photo background with white acrylic or tempera paint
Fill in the image with a heavy black permanent marker, curing the shoulders down for a classical pose.
Add fun details like cowlicks, eyelashes, hats, and jewelry that express the person’s personality with a fine felt-tip pen.
Photocopy the doctored photos onto quality art paper. Since glossy papers work print best, you could also use your computer scanner to scan the image into your hard drive. From there you can add it to your database, or print it out onto glossy photo paper for mounting.
To represent folks in your family tree, create a silhouette of your father to represent his Great Great Grandfather, and add a farmer’s hat and rake to represent his profession of farming. Chances are dad has inherited some of his profile anyway. Have fun with it and be creative. But of course be very sure to label to silhouette appropriately as a creative interpretation rather than a literal rendering.
You can also do silhouettes of your family including extended family and arrange the portraits together on a wall. Use black painted frames in a variety of shapes and sizes and hang in a way that represents the family tree / relationships.
Silhouettes%20:%20Rediscovering%20the%20Lost%20Art<img%20src=”http:/www.assoc-amazon.com/e/ir?t=genegemspodc-20&l=as2&o=1&a=0970115105″%20width=”1″%20height=”1″%20border=”0″%20alt=””%20style=”border:none%20!important;%20margin:0px%20!important;”%20/>%20″ >Silhouettes: Rediscovering the Lost Art
Last year the website celebrated its 10th Anniversary. The USGenWeb Project consists of a group of volunteers working together to provide Internet websites for genealogical research in every county and every state of the United States. The Project is non-commercial and fully committed to free access for everyone. Organization within the website is by state and county.
You can go to the homepage of the website and click on the state of your choice from the left hand column. From the state page you can select the county you wish to search in. However, when I know they name of the county I want to search in, I’ve found it’s often quicker just to search at google.com and do a search like “genweb sibley county mn” The choice is yours.
Remember to use the Google search gem that I gave you in episode one (see episode #134 http://www.genealogygemspodcast.com/webpage/episode-145-a-blast-from-the-past ) to quickly search within the county website. Many don’t have search engines of their own, and so that’s when I first really started using that search technique. These county sites are often very rich though, and after a focused search, it’s rewarding just to wander the site. It will help you become more familiar with the county!
You’ll likely find databases of Births, Deaths, Marriages, townships histories, plat maps, surnames, and a host of other topics. Because each county has its own volunteer coordinator, the information you will find varies from county to county. And as always, info is being added regularly, so you need to book mark them and return on a regular basis to see what’s new.
Be sure and share your resources as well. That’s the power behind the GenWeb project – volunteers. Volunteering your county resources will enrich other’s experience and will likely lead to connections that will continue to further your own research.
Boost your Google search skills with this free video class on Google for genealogy, presented at RootsTech 2016 by Google expert Lisa Louise Cooke.
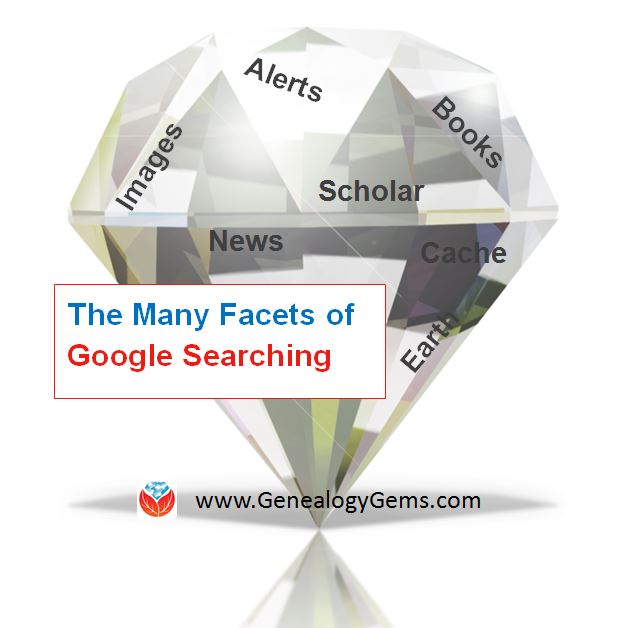
“Everyone should be using Google to search for their family history!” That’s Lisa Louise Cooke’s mantra. Google reaches deep into so many different kinds of content on the internet. Google search tools help us discover ancestors’ names mentioned online; locate records we need; and discover historical details, images and maps that help us better understand their lives. And Google is FREE.
But Google works best when you follow a well-executed search methodology, just like in other aspects of genealogy research. At RootsTech 2016, Lisa taught a powerful and popular Google search for genealogy methodology class to a packed audience in a session that live-streamed around the world. Watch her dynamic, informative class below for free. Kim wrote in to say that the class “was the best one I’ve seen thru the free streaming [RootsTech]….Thanks for sharing free content with those of us who can’t afford to spend any money on genealogy.”
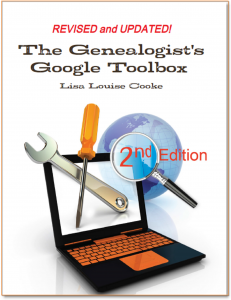
This class content comes from Lisa’s book, The Genealogist’s Google Toolbox (2nd edition). In it you’ll find all you need to know to take your hit-and-miss online searches to a powerful, proven search methodology for finding your ancestors online–and everything else you’re looking for! There are step-by-step instructions, screenshots and powerful examples for topics such as basic and advanced Google searching, Google Books, Google Earth, Google Scholar, Google Alerts, Google Translate and even YouTube.
More Google for Genealogy Gems
Keep learning from Lisa! Click below to read more proven Google search methodologies for genealogy.
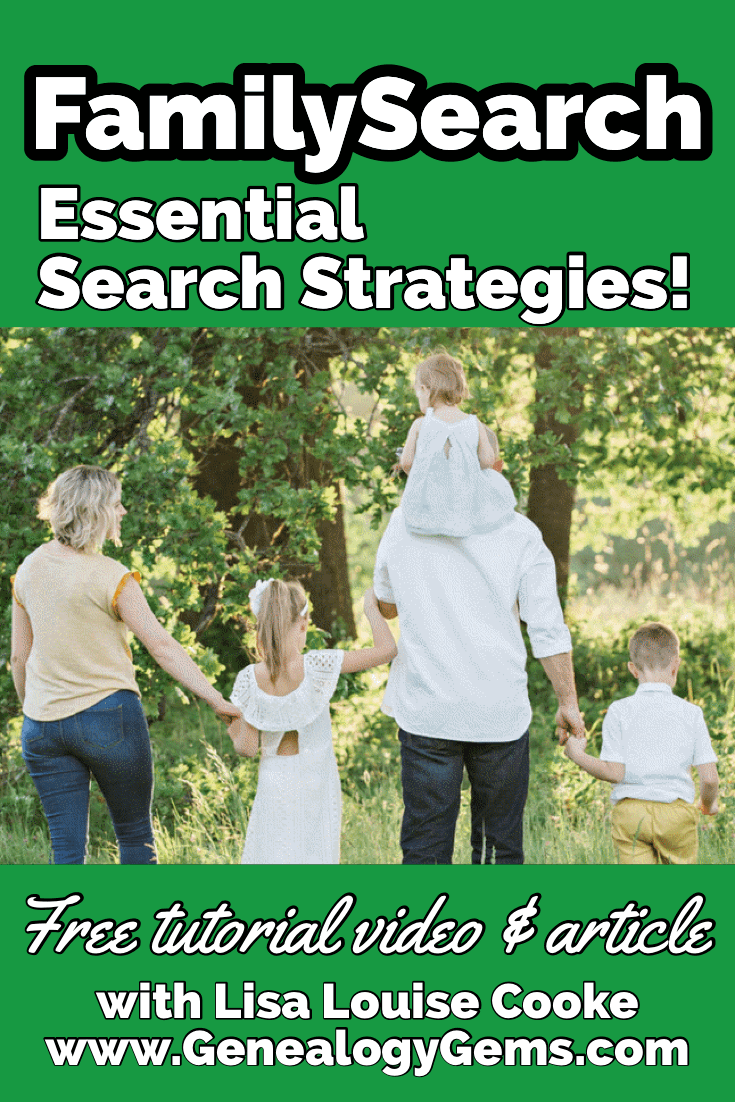
Discover the essential search strategies that every genealogist should be using when searching for records at FamilySearch.org, the popular free genealogy website. In Elevenses with Lisa episode 64 Lisa Louise Cooke discusses:
Wild cards you can use when searching FamilySearch
Search strategies to help you get more results
Advanced Search strategies
Episode 64 Show Notes
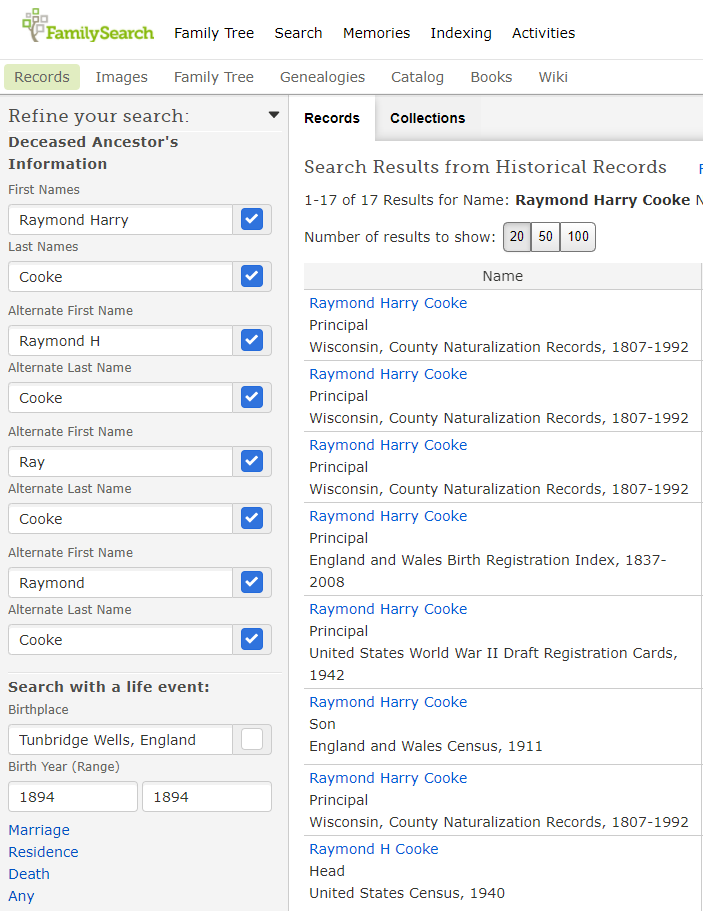
FamilySearch.org is a free genealogy records and family tree website. You will need to be logged into your free account in order to search for genealogy records.
In this video and show notes I will outline strategies for searching for people by name in genealogy records. You can then apply these techniques to your genealogy research plan. Knowing what you’re specifically looking for will give you a better chance at success.
Elevenses with Lisa episode 64 – Share on Pinterest
Starting Your Search at FamilySearch
In the menu go to Search > Records (then use the form).
Start with a broad search.
Search results ignore the order of first names but will preserve name order if there are two last names.
Click the Exact Match box to start narrowing in on specific names and spellings.
Even if you are confident that you know exact names and places try variations. For example, add or remove a name and turn on and turn off Exact Match.
Strategies for Searching Names FamilySearch:
Add or remove middle names.
Try searching for nicknames.
Try spelling variations. Use the AlternateName You can search up to four alternate names at a time. Try clicking the Exact Match box for each alternate name.
example of Alternate Name search at FamilySearch
Try spelling the name as it would have been spelled in the old country. (Example: Sporan / Sporowski / Sporovsky / Sporowski)
Use wildcards to help with search variations.
Asterisk (*) replaces zero or more characters.
Question mark (?) replaces a single character.
Use cluster research techniques by searching on relationships.
A few words about searching on relationships: Try searching only with your ancestor’s first name and a known relationship such as a spouse, parent or other relative. In addition to specific people, try searching for a surname associated with the family.
Over time the spelling of a last name can change in a family. It’s important, even if you receive initial successful results, to try all variations, including language variations.
In the case of women, records will be under the last name they were using at the time the record was created. Therefore, try searching for them using their maiden name and then their married name (or names if they were married multiple times.)
Try leaving the last name field blank. This can be particularly effective when searching for female ancestors. This strategy works well in conjunction with entering additional information, such as the names of the spouse or parents.
Try just surnames, unique first names, and Other Person
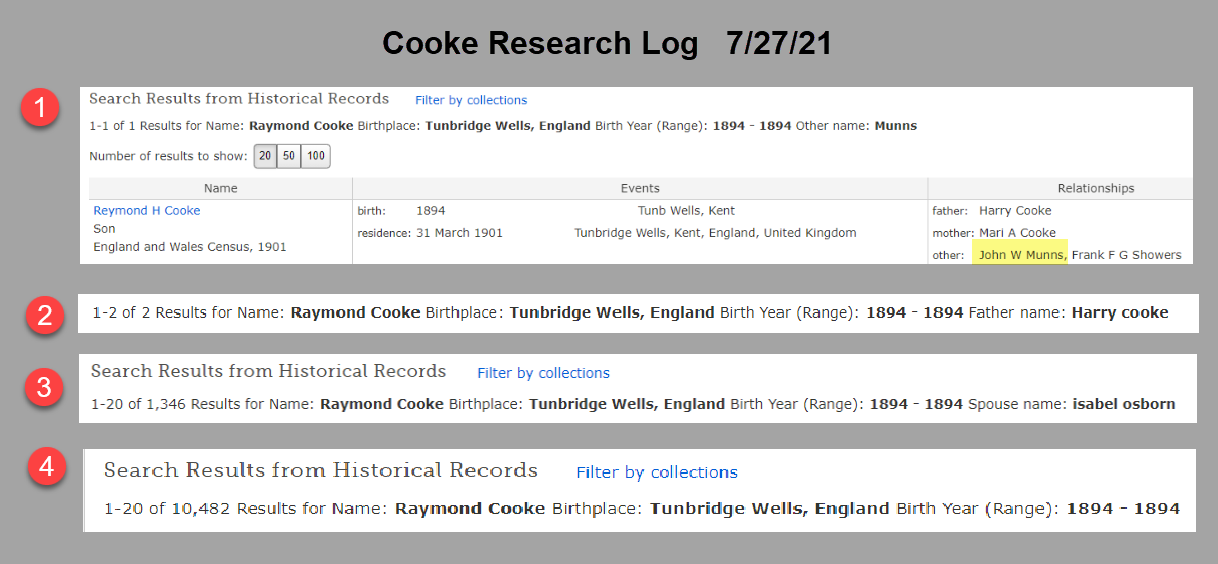
Pro Tip: Use Snagit to easily create a search log
Learn more about Snagit: How to Use Snagit for Genealogy (episode 61) Save 15% on Snagit with our exclusive discount coupon code: GENEALOGY15
Have you been using Snagit? Leave a comment
Here’s an example of a search log I created using Snagit. You can add custom text, symbols, highlighting and much more to create exactly the log that works for you.
Search log created with Snagit
Here’s how to quickly capture and keep a research log of your FamilySearch searches:
Run your search as usual.
Use Snagit to clip the number of results and the terms searched at the top of the results page. (Set Snagit to “Region” to precisely clip that portion of the screen.)
Continue searching and clipping. When done, go back to the Snagit Editor.
Click Control (Win) or Command (Mac) and click to select each clipping you made in order. You can also select all of your clippings by clicking to select the first clipping and then hold down the shift key on your keyboard and click the last clipping.
Right-click on the selected clipping to access the menu. Click Combine in Template.
In the pop-up Combinein Template box, select a template. I like to use Custom Steps for a research log.
Click the Next
Give your combined image a Title. (You can edit this again later.)
Select the font and canvas color as desired.
The NumberImages box will probably be selected. This will place a “step” number in front of each clipping showing the order in which you clipped. You can deselect this box if you don’t want to number your clippings.
Click the Combine
Edit the combined image as desired. You can click to select items to move and resize them. You may need to ensure you’re not in Text mode – click the Arrow at the top of the screen and then you’ll be able to click on items like the numbered steps and move them around. Grab the edges and drag them to crop if needed.
Save your image: File > Save As.
Search Strategy: Events
Try searching on known life events such as:
Birth
Marriage
Residence
Death
Any
Click the type of life event you want to include in your search. Enter the place and year range.
Life Events Search Tips:
Try your search with different events.
Try your search with no events.
Use the Residence option to find records identifying where a person was living. Some records contain an address or last place of residence. Birthplaces, marriage places, and death places are not the same as residence places.
Use the Any Event if you know a date and place for an event other than birth, marriage, death, or residence. For example, a search with an Any event can find dates of military enlistment or immigration.
Search Strategies: Places
In the place field try searching at a more or less specific place level. If you searched for a town, try the county, state, district or country.
Try using wildcards in place-names. (Enter * to replace zero or more characters. Enter ? to replace one character.)
Search Strategies: Years
In the year fields try adding a year before and a year after.
In the year fields, try searching with no years first, and then filter the results to narrow your search by year.
Advanced Search Strategies
Include multiple events in your search when you are looking for a record that likely contains all the events.
Death records – try searching with both birth and death events.
Birth record, include only a birth event, since birth records usually do not contain death information.
To search for a child’s birth records, enter the child’s name, then click Parents. Enter the parents’ names. If needed, try variations such as these:
Both of the parents’ full names.
The father’s full name only.
The mother’s full married name only; then her full married name only.
The father’s full name with the mother’s first name.
The mother’s full maiden name with the father’s first name.
To find all of the children in a family, leave the first and last name fields blank.
Then click Parents and conduct your search using only parents’ names. Try all the variations.
Searching for Marriage Records
To search for a marriage enter the name of one person in the first and last name fields. Click Spouses, and enter the name of the spouse. Try variations: the spouse’s first name and the wife’s maiden name. To limit your search results to marriage records only, click Type, and click the Marriage checkbox.
Search Best Practices
Have a specific search goal.
Start with a broad search. You do not have to enter information in all search fields. You often can get better results when you leave most blank, and then filter down.
FamilySearch doesn’t support Boolean Operators like Google does.
Expect records and indexes to contain errors, spelling variations, and estimations.
Try your search several times with variations.
Even if your ancestors had easy-to-spell names, expect spelling discrepancies. Anderson could be Andersen in some records. Try Anders?n in the Last Names search box.
Always look at the image, if possible. It often has more information than the index alone.

 The Genealogist’s Google Toolbox