by Lisa Cooke | Sep 5, 2016 | 01 What's New, Conferences
Attend Lisa’s upcoming seminars and Google your way to genius! Both the North Texas Genealogical Association and the Genealogy Friends of Plano host Lisa this month. She is presenting some fantastic, genealogy-packed lectures you won’t want to miss.
Lisa’s Upcoming Seminar in Wichita Falls
The North Texas Genealogical Association is going big with their upcoming seminar on Saturday, September 10, 2016. Our own Google Guru, Lisa, is presenting the lectures for their fall workshop being held at the First United Methodist Church at 909 10th St. in Wichita Falls, Texas.
Lecture titles include:
- “Google Tools and Procedures”
- “Get the Scoop: Newspapers”
- “Inner Private Eye: 9 Strategies”
- “Google Earth for Genealogy”
The doors open at 9 am and the seminar will conclude at 3:30 pm. A light lunch will be included with the price of registration. Early registration has been extended through TODAY September 5th and the cost is $45.00. Registration after September 5th, and at the door, will be $55.00. You can download the registration form here.
Lisa’s Upcoming Seminar in Plano
The Genealogy Friends of Plano Libraries, Inc. are also hosting a seminar this month with Lisa! Join attendees at the First Presbyterian Church Plano on 1500 Jupiter Rd. in Plano, Texas. This genealogy smorgasbord of lectures will be held on Saturday, September 17th.
Lecture titles include:
- “Ultimate Google Search Strategies”
- “How to Find Your Family History in Newspapers”
- “Time Travel with Google Earth”
- “How to Reopen and Work a Genealogical Cold Case”
Early registration before September 12th is $45 for members or $50 for non-members. If you miss the early registration deadline, you can still attend! Price of admission after September 12th and at the door will be $50.00 for both members and non-members.
For a schedule of the day and a registration form, click here. The Genealogy Friends of Plano Libraries ask that you bring your own lunch, but they will provide lemonade, coffee, and tea.
Keep Up with All of Lisa’s Upcoming Lectures

Photo Credit: Ancestry Insider
She’s a jet setter folks! If you are like me, you want to stay up-to-date on where Lisa will be speaking and when you are lucky enough to have her in your area. See her entire seminar schedule here. Why not share the schedule with your genealogy buddies and meet for a fun weekend trip. Nothing beats a little genealogy with friends!
by Lisa Cooke | Jul 21, 2016 | 01 What's New, Conferences, FamilySearch
The BYU family history conference is coming up July 26-29, 2016 in Provo, Utah. I’ll be there! Will you? I hope you’ll come say hello.
I hope to meet many of you at Brigham Young University’s annual Conference on Family History and Genealogy in Provo, Utah, coming up on July 26-29, 2016.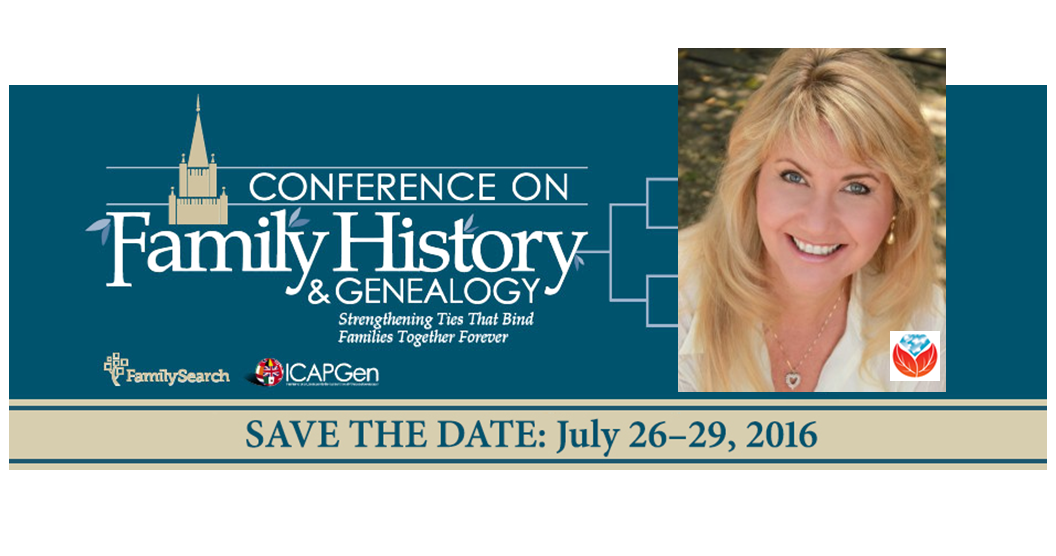 They’re keeping me busy during the first two days of the conference, when I will be teaching five lectures! Those presentations will include:
- Genealogical Time Travel: Google Earth is Your DeLorean. Get ready to experience old historic maps, genealogical records, images, and videos coming together to create stunning time travel experiences in the free Google Earth program. We’ll incorporate automated changing boundaries, and uncover historic maps that are built right into Google Earth. Tell time travel stories that will truly excite your non-genealogist relatives! You’ve never seen anything like this class!
- Get the Scoop on Your Ancestors with Newspapers. Yearning to “read all about it?” Newspapers are a fantastic source of research leads, information and historical context for your family history. Learn the specialized approach that is required to achieve success in locating the news on your ancestors. Includes 3 Cool Tech Tools that will get you started.
- Google Tools & Procedures for Solving Family History Mysteries. In this session we will put Google to the test. Discover Google tools and the process for using them to solve the genealogical challenges you face. You’ll walk away with exciting new techniques you can use right away.
- Soothe Your Tech Tummy Ache with These 10 Tech Tools. Are you sick and tired of navigating the countless tech tools available to help with your family history? The good news: You don’t need them all to accomplish your genealogy goals. The video session will soothe your suffering by simply focusing on these 10 technology tools that will help you bypass tech overload and get back to your genealogy research.
- Tablet and Smartphone Tricks, Tips and Apps. Tablets and smartphones are built for hitting the road and are ideally suited for genealogy due to their sleek size, gorgeous graphics and myriad of apps and tools. In this class you will discover the top apps and best practices that will make your mobile device a genealogical powerhouse! (iOS and Android)
WHAT: Brigham Young University Conference on Family History & Genealogy
WHEN: July 26-29, 2016
WHERE: BYU Conference Center, 730 East University Pkwy, Provo, UT
REGISTER: Click here for full conference information
Gems editor Sunny Morton will join me at the BYU family history conference in the vendor hall and in the classroom. She’ll be lecturing on researching collateral relatives (as indirect routes to direct ancestors); finding “relatively recent” 20th-century relatives; finding family history in Catholic church records; how to carefully consider your sources; and a hands-on workshop for planning your next family history writing project.
This year’s conference promises to be rich in expertise and education. Keynote speakers include FamilySearch CEO Steve Rockwood and professional genealogist and author, Paul Milner. There are more than 100 classes planned in several topic areas. ICAPGen will host a luncheon, too. A nice extra is that the conference center is so easy to get around in, with free parking right next to the building.
Click here to learn more about the conference and register. And please come say hello to me and Sunny at the Genealogy Gems booth in the exhibit hall on Wednesday or Thursday!
The BYU Family History Conference 2015
Last year, I delivered gave a keynote address on various technologies that help our research. It reminds me how quickly technology moves–and how enthusiastically genealogists continue to embrace new opportunities given them by technology. Click here to read a summary of that talk and whet your appetite for this year’s conference!
by Lisa Cooke | Nov 22, 2013
 Genealogy Gems Podcast Episodes
2013 – 2014 Season Nine
Episode 161
I was so impresssed with Yngve Nedrebø, the Chief archivist at Riksarkivet (National Archives of Norway) who I recently interviewed for the Family Tree Magazine podcast that I’m publishing an extended version of that interview here on the Genealogy Gems Podcast. This is a “must hear” for those with Norwegian heritage. In this episode you’ll also hear from a fellow listener and get a chance to see his family history tour that he created in Google Earth using the techniques I teach in the Google Earth for Genealogy video CD series. And we’ll get a taste of the history of coffee.
Keywords: Norway, Norwegian, Google Earth, Family History Tour, Death Certificate, Coffee
Episode 162
Wondering how to get your kids and grandkids engaged in family history? Looking for worthwhile activities for the kids over the Christmas break? In this episode author Janet Hovorka provides answers. Our children are the future of our families, and there’s no better time to help them engage, explore and enjoy their family history! Special Guest: Janet Hovorka.
App Users: Be sure to check out the audio Bonus Content in the Genealogy Gems App!
Keywords: Kids, Grandkids, Zap the Grandma Gap, Contest Winner, Blog, Pinterest
Episode 163
Get ready to flip out with me over Flipboard. It’s a free app and web tool that you have to see to fully appreciate. In this episode I’ll take you behind the scenes at Flipboard in the Silicon Valley and talk to the folks who create the product that helps you enjoy the online content you love. I’ll also share a little discovery I made about family history when I threw my back out over the holidays (there’s got to be an easier and less painful way to do family history research!) and get you up to date on all the genealogy news.
Keywords: Flipboard, Pinterest, Rootstech, Family Health History, Magazine
Episode 164
In this episode you’ll hear what you’ve been missing and how to get it from the Ancestry Wiki. Also how to do a very specialized type of Google search you may have never tried, a French-Canadian genealogy resource, a living relative dilemma, and much more.
Keywords: Ancestry Wiki, Google Earth, Top 10 List, French Canadian, Purple Heart Video, Jamboree, DNA Swapped, BillionGraves, Evernote
Episode 165
A Blast from the Past: Revisit the remastered episode 13 (recorded back in 2007) which features World War II Service Records, and how to create a Family History Book your non-genealogist relatives will actually read.
Keywords: Print on Demand, Writing, Military
Episode 166
This episode is loaded with genealogy news, ideas, and tips. We focus on you, the listeners, and here some incredible stories of genealogical success!
Episode 167
Colonial American Genealogy with Beth Foulk. Also new online newspaper collections, NGS 2014 wrap up, and why you do research your family history.
Episode 168
This episode is all about DNA. First we’ll discuss Ancestry’s closure of some of their DNA tests, and then you’ll meet Your DNA Guide, Diahan Southard, a new regular contributor to Genealogy Gems.
Episode 169
Catch a glimpse of the silent movie era and how it was an integral part of your ancestors’ lives. In this episode, I find out more about the silent movies my grandmother cataloged in her diary, and how they molded a generation. Interview with Film Historian Sam Gill of the Niles Essanay Silent Film Museum.
Episode 170
Lisa Kudrow, Executive Producer of the TLC television show Who Do You Think You Are? is back to the podcast for another visit. Lisa shares her enthusiasm and feelings about the show, and her hope for its future. Also in this episode, Lisa Louise Cooke shares some incredible successes she’s experienced in her own family history journey lately.
Episode 171
Storyteller Ron Ploof discussed Project Lizzie, and sharing your family history stories with others. Other topics: A strategy for coping and excelling in the face of technological change, Online Seniors and a bit of reminiscing about party lines, a new feature for finding the genealogy topics you need at Genealogy Gems, A newspaper research tip that pays off big, family history jewelry, and the history of the first U.S. federal loan.
Episode 172
The official launch of the exciting news Genealogy Gems Book Club, a cool free online map tool British research, Google Translate, stories of inspirational finds, DNA for genealogy, and a Star Trek take on the innovations of yesteryear!
Episode 173
We all need a little inspiration now and then, and in this episode I’ll bring you some inspiring books to read, motivating comments from other listeners, and some new ideas to try. And a report on using Autosomal DNA for genealogy.
Episode 174
In this episode I’m going to share a personal story from my own family history just recently uncovered, and pull from it 3 powerful strategies that you can start using right away to further your own genealogy research in newspapers. We will also hear from author Emma Brockes in our Book Club, and Your DNA Guide will be here to explain the latest updates at AncestryDNA.