by Diahan Southard | Jan 17, 2015 | 01 What's New, DNA
(Update 2020) When genealogists take an ancestry DNA test, they are looking for more than just their ethnicity results. They are also very interested in receiving information on other people who have tested who closely genetically match them. They want to know who the closest matches are, and if those matches have family tree information that they can share.
However, with all the people testing these days, (some being genealogists and some not) the volume of matches can become overwhelming very quickly.
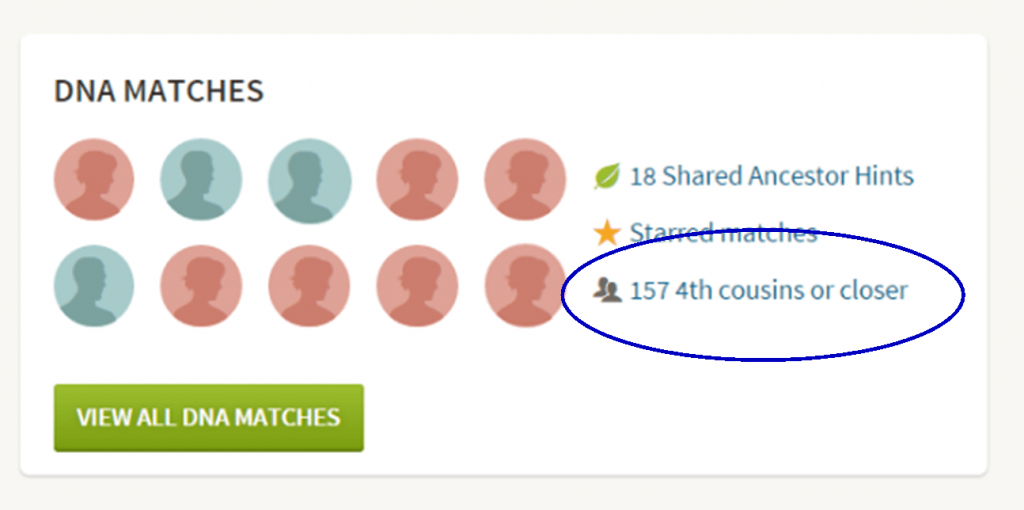
Are you one of those people who have way too many genetic “4th cousins or closer” among your DNA matches? Have you ever wondered “What do I do with all these matches?!” If so, keep reading. We’re going to explore some of your options, and most importantly, how to determine how genetically close your cousins really are.
Doing the DNA Math on Your Cousins
Math can provide us with a degree of certainty in genetic genealogy. Each of us has two biological parents. We have four biological grandparents, and eight great-grandparents.
However, the farther back we go the less we can rely on math.
For example, on paper you should have sixty-four 3rd great grandparents. However, many of us find that the same person occupies more than one slot on our pedigree chart. While this significantly decreases the workload for traditional genealogy, it adversely impacts your genetic genealogy. Especially when it comes to that long long list of 4th cousins you have in your match list at any of the three major DNA testing companies.
Depending on how intermarried your lines are, you may be seeing individuals on your match list that genetically look like your fourth cousins, but they are genealogically your sixth cousins – EIGHT TIMES! So how can you tell the difference?
There are two parts to that answer: one you can control, and the other you can’t.
Distinguishing DNA Matches with Genetic Tools
While your fourth cousins and your eight-time-sixth cousins may look similar genetically, there are often small clues in the genetics that can help you tell the difference. This distinction can sometimes be detected by a testing company who, through research and validation, has been able to fine-tune their algorithms to detect these subtle differences.
Your Genetic 4th Cousins
You can participate in this double checking process by using some of the genetic tools that are available to you at Family Tree DNA, or at Gedmatch.com. But since you may not be an aspiring geneticist, let’s focus on the genealogical work you can do to determine if a match is truly a fourth cousin.
Use Google Earth to Plot Your DNA Matches
A fourth cousin designation just means that you and your match are separated by between six and twelve degrees (people). So that might be five back on your chart to your common ancestor, and five down to your match, which would make you true fourth cousins. It could also be some other permutation of that.
For our example, let’s assume true fourth cousins. That means that the two of you share one of thirty-two 3rd great grandparents (16 couples). In order to find out which set, you have two genealogical identifiers: surname and location.
Therefore, the first thing you should do is make a list of the surnames and locations of those thirty-two 3X great grandparents.
Now, most of us do not know all 16 of those couples, so you are going to have some holes. Feel free to fill in those holes with surnames on subsequent generations that will carry through to this fifth generation.
A great tool to plot your own list of ancestors geographically is the free downloadable Google Earth software.
Check to see if you have the latest version of Google Earth downloaded to your desktop or laptop computer. On your desktop, look for a grey and white globe. If you see a blue and white globe, you have the older original free version of Google Earth. However, a few years ago, Google made their Google Earth Pro version free to everyone, and it is now the standard.
If you do have Google Earth Pro (the grey globe software) then you’re ready to go.

The grey Google Earth globe on the desktop.
If you don’t have it, then you will need to download it.
How to Download the Free Google Earth Software:
- Go to http://www.google.com/earth/download/gep/agree.html
- Click the blue download button
- Read the Terms and Conditions
- If you agree to them, click the Agree and Download button
- Follow the installation guide
- When complete click Run Google Earth
Now that you have Google Earth, you can begin by creating a folder in the Places panel in Google Earth devoted to your 16 couples. Here’s how:
1. In the Places panel, right-click on MyPlaces and select Add > Folder:
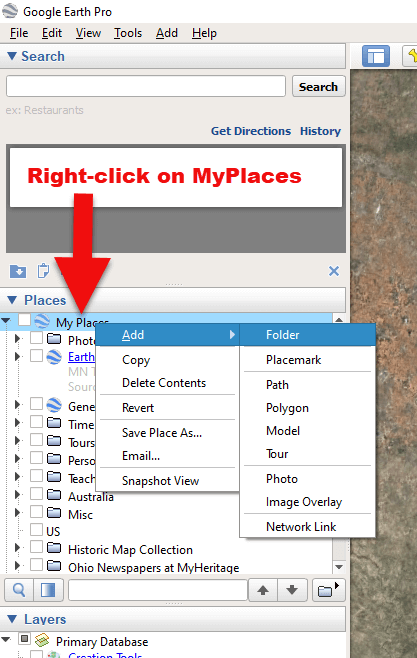
Right-click on MyPlaces > Add > Folder
2. Name the folder and then click OK:
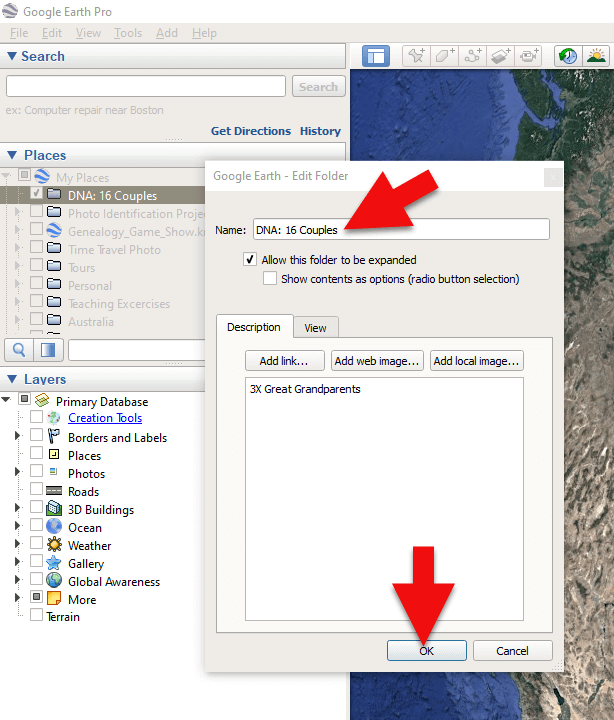
Creating a folder in Google Earth
3. Now you will see your new DNA folder for your 16 couples in the Places panel. If you don’t see it, look toward the bottom of the list. You can move the folder to any location within the list by dragging and dropping it.

Create a folder in Google Earth for DNA 16 couples
Once you have your DNA folder created fro your 16 couples, you can then easily plot your surnames and locations.
How to Plot Your Surnames and Locations in Google Earth:
1. Click your new DNA folder to select it. This will ensure that the placemark you are about to create will be stored in that folder.
2. In the search box (upper left corner of the Google Earth software) type in the first location and click Search. Google Earth will fly to that location on the map.
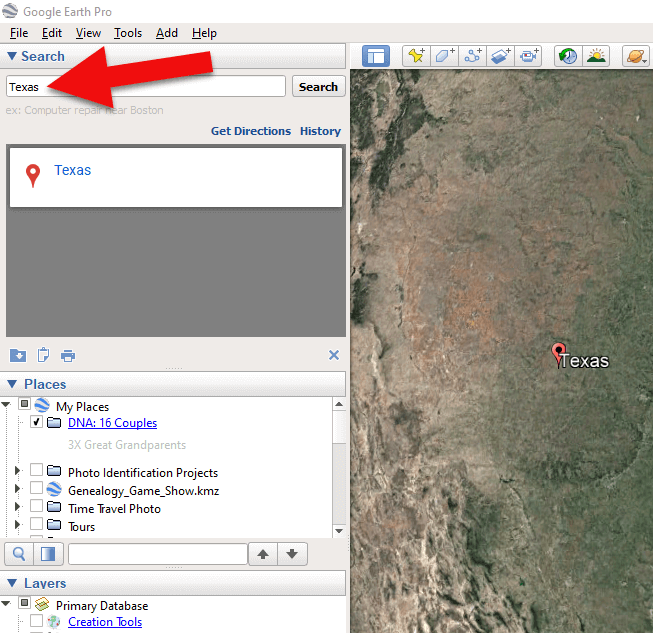
Type the locaton in the Search box and click Search.
3. In the toolbar along the top of the screen, click the placemark button to place a pushpin in that location:
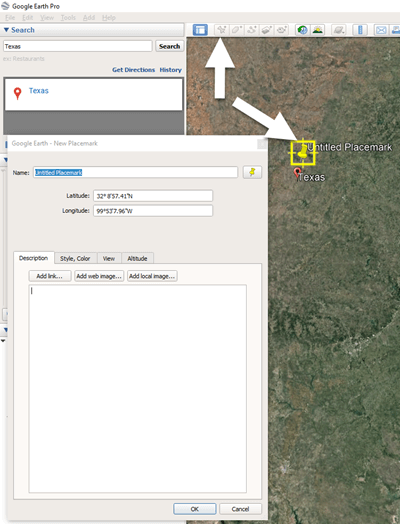
Click the Placemark button in the Google Earth toolbar.
4. In the Placemark dialogue box, enter a title for hte pushpin placemark. Click the OK button to close the box and set your placemark.
5. Repeat the process for all the locations.
Then evaluate the fifth generation of your fourth cousin matches for genealogical information that lines up with any of the items on your list.
You can also plot the surnames and locations of your matches in Google Earth. This is where Google Earth really comes in handy. The free software makes it very easy to see when your ancestral home may be bordering the locations of your matches. Those with whom you find a similarity become your best matches, and your best chance of determining your connection. Those without an obvious connection cycle to the bottom of your pile for a genetic evaluation. You can perform these same kinds of searches for your second and third cousins as well.
As you begin to become more familiar with the fifth generations of your matches, you may also start to see patterns of surnames or locations emerge among your matches. These then become the surnames and locations that might be able to fill the missing spaces in your pedigree chart.
More Genetic Genealogy and Google Earth Gems
If you are new to using Google Earth, I have several suggested resources for you by Lisa Louise Cooke:

Learn more in Premium episode 131.
Here’s a video of the authors discussing three common DNA misconceptions:
Authors: Diahan Southard and Lisa Louise Cooke
by Lisa Cooke | Jun 27, 2017 | 01 What's New, Digital Archives, Family History Library, FamilySearch, Records & databases |
Just announced: The FamilySearch microfilm lending service will end on August 30, 2017. Let’s cover what we know so far, how it may impact you, and strategies for getting the information you need.
WHAT: FamilySearch Microfilm Lending Ends
Most of the Family History Library’s microfilm vault has already been digitized and is online–or will be within a short time. According to the website:
“Over 1.5 million microfilms (ca. 1.5 billion images) have been digitized by FamilySearch, including the most requested collections based on microfilm loan records worldwide.”
However, the world’s largest lender of microfilmed genealogical records will be discontinuing the distribution of microfilms to Family History Centers in the near future.
 “On September 1, 2017, FamilySearch will discontinue its microfilm distribution services,” announced the site yesterday. “The change is the result of significant progress in FamilySearch’s microfilm digitization efforts and the obsolescence of microfilm technology. Digital imaging has made it easier to find ancestors through the internet, mobile, and other technologies.”
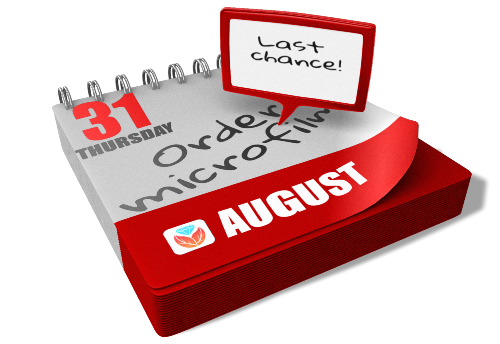
This means the clock is now counting down your ability to borrow microfilmed genealogical records from the Family History Library. The last day you can place an order for delivery to your local Family History Center is August 31, 2017.
It’s a change I’ve seen coming, but it’s still a little disconcerting now that it’s here. But change is the norm in today’s busy world, so let’s break down the details we know so far together.
WHY: Why are they discontinuing microfilm lending before they’re done digitizing?
It’s just too expensive. “The cost of duplicating microfilm for circulation has risen dramatically, while demand has decreased significantly,” says a FamilySearch Q&A. “At the same time, it has become increasingly difficult and costly to maintain the equipment, systems, and processes required for film duplication, distribution, and access.” FamilySearch wants to redirect its microfilm lending resources to providing more and better electronic record access.
I have personally visited the microfilm distribution facility, and the best analogy I can give you is that it looks a bit like the inside of an Amazon warehouse. It’s a mammoth and expensive undertaking, certainly not something you open or close lightly. I’m thankful that in the decades before the Internet, FamilySearch devoted so many resources to helping all of us gain access to hard-to-find records from around the world.
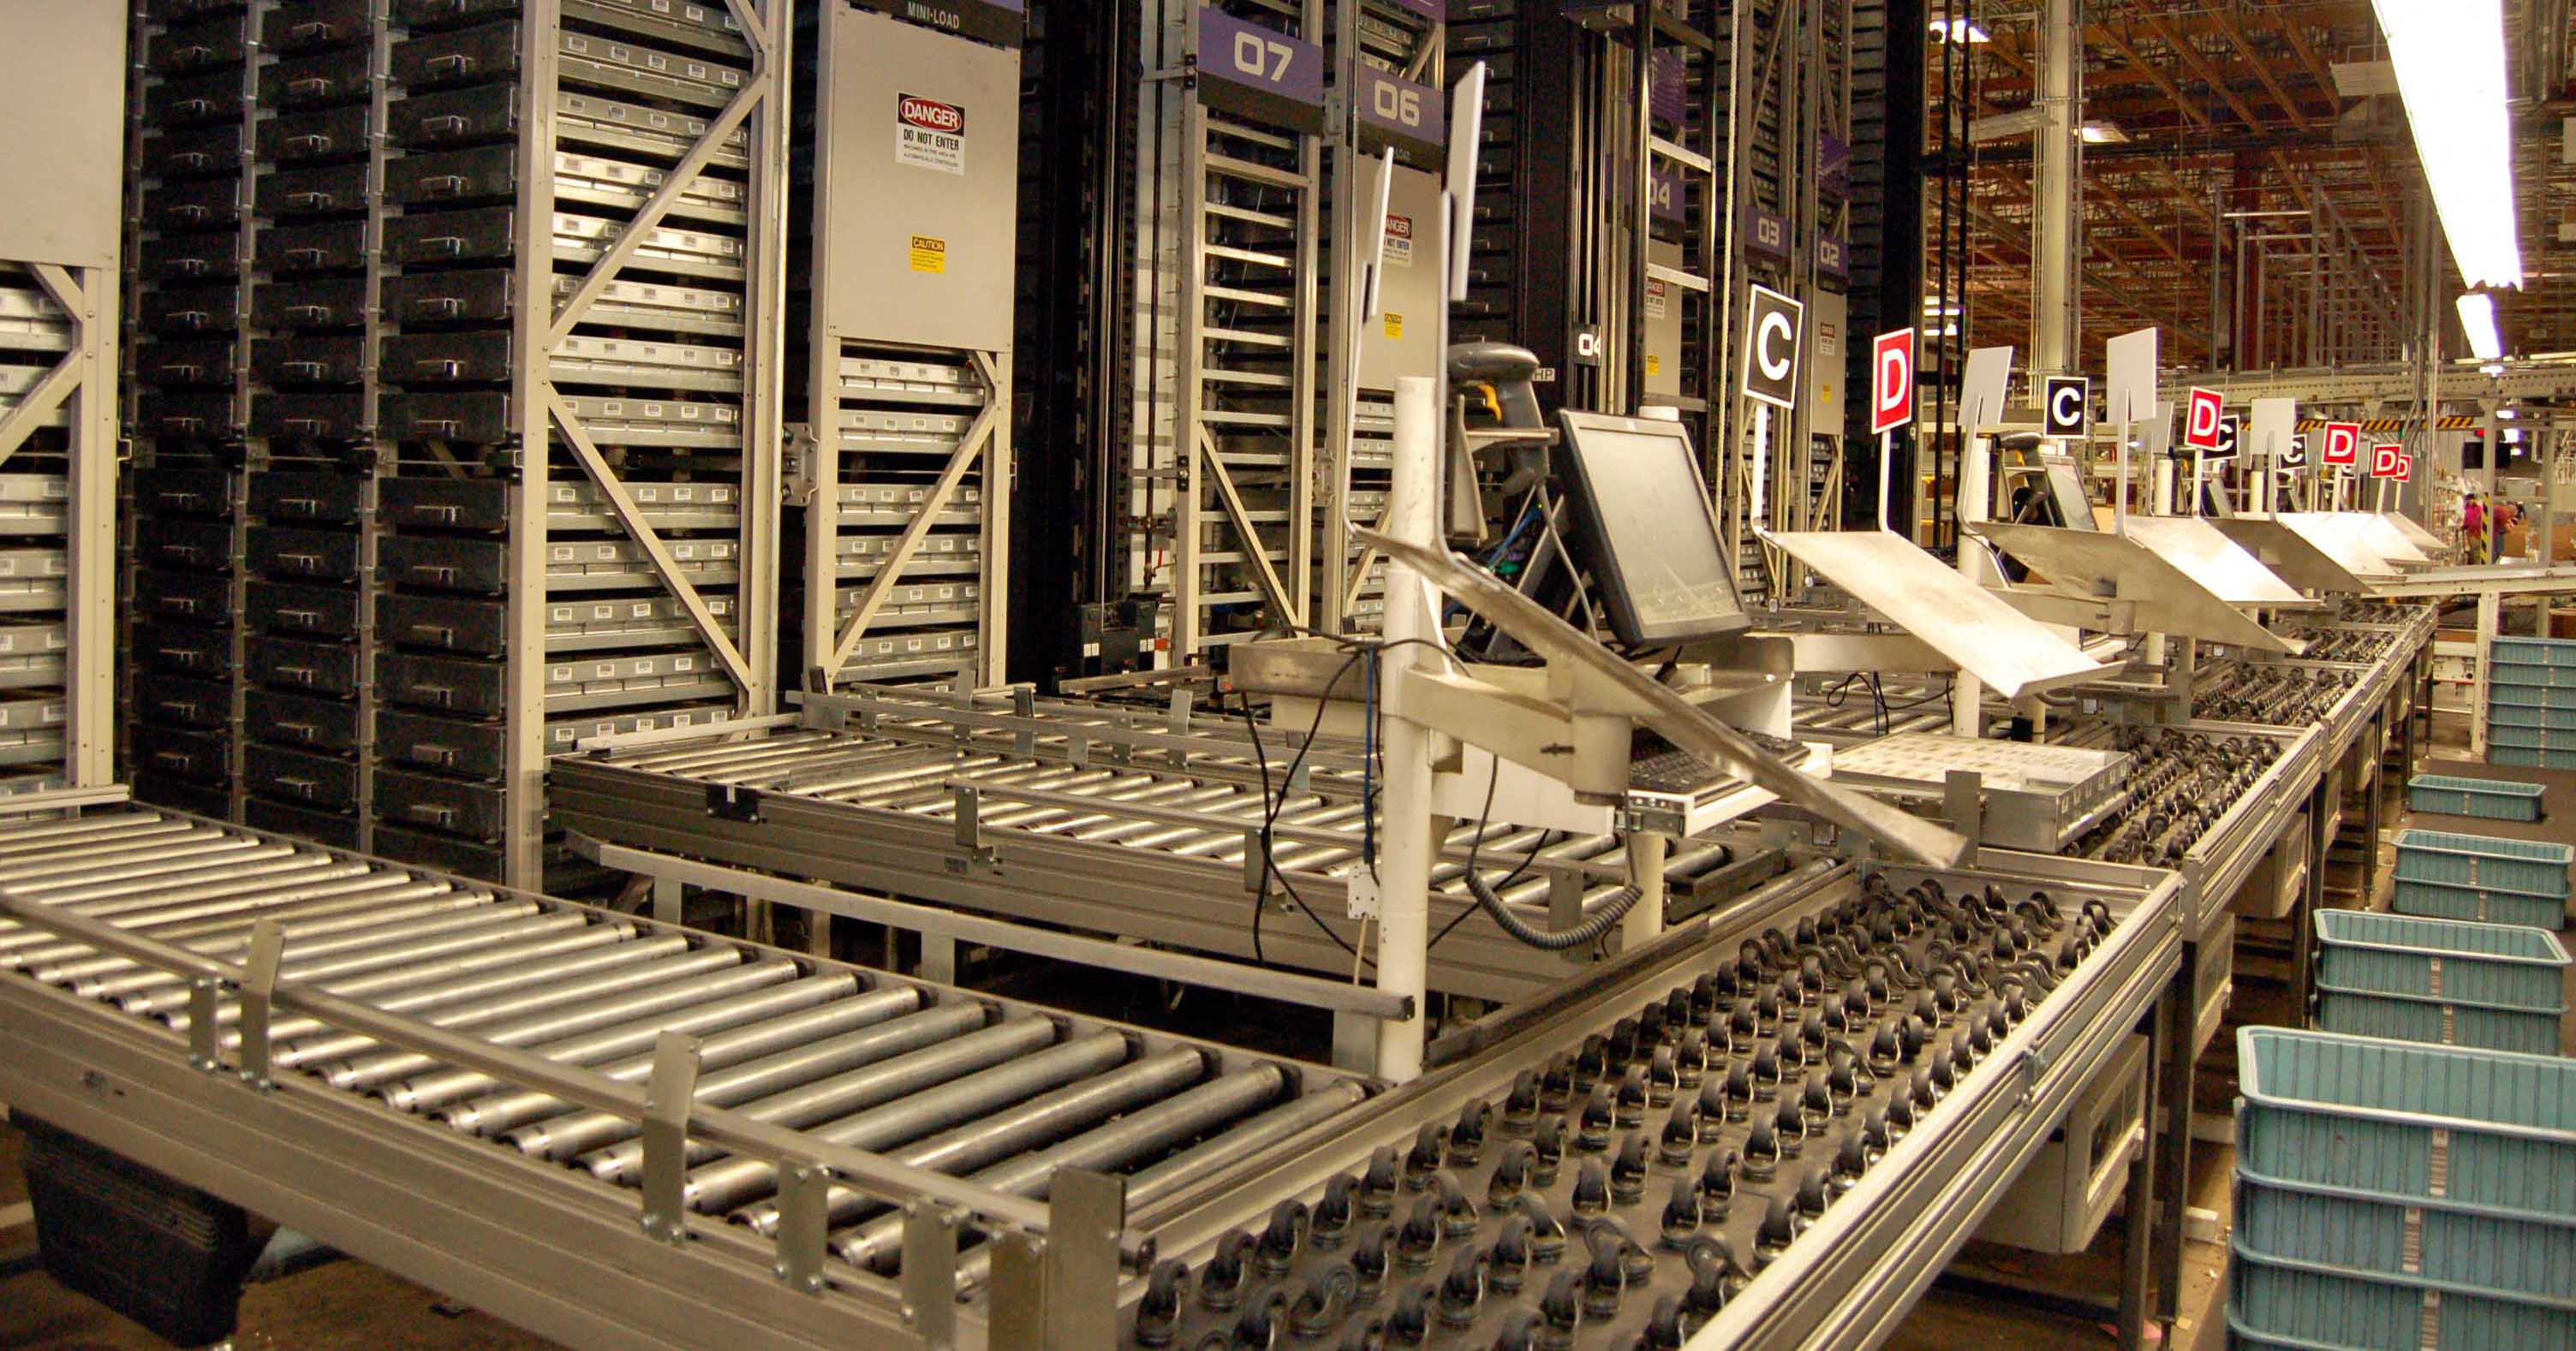
Photo Credit: Lisa Louise Cooke
WHEN: What will be available online and when
According to FamilySearch, they hope to finish digitizing the records that they have permission to digitize, in 2020. Unfortunately, some films we will not be digitized because of contractual limitations, data privacy, or other restrictions. Look to the Catalog for access details for the records you want.
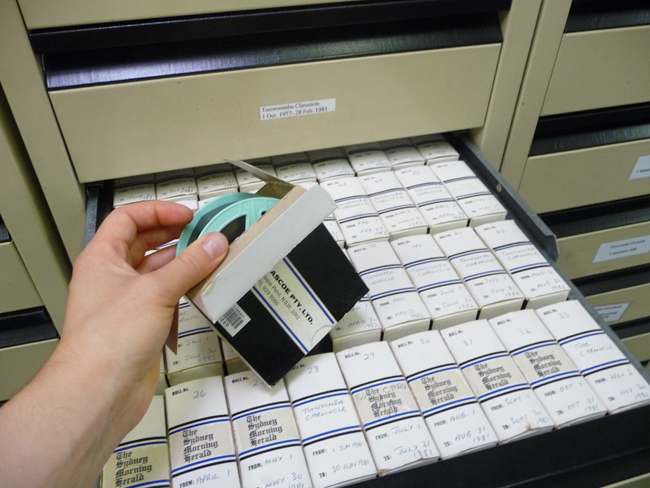
By Lhsunshine (Own work) [CC BY-SA 3.0 (http://creativecommons.org/licenses/by-sa/3.0)], via Wikimedia Commons
HOW: How to order FamilySearch microfilms between now and August 31, 2017
I encourage you to use the microfilm lending service while it is still available. While most microfilmed records will be eventually digitized, the fate of a small percentage may remain unknown for some time. Follow these steps to view them now:
1. Go to FamilySearch.org and log in, or create a free login. (You’ll need the login to order records.)
2. Under the Search menu, select Catalog.
3. Search by location, listing first the largest jurisdiction (such as the country) and proceeding to the smallest, such as “United States, Illinois, Cook, Chicago.”
4. Review search results by clicking on the record categories and then each entry. Within the entries, watch for interesting items that only list microfilm or microfiche formats.
5. Within record entries, order items you want by clicking the microfilm reel icon on the far right, under Format. Select the lending period and the correct currency. It currently costs $7.50 USD to borrow a microfilm reel for 90 days.
During the order process, you’ll select a family history center near you to receive the item(s). When your order arrives, you’ll be notified. Check the center’s schedule before visiting; most have limited hours. Centers are free to use. When you get there, identify yourself and request your film. Then put it in the microfilm reader and scroll through it until you find the item number and pages you need. (Here’s a helpful article: How to Use a Microfilm Reader.)
What about accessing microfilmed records after August 31, 2017?
You’ll still have several options. Sunny Morton, author of the quick reference guide Genealogy Giants: Comparing the 4 Major Websites, says the FamilySearch catalog will still be a go-to resource:
“At this point, the Family History Library in Salt Lake City, Utah still plans to keep on hand microfilmed copies of records that are not yet online. So your options include going to view them in person (since to the best of our knowledge the library won’t be lending them), arrange for someone else to view them (such as through the Random Acts of Genealogical Kindness Facebook group), or use the FamilySearch Catalog to identify the records and then attempt to locate them through other repositories and websites.
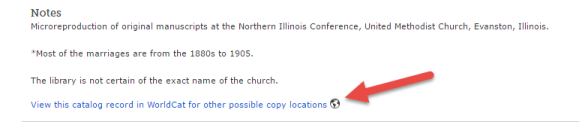
To find records you may borrow from other sources, click where it says ‘View this catalog record in WorldCat for other possible copy locations’ [see screenshot below]. This will take you directly to this item’s listings in WorldCat, which is the enormous, free multi-library online catalog. Look either for a copy at a library near you, or a copy at a facility that participates in inter-library loan. (This is the same process you already have to use to find copies of books you can borrow, since the Family History Library doesn’t lend these, either.)”
What about accessing the digitized records?
After August 31, 2017 many genealogists will be turning to the online FamilySearch catalog and Family History Center Portal. (Learn more about the Portal at the FamilySearch Wiki.) As you attempt to view records through the portal, you may be prompted to go to a Family History Center to view the record, and the site will link you to a map of all locations. It’s important to understand the difference between an official Family History Center and an Affiliate Center. We’ve learned that Affiliate Centers do not have access to what is called the Family History Portal. That portal is only accessible from an officially designated Family History Center.
So how do you know which location on the map is official, and which is an affiliate? I turned to genealogy blogger and friend of Genealogy Gems Amie Tennant for clarification:
The (online) FamilySearch map of Family History Centers is not accurate. With the new changes to microfilm loans, this is going to be a big problem. In other words…if a person assumes all FHCenters are the same and travels to the nearest one, they will be sorely disappointed to realize that this one will NOT have access to all the digitized microfilm. (Researchers) should call ahead to confirm whether the center they see on this map is an affiliate or a full FHC with access to the portal.
I’ve reached out to FamilySearch for additional official information on this and several other important questions that have arisen with the discontinuation of microfilm lending. I’ll report to you here on the Genealogy Gems blog and the podcast as more information becomes available. Check out Amie’s article for more information on the various levels of access.
What do you think?
The end of the FamilySearch microfilm lending service is a major milestone. It signals exciting future online access, but provides obstacles for the next few years. What suggestions do you have for researchers to gain additional access to essential microfilm? Please share with the Genealogy Gems community in the Comments below.
