Family History Episode 28 – Find Your Family History in Newspapers, Part 2
Listen to the Family History: Genealogy Made Easy podcast by Lisa Louise Cooke. It’s a great series for learning the research ropes and well as refreshing your skills.
Family History: Genealogy Made Easy Podcast
with Lisa Louise Cooke
Republished April 22, 2014
Download the Show Notes for this Episode
Welcome to this step-by-step series for beginning genealogists—and more experienced ones who want to brush up or learn something new. I first ran this series in 2008-09. So many people have asked about it, I’m bringing it back in weekly segments.
Episode 28: Find Your Family History in Newspapers, Part 2
Newspapers offer such a unique perspective on history in general, and our ancestors specifically. In Part 1 of this 2-part series, we talked about finding historical newspapers. In this episode, Jane Knowles Lindsey at the California Genealogical Society shares inspiring stories about the kinds of family items she’s found in newspapers. She offers a dozen more fantastic tips on researching old newspapers.
Jane mentions these family history finds from old newspapers:
- photographs (engagements, weddings, obituaries, etc)
- family visits from out of town
- clues on immigrant arrivals
- who’s staying at local hotels
- news on relatives who were missionaries overseas
- crimes involving relatives as victims, perpetrators, investigators, etc.
- profiles of jurors
- family reunions
- probate items and transcriptions from court cases, like divorces
Here are 12 more tips for researching newspapers and organizing your discoveries:
- If you print out newspaper content found online, make sure you note where you found it. Source citation information may not be included in what you print.
- Look for probate and “bigger” news items in newspapers that have wider coverage than the town: a neighboring larger city or a county-wide paper. Also look at the map to see whether the nearest big paper is out-of-county or even out of state.
- Social calendar items (family visits, etc) were most popular up to the 1960s and 1970s. Newspapers today don’t look at local and personal news items.
- Sometimes death notices for more prominent people are accompanied by a much larger article about them that runs within a week before or after the obituary.
- There may have been both a morning and afternoon newspaper in some areas. Learn what papers were in town.
- Transcribe short newspaper articles into your family history software. Transcription helps you catch details you may otherwise miss, if you’re not reading very carefully.
- Nowadays with OCR and scanning, you can actually keep a digital copy of the article itself.
- Look for ethnic newspapers in the advanced search at the U.S. Newspaper Directory at Chronicling America.
- Any mention in a newspaper can point you to other records: court files, immigration and naturalization papers, military documents, cemetery records and more.
- Google! See the link below for the updated Google News resource (for historical newspapers).
- Newspapers can act as a substitute or supplement for records that have been lost in courthouse fires and floods or other records.
- Like today, not everything we read in the newspaper is true!
Updates and Links
- Some of the digital newspaper collections mentioned in the episode are available by library subscription, like The Early American Newspapers collection the and 19th century Newspaper Collection from The Gale Group. Check with your local library.
- My You Tube channel now has several videos on newspaper research and on using Google’s powerful tools for your family history research. However, Google discontinued the Google News Timeline mentioned in this episode.
- Check out the benefits of Genealogy Gems Premium Membership–including all those great video classes mentioned in the episode–here.
A few great newspaper research sites:
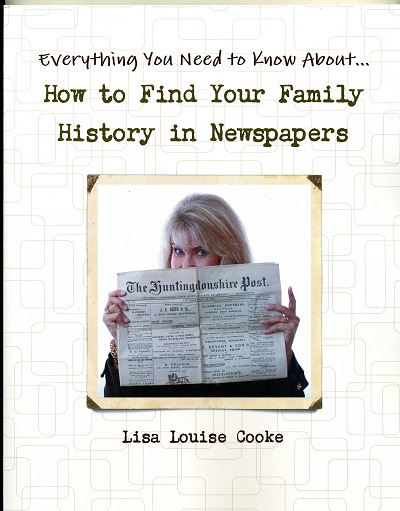
Finally, don’t forget this Genealogy Gems resource: How to Find Your Family History in Newspapers walks you through the process of finding and researching old newspapers. You’ll find step-by-step instructions, worksheets and checklists, tons of free online resources, websites worth paying for, location-based newspaper websites and a case study that shows you how it’s done.
Tell Your Ancestor’s Story: Use Social History for Genealogy
Do you wish you knew more about your ancestor’s everyday life experience? Use social history for genealogy: to fill in the gaps between documented events.

Recently we heard from Barbara Starmans, a social historian, genealogist and longtime listener of three of Lisa’s podcasts. She wrote to share a new blog she started.
“While I’ve maintained my Out of My Tree Genealogy blog for many years, I’ve just launched The Social Historian, a longform story website featuring social history themed articles from across the centuries and around the world.”
Social history is about “the lives of ordinary people,” explains Barbara. “It is a view of history from the bottom up, rather than from the top down…. [It’s about] understanding…how people lived, worked and played in their daily lives. It is often the minutia of someone’s life that tells the story of who they were and what they believed in.”
“By exploring social history, you will be able to research all the circumstances of your ancestors’ lives and to build their life stories from the details you find.” Barbara send us a great list that we adapted and boiled down to a few core topics:
- Life cycle: Birth and birthing customs, health and lifestyle practices, medicine, diseases and epidemics, mental health, mortality rates, death and burial customs.
- Life at home: Clothing and fashion, food and cooking, housekeeping, land and property, alcohol and drug use.
- Life at work: Economy (prices, cost of living and salaries), occupations, working conditions and the labor movement, businesses and employers, social welfare and relief.
- Relationships: Morality, marriage and divorce, children and childhood, ethnicity and prejudices,
- Community life: Celebrations and holidays, traditions, education, language and literacy, religion/church, faith, crime and punishment, societal unrest, leisure pursuits.
- Game changers: War, emigration, inventions, transportation, communication, slavery and emancipation.
Barbara’s social history blog gives lots of great examples of her belief that “beyond just names and dates, those who came before us have a story to tell….By learning about their time and place and how they lived in it, you can add to your understanding of who they were.”
Resources
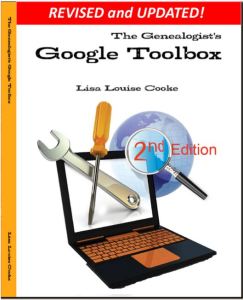
The Genealogist’s Google Toolbox by Lisa Louise Cooke is packed with strategies for learning about your ancestors’ lives online. There’s an entire chapter on using Google Scholar for genealogy!
Where can you look for social history online? I’d start with these sites:
1. Make sure you’re using all of Google’s fantastic resources, including Google Books and Google Scholar
2. Click to find Social history resources at the Library of Congress
3. American Social History Project at the City University of New York
Have fun! I think learning about the everyday lives of our ancestors is one of the most fascinating parts of family history.
![]() Thanks for sharing this post with others who will enjoy it!
Thanks for sharing this post with others who will enjoy it!
Online Historical Maps: From David Rumsey to the DPLA
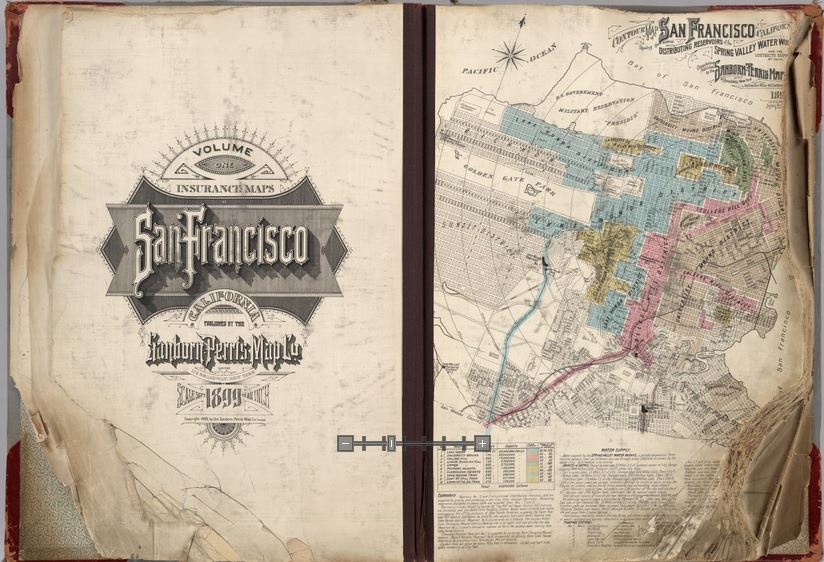
Opening pages of rare 1905 Sanborn Map of San Francisco, showing city just before 1906 earthquake. Find the entire map book at the David Rumsey Historical Map Collection
Genealogists rely on historical maps to help us navigate the geography of our ancestors’ lives. One of the most important resources available online is the David Rumsey Map Collection. Well, Rumsey recently announced on his website that he will be making more than 38,000 of his historical maps–everything he’s currently got online–available at the Digital Public Library of America (DPLA).
I blogged recently about the DPLA, which aims to create an enormous, free digital library we can all access online. It will be great to have the Rumsey map collection searchable on the DPLA so we can search these maps while we look for any other sources on any particular location our ancestors lived. “Maps tell stories that complement texts, images, and other resources found in the growing DPLA library,” says Rumsey. “And the open content policies of my online library fit perfectly with DPLA’s mission to make cultural resources freely available to all.” He applauds what the DPLA is trying to accomplish and even encourages other collectors to donate content.
Rumsey has spent years collecting thousands of old maps and putting them online. Now he’s working to share them even more widely. His entire collection of about 150,000 maps will eventually be housed at Stanford University. Meanwhile, we can all enjoy the thousands of images we can search on his site or at the DPLA.
Google’s free program Google Earth includes nearly 150 historic maps in the Layers panel. You can also add historic maps downloaded from Rumsey’s site to Google Earth by using the Overlay feature. My video tutorial series called Google Earth for Genealogy will show you how. You can also get step-by-step instructions in my book The Genealogist’s Google Toolbox. Or get them all in a discounted bundle.