by Diahan Southard | May 15, 2016 | 01 What's New, Evernote, Organization

Use these step-by-step instructions to organize notes in Evernote notebooks.
Recently Donna watched one of my Evernote for genealogy webinars. She wrote in afterward to give the webinar a thumbs-up and ask this question about how to organize notes in Evernote notebooks:
“I…have been happily using Evernote for a while now so I already have lots of notes, notebooks and stacks. Got web clipper, made my Genealogy and Personal notebooks, added tags you suggested, and discovered Evernote Clearly is no longer available. But you’re right, I’ve lost some of the notes in the myriad. What is the best way to begin putting notes into the new Genealogy & Personal notebooks? Is there another video on that? Thanks for being there for us, Lisa, All our stuff can become overwhelming if it can’t be organized.”

Genealogy Gems
I’m so glad that Donna found the video helpful!
The thing about getting organized is that sometimes it can gobble up all your research time. So one approach I often recommend is just to move Evernote notes as you use them. That way you can keep researching, while getting more organized each day. As you create new notes you’ll be putting them directly where they belong, and as you use existing notes, you can tidy them up as you go.
If you feel more comfortable getting everything moved in one fell swoop, that’s good too. One way to save time is with a simple trick: decide what you have more of (Genealogy or Personal) and then move ALL your notes into that notebook. So if you have more Genealogy notes, all your notes will be in that notebook. Now you only have less than 1/2 of your notes that need to be moved to Personal.
You can move the rest to the other notebook by selecting multiple notes at once. Here’s a step-by-step breakdown:
1. Click the Genealogy notebook in the left column.
2. In the center column are all of your notes. Click the first note in your list to be moved.
3. Hold down the Control key on your keyboard.
4. Now click to select each additional note you want to move to the Personal notebook. (Use the wheel on your mouse to scroll down as you need to.) Your notes will be collecting in the right-hand window pane, and a dialog box will appear.
5. In that dialog box, click the Move to Notebook button and click to select the desired notebook from your list (ex. Personal).
6. For good measure, click the Sync button to manually synchronize all of your notes.
I heard back from Donna with this comment:
“Thank you Lisa! Within a matter of minutes I was able to move my notes and notebooks into the two stacks. Now that Personal and Genealogy are separated, I’ll follow your suggestion to tidy up the notes as I go and add all my tags (which I hadn’t realized the importance of before the video). Ahhhh! It feels so good to have it clearly organized! You rock, Lisa!”
 This website is packed with resources for using Evernote for genealogy! Click here to find free tips and videos to get started. To REALLY make Evernote work for your family history, become a Genealogy Gems Premium website member. Members have a full year’s access to my Ultimate Evernote Education for Genealogists instructional video series with their membership.
by Diahan Southard | May 11, 2016 | 01 What's New, House History
A “house history” can tell you more about the house you live in–or your ancestor’s home. Here’s how.
Are you curious about the history of the house you live in, or would you like to trace the history of a family property? The online article “How to Research Your Home’s Past” by Charity Vogel has some great ideas. It’s not written for family historians, but I like some of the ideas it suggests:
1. Pull a full history of home ownership off your deed. (Historical deeds may not have these. But each deed does represent a link in the chain of property ownership: you should be able to move forward and backward in time in deed records until you’ve listed all owners.)
2. Use census records to learn more about other folks who lived in your home. Remember you’ll be able to see how many people lived there, and, for some census years, whether they owned or rented.
3. Watch for unusual patterns of ownership. For example, a deed showed sisters co-owning a home in the 1930s. Additional research showed that the sisters were nurses and ran the house as a community hospital. How cool is that to know about a house?
4. If it was a grand or unusual home, see whether the newspapers covered its construction. The author of the article found an 1898 article that detailed the entire five-month building process of her house!
Last year I shared an applicable research strategy in my blog post A Shocking Family Secret, and 3 Powerful Newspaper Research Tips about researching our ancestors and where they lived. By searching on their home address, and not including their name, you can uncover “a kind of house history set of search results, revealing who lived there before, descriptions of the home and its contents and who moved in after your ancestors left. In my case, I located an article about the Cooke home (by the address) being up for sale several years before they owned it. That article included a fairly detailed description of the property. The final article found in the British newspapers was also found only by address (as the Cooke name wasn’t mentioned) and it detailed the contents of their household up for sale. The auction was held in preparation for their move to Canada.” (Click here to learn more about finding your family history in newspapers.)
While looking for more on this topic, I came across a great newspaper article about three researchers who specialize in house histories. They said that in addition to the personal satisfaction of knowing about a family home, “A bit of history and story makes it much easier to sell: it attracts a certain buyer.”
Here are a few more helpful resources, if you’d like to research your house history:
More House History Gems: Researching a Family Residence
Ancestral Landmark Discovery with Google Earth
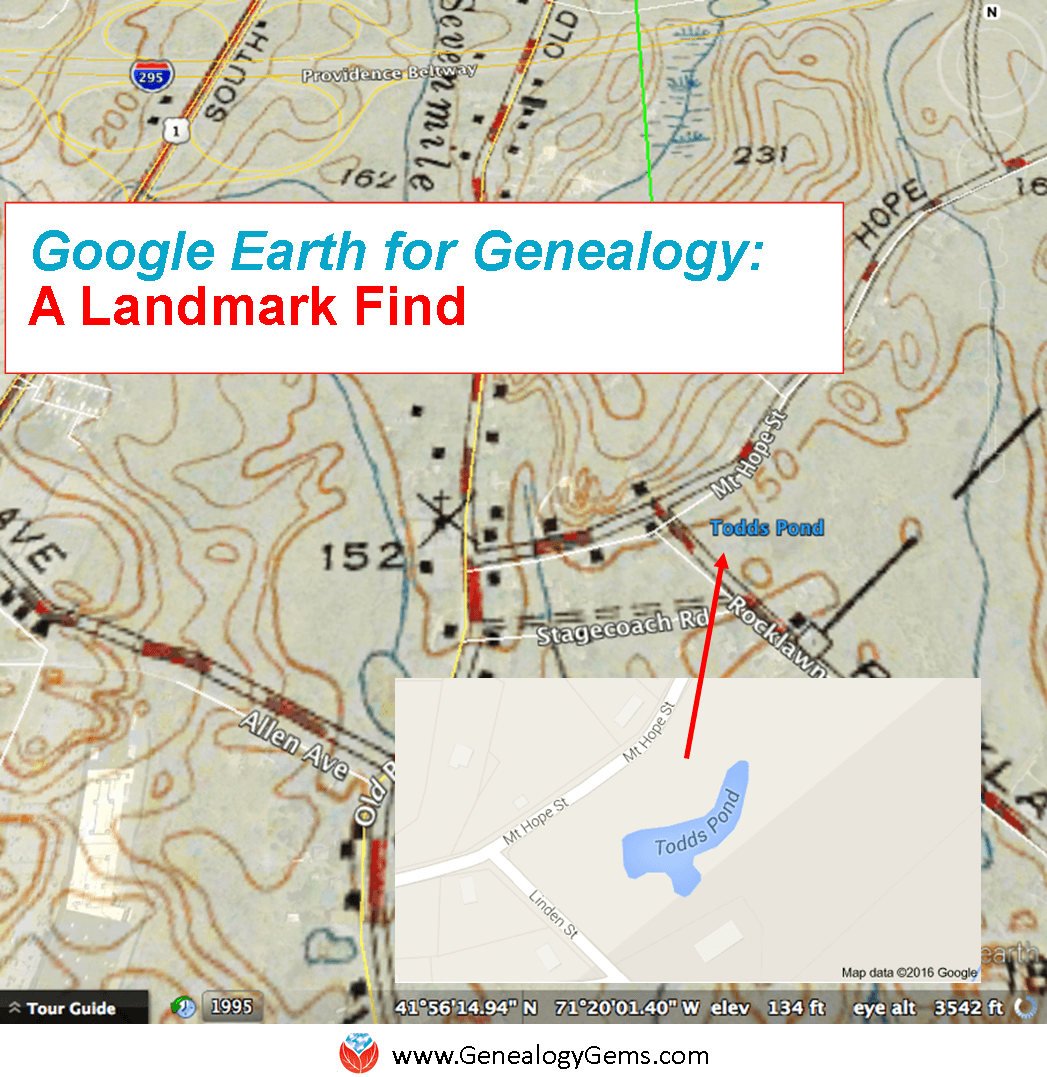
How to Find a Family Address: 4 Steps to Using Google Earth for Genealogy
Was This My Ancestor’s Neighborhood?
by Diahan Southard | Apr 27, 2016 | 01 What's New, DNA, Research Skills
Have you been wondering what’s up with the Y? After taking an autosomal DNA test, many genealogists want to know what next steps to take, and if YDNA can help further their research. YDNA, which can only be taken by males, may be able to bust additional brick walls in your family. DNA expert Diahan Southard is here to share 3 reasons to take a YDNA test–or have a male relative do so.
The Y chromosome DNA test, more affectionately referred to as the YDNA test, is the darling of the DNA testing industry. (At least, I think so.) In fact, of the three kinds of DNA tests, the YDNA is my favorite. Currently, the YDNA test is available at Family Tree DNA. Here’s their quick recap of what YDNA is:
“Y-DNA is what we call the sex chromosome “Y” that is passed from a father to his sons only, women do not receive a Y chromosome. Testing the Y chromosome allows for investigation into a male’s paternal family line and can help identify surname lines, living relatives whose Y chromosome is similar to yours, and ancient migration routes your paternal ancestors may have taken.”
At Family Tree DNA, there are four levels of YDNA testing available. 37 markers is the base level and a good place to start making connections. You can also increase your marker count to 67, 111, or if you’re a DNA expert, you can opt for the whopping 700 marker test. The good news is that you can start with the 37 marker test and have the option to upgrade to the larger test without needing to provide another sample.
YDNA has several excellent qualities that make it useful in many genealogical scenarios. Let’s look at three to give you a good start!
Use YDNA for Genealogy When…
1. You Have a Missing Father
All of us should be able to identify with this genealogical problem. Every line in your family history has this problem. Any ancestor whose father is currently unknown falls in this category. And YDNA can help.
The specific quality of YDNA that makes it so attractive in this case is its faithfulness in passing down its record generation after generation, without fail, without changing, from one man to the next. That means that any living male today has the same (or very similar) YDNA as every male in his direct paternal line, back 8, 10, 12+ generations.
Therefore every man’s YDNA is the clue that could lead you to discover that missing father. Usually what it takes is a match in the YDNA database with another descendant of your common ancestor. Ideally, this person knows something that you don’t about that missing father, and the two of you can work together to verify and extend your family history.
2. Your Relative is Worried About Privacy
While DNA testing has certainly entered a season of relative acceptance among genealogists, there are still many skeptics who wonder what the eventual ramifications of having your DNA tested might bring. While this is a subject that certainly deserves some attention, the YDNA is actually the easiest test to sell to a nervous relative.
The very qualities that make YDNA testing valuable, namely that every male descendant of a given ancestor will have the same YDNA, make it equally impossible to identify any particular individual uniquely. This means that the YDNA record that is created when a man takes a YDNA test cannot ever be traced back to him alone. That same record could have easily come from his brother, or 1st, or 5th cousin.
Similarly, the YDNA test results do not have a link to your health. The regions that are tested are generally parts that are not useful for determining any kind of personal health or trait information.
3. You Have a Surname Mix-up
One of the best applications of YDNA for genealogy comes when trying to disentangle the relationships of various men living in close proximity with other men of the same or similar surname. Having descendants of these men test their YDNA is like traveling back in time and conducting personal interviews of each of these men. It’s like saying, “Excuse me, Mr. Moffat? Is this neighbor of yours, Mr. Moffit, your uncle?” Wouldn’t you give anything for a chance to have that conversation? Well, YDNA testing gets you almost there. You might not be able to determine if they are uncle and nephew, but you will at least know if they are kin.
So what are you waiting for? If you have your own YDNA, go out and start the testing process. If you have been blessed instead with two X chromosomes, send this article over to your favorite male relative and let him know that he holds a very old, very valuable record in his DNA and you want to help him make use of it.
Learn More About DNA Test Options in This Free Video Class
Learn more about YDNA testing and the other types of DNA tests in this free video class, filmed live at RootsTech 2018! You’ll get answers to questions like:
- Which DNA test should I take?
- What will I get from the DNA test results?
- Will DNA testing help with genealogy?
If you or the relative you want to test wants more information about what DNA testing is all about, this is the perfect recap. And best of all, it includes helpful slides, graphics, and it’s all in plain English!
About the Author: Diahan Southard has worked with the Sorenson Molecular Genealogy Foundation, and has been in the genetic genealogy industry since it has been an industry. She holds a degree in Microbiology and her creative side helps her break the science up into delicious bite-sized pieces for you. She’s the author of a full series of DNA guides for genealogists.
Disclosure: This article contains affiliate links and Genealogy Gems will be compensated if you make a purchase after clicking on these links (at no additional cost to you). Thank you for supporting Genealogy Gems!
This article was originally published on April 27, 2016 and updated on May 2, 2019.
by Diahan Southard | Mar 19, 2016 | 01 What's New, RootsMagic, Trees
Family Tree Maker users can now directly import their trees into an update of RootsMagic 7.
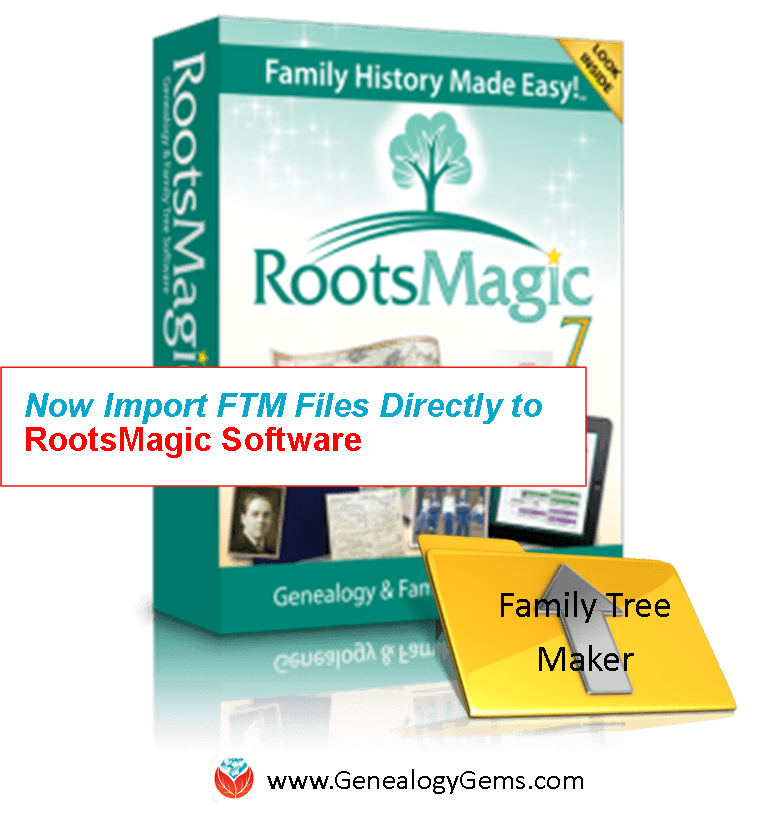
RootsMagic family history software just announced the release of RootsMagic 7.1.0.1. This new version that allows users to directly import any Family Tree Maker file.
According to a RootsMagic press release, importing Family Tree Maker files was “mostly effective” when users imported them as GEDCOMs. However, files were “often lacking data and details only found in the original file” and added an extra step in the conversion process.
Now RootsMagic 7 can actually import a bigger variety of Family Tree Maker files (more past versions) than the current software itself can do. These include Family Tree Maker 2008, 2009, 2010, 2011, 2012, and 2014 for Windows; Family Tree Maker 3 for Mac; Family Tree Maker 2010 and 2012 for Mac; and Classic Family Tree Maker files ending with the file extension .ftw.
This is a free update for RootsMagic 7 users (look for the “Update available” indicator in the lower right corner of your RootsMagic 7 program screen and click on it). Click here to purchase RootsMagic 7 (for new customers and those who have previous versions of RootsMagic). For specific instructions on importing Family Tree Maker files directly into RootsMagic 7, visit the RootsMagic blog.
More RootsMagic 7 and Family History Software Gems
 RootsMagic, FTM and the Holy Grail of Family History Software
How and Why To Back Up Your Ancestry.com Tree (Our most popular blog post EVER)
Family History Software for Mac: Recommendations from YOU
by Diahan Southard | Jan 30, 2016 | 01 What's New, Cloud Backup
Cloud backup services are “one of the smartest things we can do” for our computer says PC World/MacWorld. Here’s why they just gave Backblaze a shout-out.
This past week, PC World/Mac World ran an article on Backblaze‘s cloud-based computer backup service, which I use and love here at Genealogy Gems. Senior Editor Brad Chacos reminded readers that “when it comes to backing up your precious data, investing in an online backup service is one of the smartest things you can do.”
Cloud-based backup services run 24/7 through your internet connection, constantly saving changes you make to every file. That means if your computer is lost, stolen, destroyed or hit with deadly viruses, you’ll always have copies of your files available to you.
One challenge of cloud-based backup is that we’ve all got more digital stuff these days.
“As more and more of our lives goes digital, from movies to photos to game libraries, hard drives are filled more than ever before,” says Chacos. It’s not so easy to download that much material online if you ever need to restore your data.
The solution is to ship an entire hard drive to a customer, but that can come at a pretty pricey additional charge ($100 or more). Not fun for a customer who’s already stressed about losing their data.
Backblaze has announced a new solution: its Restore Return Refund Program.
“The Restore Return Refund program is for customers who do not need to keep a USB drive after they’ve recovered their lost data,” the site says. “Backblaze offers refunds for returned drives ($99 for USB flash drives, $189 for USB hard drives – see website for current pricing) within 30 days of receiving the drive, effectively making the process of restoring free! This is a great option if a customer needs to restore a large amount of data, potentially on multiple drives, but does not need to own the USB drives after the recovery.”
The Restore Return Refund Program earns a thumbs-up from Chacos. “Giving customers access to physical backups for the cost of shipping alone removes a huge potential burden from the shoulders of Backblaze subscribers.” He points out that other leading cloud-based computer backup services either won’t ship hard drives at all or continue to charge large fees for it. The Next Web and Verge also gave Backblaze‘s new program (and Backblaze itself) high marks this week.
This new program is just one more reason I’m glad I choose Backblaze to take care of the ENORMOUS amounts of video, audio and other data I create here at Genealogy Gems. It just makes sense. At just $6 a month, Backblaze is so affordable–and the service it provides is so crucial–that I can’t see backing up my computers any other way. They’re a sponsor of my free Genealogy Gems podcast because I’ve checked them out thoroughly and–just as thoroughly–I recommend them.
More Gems on Cloud Backup Services
Online Trees Aren’t Secure: How I Keep My Master Family Tree Safe
“I Was Robbed!” They Took the Computer AND the Backup Drive: Another Argument for Cloud Backup
New Security Measure Improves on Backblaze’s Already Excellent Service
Page 4 of 18« First«...23456...10...»Last »